96 Superjet rebuild - turfed pics up

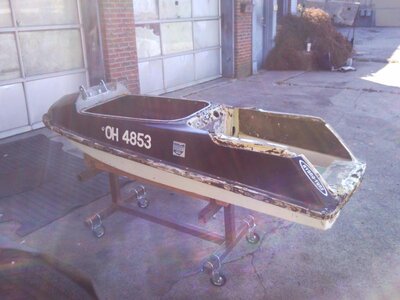
Picked up this hull from MadMat recently. It's had a rough life. I plan to continue the abuse, and don't mind ugly ski's so this is perfect. Going to be a total rat-ski.
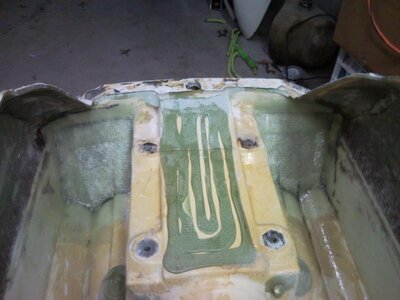
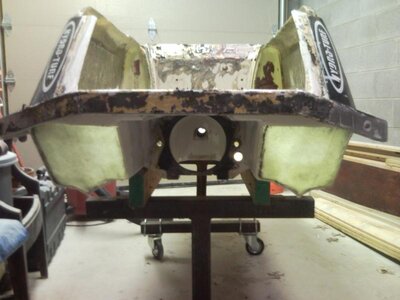
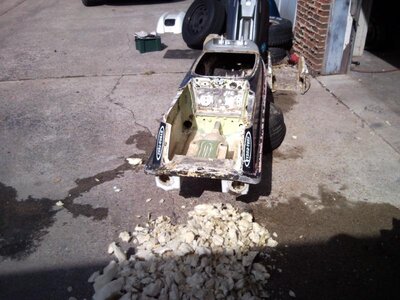
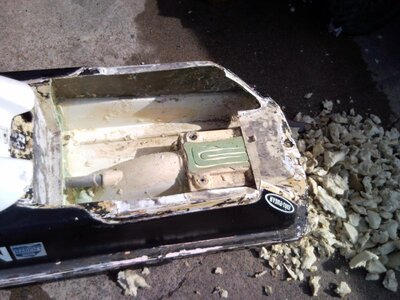
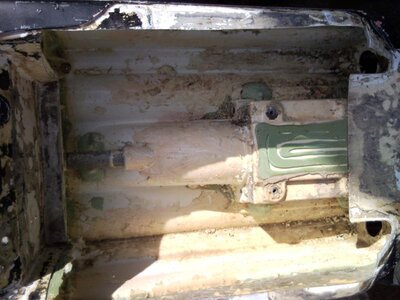
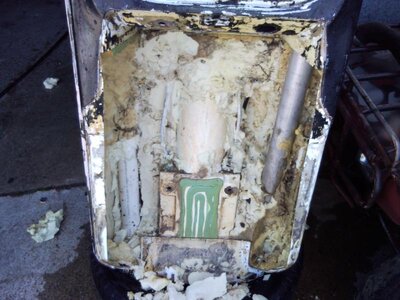
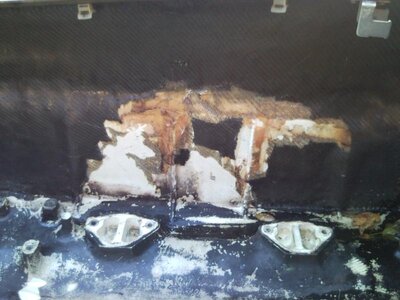
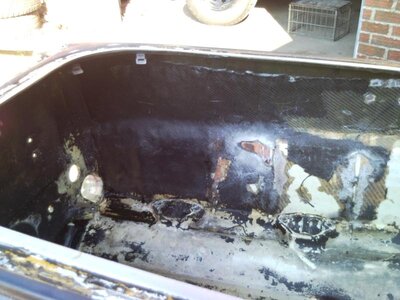
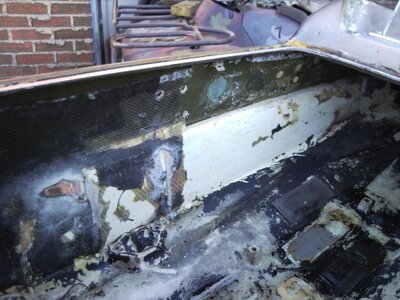
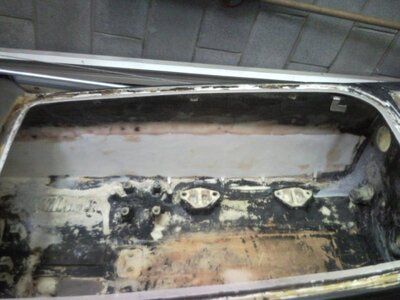
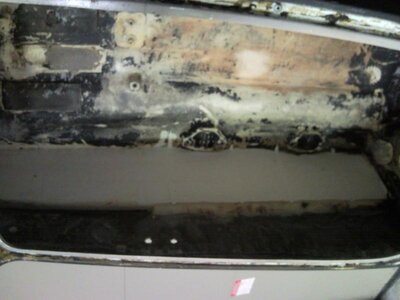
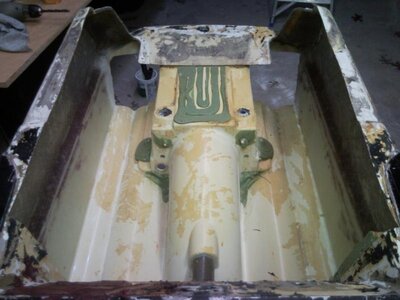
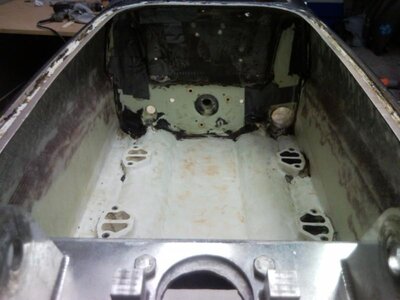
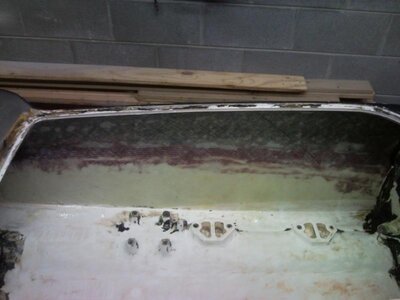
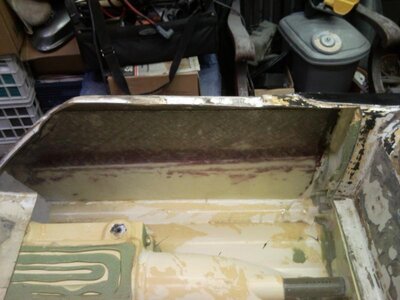
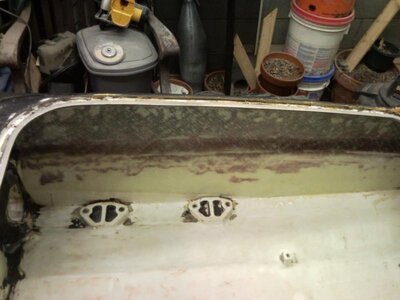
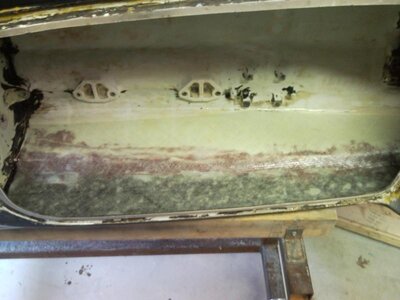
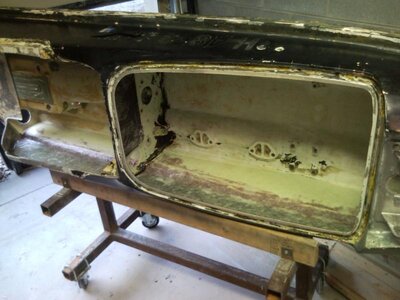
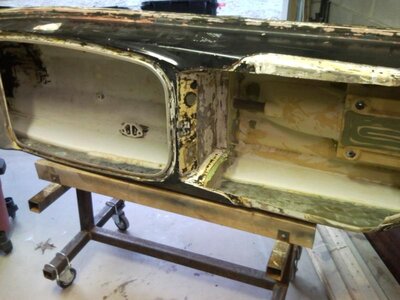
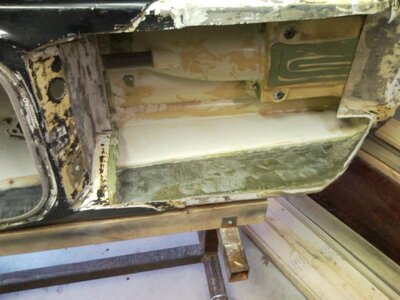
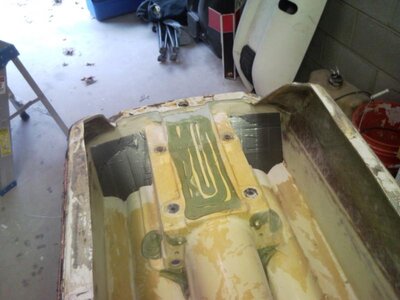
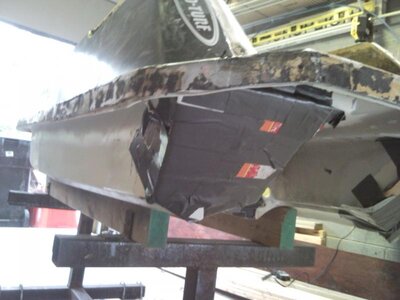
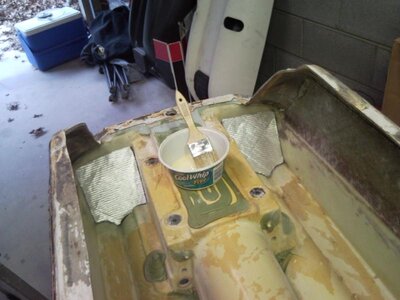
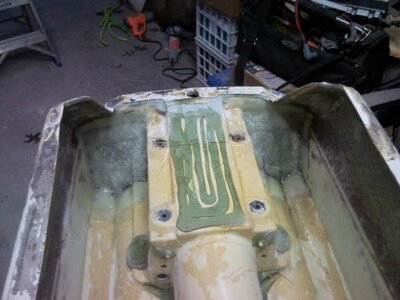
First thing was the defoam, took a couple hours with a pry bar and clean up with a really high powered pressure washer. Must have been almost TOO high powered. You can see in the last pic, there are some light colored specs on the inside of the gunwhale where I was blasting foam remnants. Those light spots were small air bubbles in the factory layup, I was washing away when I noticed my spray blasting through to the outside of the hull, haha. Found several little weak spots, only one of them actually blasted a hole though.
 

Attachments

  • SNC00170.jpg
    SNC00170.jpg
    79.8 KB · Views: 160
  • SNC00171.jpg
    SNC00171.jpg
    77.6 KB · Views: 150
  • SNC00172.jpg
    SNC00172.jpg
    64.1 KB · Views: 141
  • SNC00228.jpg
    SNC00228.jpg
    56.1 KB · Views: 151
  • SNC00168.jpg
    SNC00168.jpg
    73.3 KB · Views: 139
Next thing was the reinforcing.. It had taken a beating and needed to be redone. There were air bubbles all over it. Whoever did it just caked in filler, looked like cabosil and resin, around all of the ribs. They made no effort at all to smooth it out any, and just starting laying up glass over it after it had clearly dried into crazy shapes. It had a thin layer of glass of some sort, and another of carbon on top. I was able to just peel most of it out, I'd say 40% of it wasn't even stuck. You can see in the first pic, everything thats missing is one large piece I just pulled right off, not adhered at all. The filler in the bondline just fell out. most of the other places, with the exception of where you can see I had hit it with the sander already, were places with huge air pockets and the materials, both glass and carbon were just loose and I just pushed them in and broke it out, like the third pic.
 

Attachments

  • SNC00225.jpg
    SNC00225.jpg
    66 KB · Views: 94
  • SNC00224.jpg
    SNC00224.jpg
    61.3 KB · Views: 103
  • SNC00223.jpg
    SNC00223.jpg
    65.4 KB · Views: 80
  • SNC00222.jpg
    SNC00222.jpg
    76.6 KB · Views: 103
Last edited:
Then I ground out all the old reinforcing. PITA. Didn't take long, maybe 3-4 hours of grinding to get it to this point. It was more standing and looking at it taking breaks going "Damn this sucks."
I didn't get many good pics of it at this point. I left some of the old filler that stuck really well. A small portion of the bondline was actually still really solid. Just ground it down and smoothed over it.
 

Attachments

  • SNC00286.jpg
    SNC00286.jpg
    58 KB · Views: 85
  • SNC00287.jpg
    SNC00287.jpg
    45.1 KB · Views: 76
  • SNC00288.jpg
    SNC00288.jpg
    45.9 KB · Views: 87
Here are a few of how it sits this morning. Lightly reinforced the sides from front to back using 12" 17oz biax, thanks to SuperJETT for the glass. I had just enough resin to do it, and he had some left over biax here in town. I'll be glassing up the back today, glassing over a few holes on the bulkhead, and one other area. Then the plan is to put replace all the inerts, and plumb it up next weekend. Hope to be assembling soon.
 

Attachments

  • SNC00313.jpg
    SNC00313.jpg
    52.8 KB · Views: 80
  • SNC00321.jpg
    SNC00321.jpg
    53.5 KB · Views: 88
  • SNC00320.jpg
    SNC00320.jpg
    48.2 KB · Views: 76
  • SNC00319.jpg
    SNC00319.jpg
    43.1 KB · Views: 61
  • SNC00318.jpg
    SNC00318.jpg
    54.1 KB · Views: 66
  • SNC00317.jpg
    SNC00317.jpg
    50.1 KB · Views: 66
  • SNC00312.jpg
    SNC00312.jpg
    48.6 KB · Views: 57
  • SNC00311.jpg
    SNC00311.jpg
    60.5 KB · Views: 62
  • SNC00316.jpg
    SNC00316.jpg
    61.6 KB · Views: 64
  • SNC00315.jpg
    SNC00315.jpg
    61.8 KB · Views: 72
Last edited:
Looks great. I can't believe how much it sucks to do those refoams!

Thanks. The only other refoam I've done was an X2, and this SJ refoam is much easier, I was surprised. When I got the hull, the tray had already been cut out and a small amount of foam removed, maybe 10-15%. I had the rest removed and had it cleaned out in about an hour, hour and a half. So far the worst part was grinding away the old filler/carbon. None of it has been bad, just all been a BIG mess. Everything in my shop has a half inch of dust on it.
 
Location
Ohio
Nice Will! It already was a rat ski....it is actually gonna be nice when you are done. Make it nice man....you are a great rider so make it nice and then destroy it. You are long over due for a nice looking hard hitting stand up.

Was my nose repair solid at all? That was smurf and I and we were rookies.

The rest of that stuff was done by the previous owner.

I hate grinding!!! If I ever grind carbon again I am wearing a full dry suit.
 
As far as the nose, some of it just peeled right off the bond rail, but past that it seems fine. The filler around the bondrail seems pretty brittle, I think it will bust if I hit hard. I had plans to put a new nose on it, but I just don't care anymore. I'm just ready to ride. I'm going to beat the hell out of it anyway. I'm thinking of maybe foaming the nose behind the waterbox, and glassing it in good. That way if I do break it off I'll be cool to make it through Daytona. If the hull stays together much longer, and I like it, I'll probably have the nose piece made up like I had intended.
 
BTW, one reason my defoam was so fast was that I didn't try and salvage any of the thru hull stuff. Ripped out the steeriing cable tube, water lines, and exhaust immediately. Not a single one of those tubes were sealed, at all. There were TONS of shells/sand in the foam all around all the lines.
 

Motorheads5

Livin the generation gap
Location
ketchikan alaska
Lookin good Will. Damm that's been alot of work already. What you found around those original cooling, exhaust, and steering tubes justifies sealing around them with fastcure 5200 when they are bought new lol.
 
Lookin good Will. Damm that's been alot of work already. What you found around those original cooling, exhaust, and steering tubes justifies sealing around them with fastcure 5200 when they are bought new lol.

Thanks. And yeah the sealing around everything, cooling, exhaust, steering, driveshaft, the whole deal was leaking. It was almost like a black foam'ish material around the cooling/exhaust tubes. I should have gotten started sooner on this thing. All but the defoaming has been done in the past few days I've had off work. Back to work tomorrow. Hope to be finishing glass work next week, then starting assembly. Still need a handful of parts.
 
I cut the back off a few inches last night, and started glassing it up from the inside tonight. This was a few layers of what I think was some 8oz twill, not sure I picked it up from SuperJETT, and about 3 layers of 17oz biax. I plan to see how strong this is, then do some additional reinforcing from the outside before I slick it out there. Might get to do some of this tomorrow before I head out. I hate waiting on epoxy.
 

Attachments

  • SNC00322.jpg
    SNC00322.jpg
    49.7 KB · Views: 124
  • SNC00324.jpg
    SNC00324.jpg
    48.4 KB · Views: 174
  • SNC00325.jpg
    SNC00325.jpg
    54.2 KB · Views: 124
  • SNC00326.jpg
    SNC00326.jpg
    54.6 KB · Views: 135

SuperJETT

So long and thanks for all the fish
Location
none
I've got some resin leftover too if you just want to bust on it.

And yes, it's 8.5oz twill I think.
 
Took these this morning of the rear I glassed up last night. Turned out really strong already. I'm still planning on putting several more layers over the outside and around the edges to beef it up a little more. Looks kinda thin in the pics, but it's actually pretty thick. I'm surprised at how clear 3 layers of 17oz, plus a few layers of 8oz twill can be.
 

Attachments

  • SNC00332.jpg
    SNC00332.jpg
    48.2 KB · Views: 91
  • SNC00333.jpg
    SNC00333.jpg
    50.5 KB · Views: 169
  • SNC00334.jpg
    SNC00334.jpg
    47.4 KB · Views: 155
Top Bottom