Ryan's 2001 Round Nose Build (Warning lots of pics)

Ryan_G

Yamaha
Location
Fresno, CA
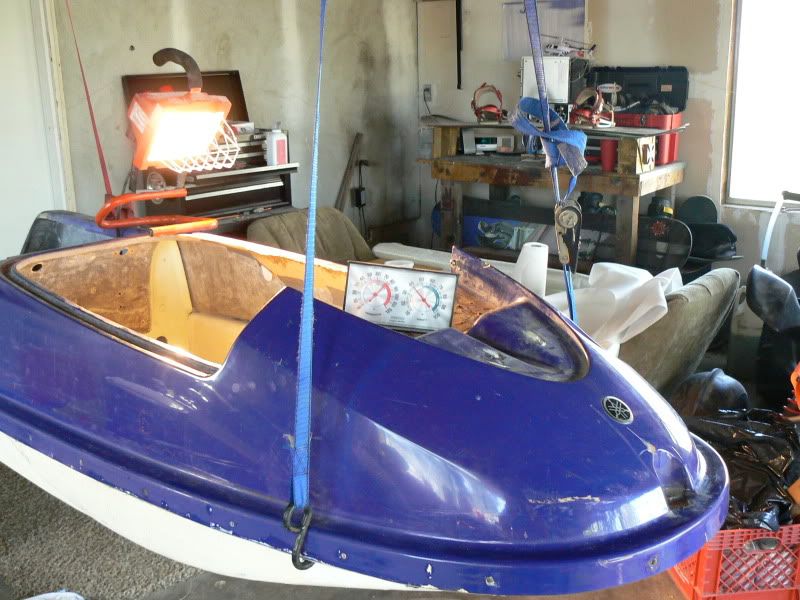
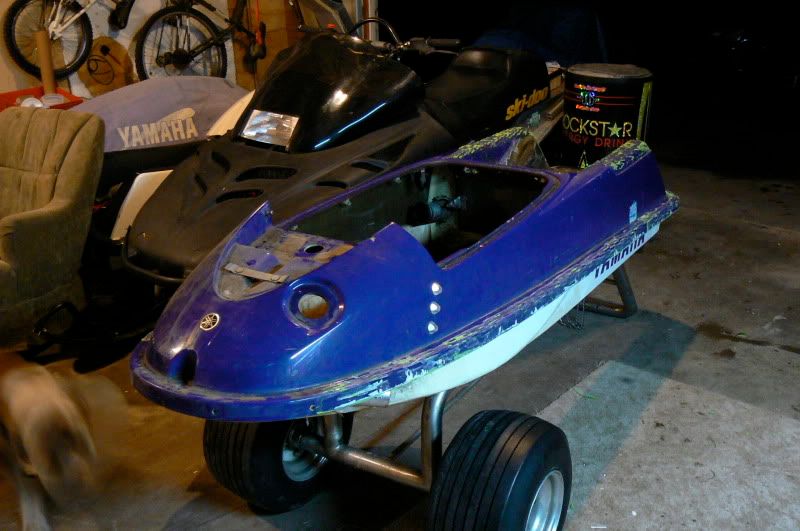
I decided to build up a RN hull for the surf. My SN is starting to crack up a bit.

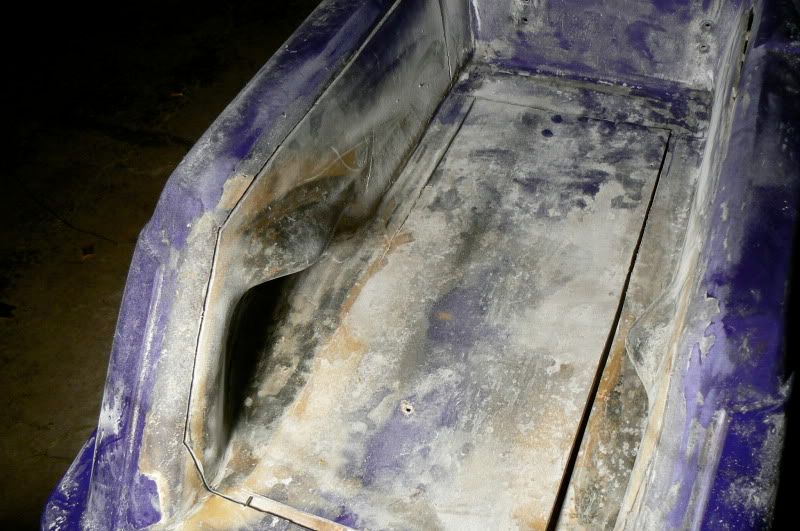
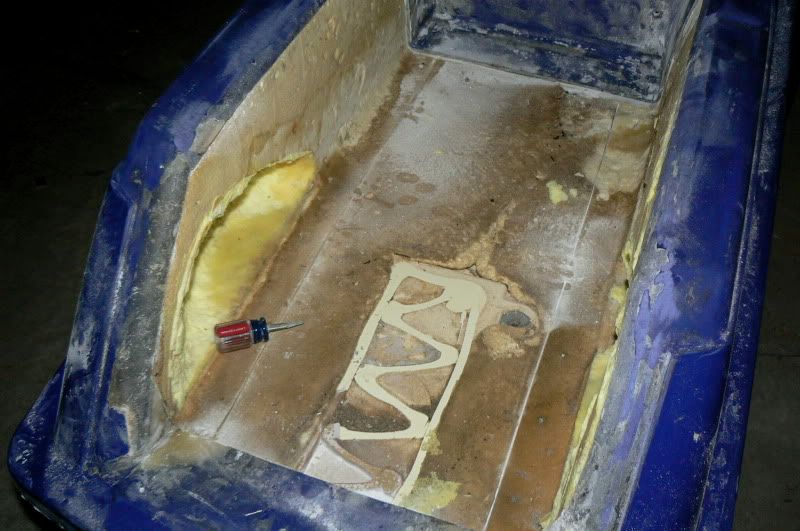
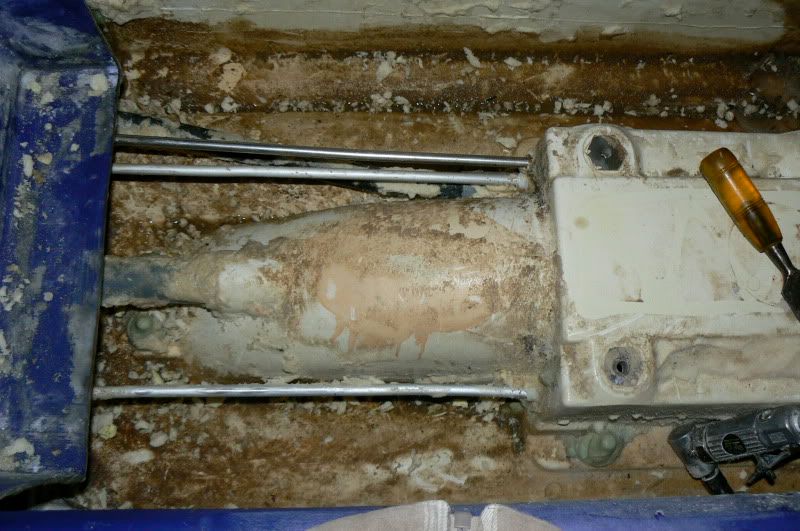
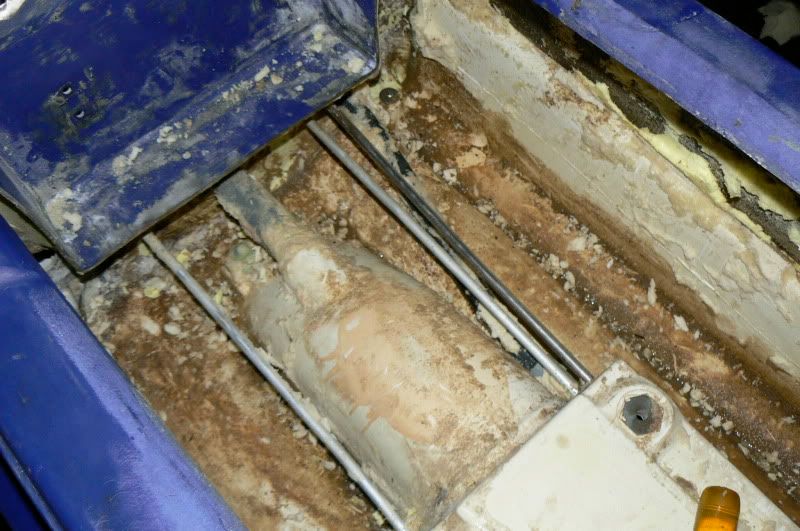
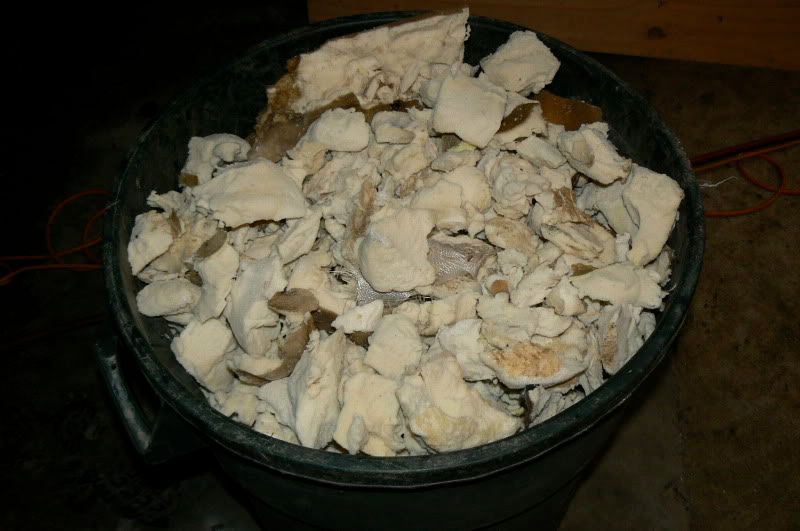
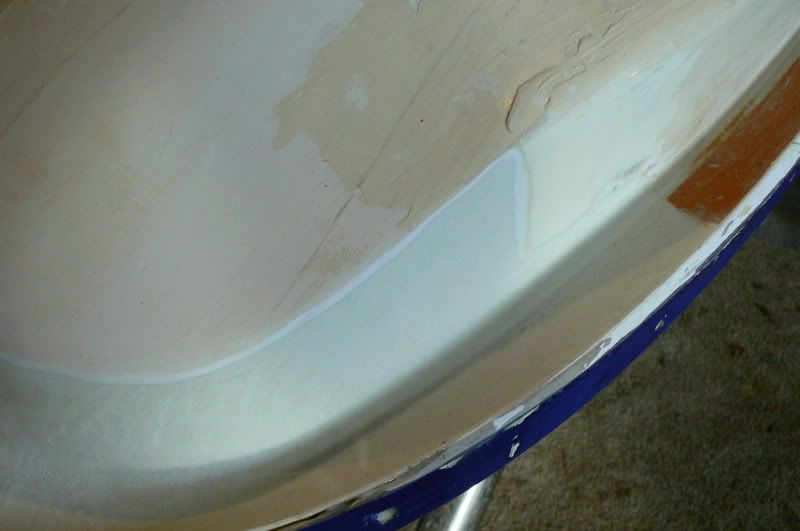
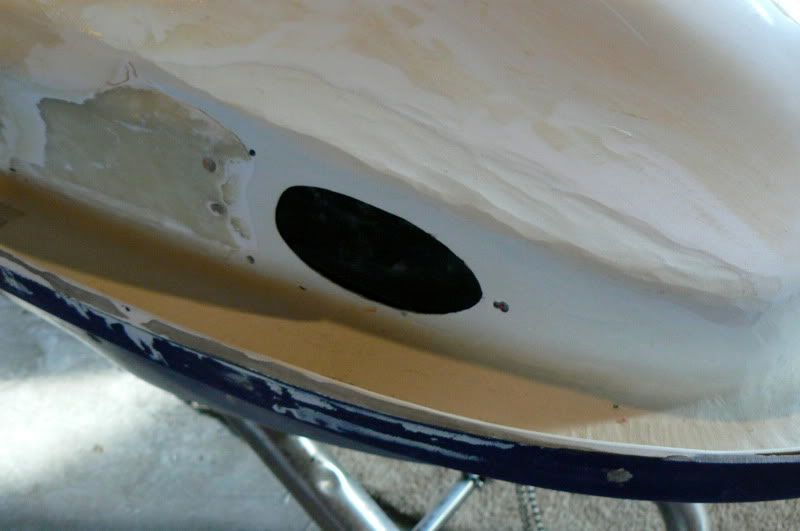
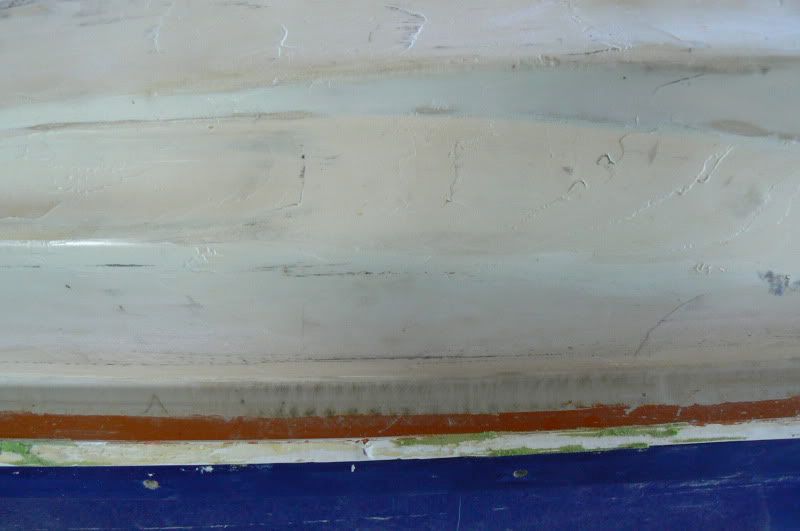
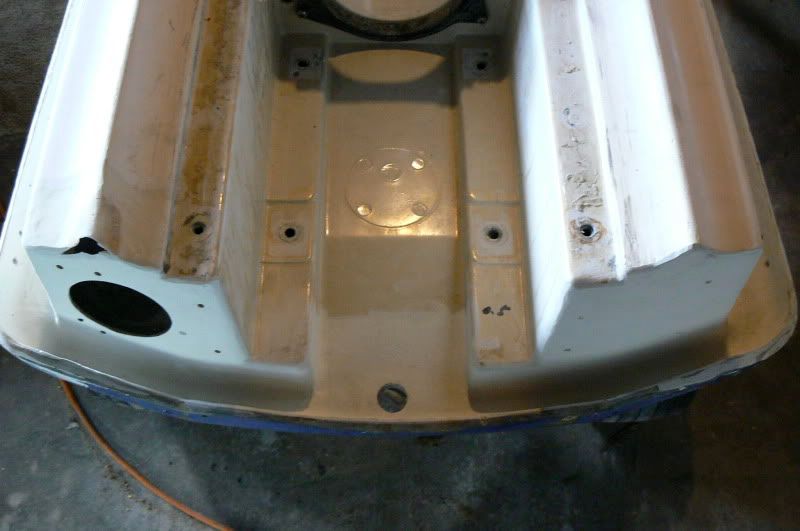
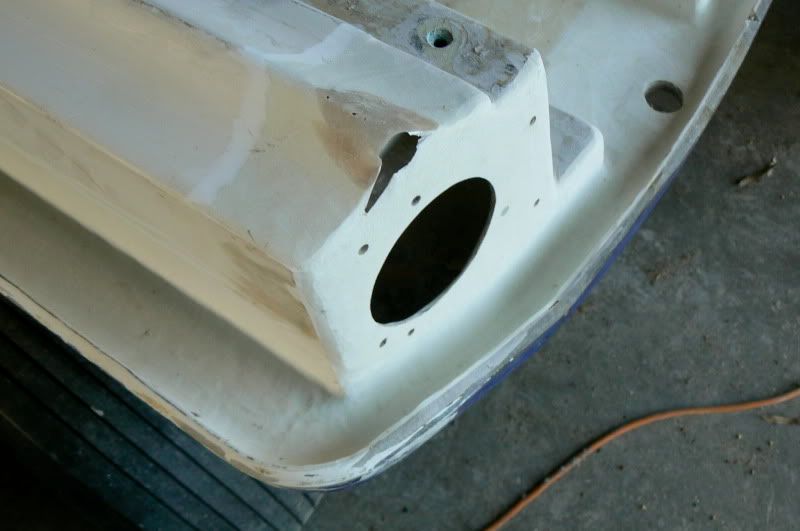
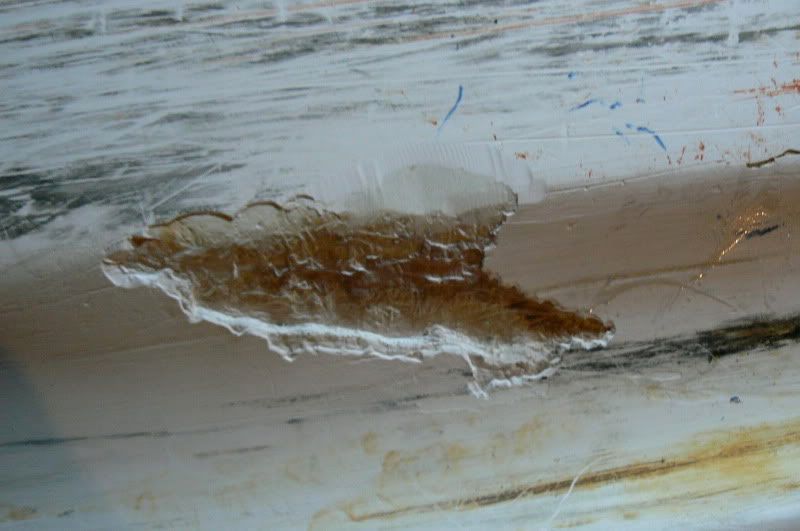
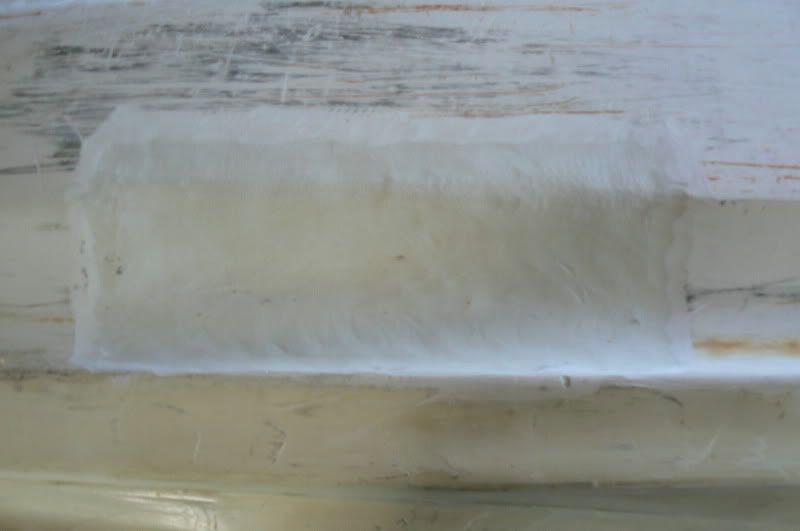
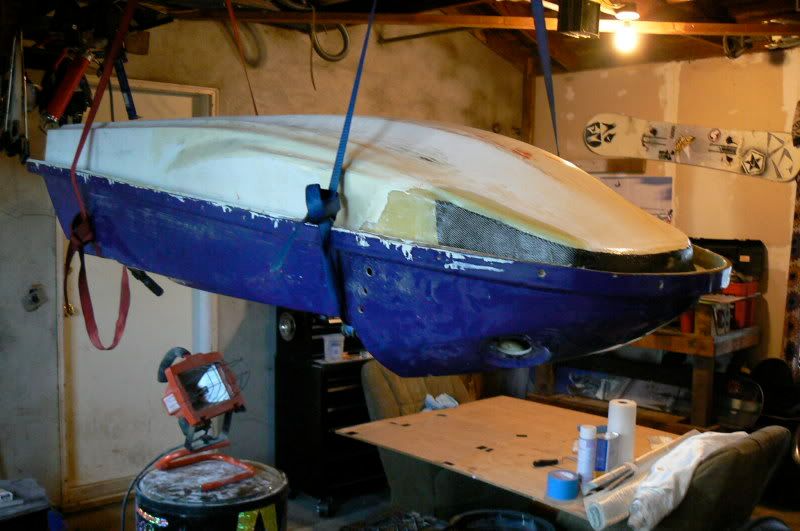
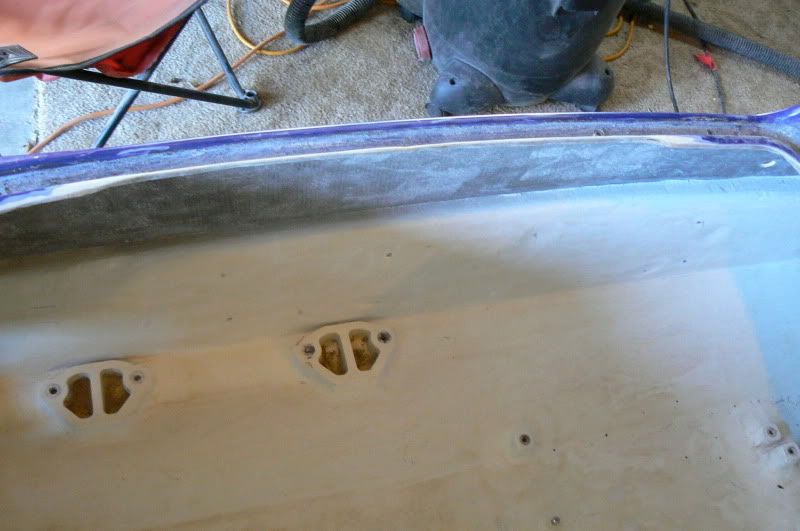
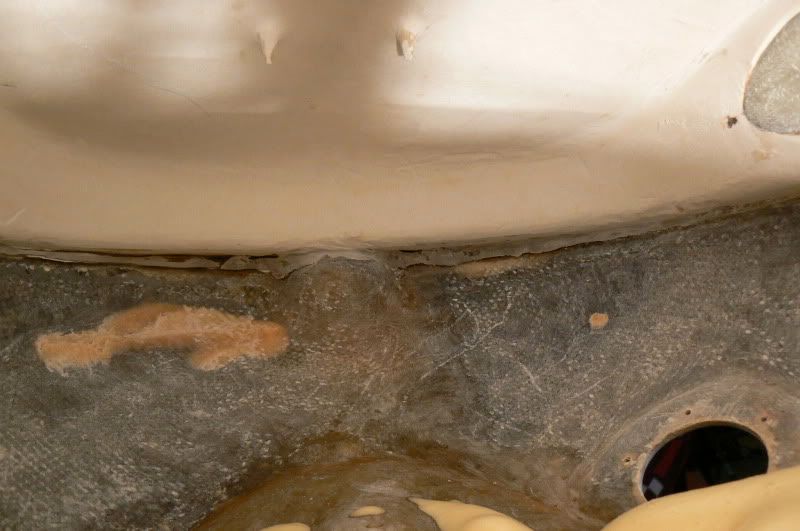
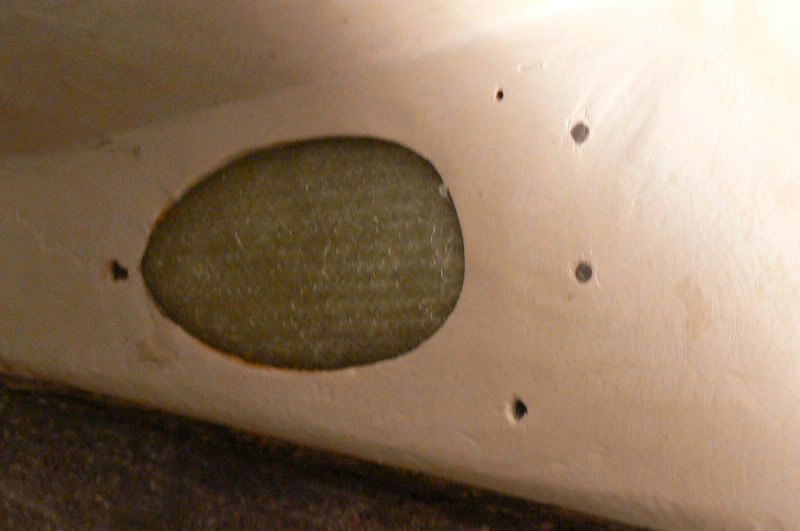
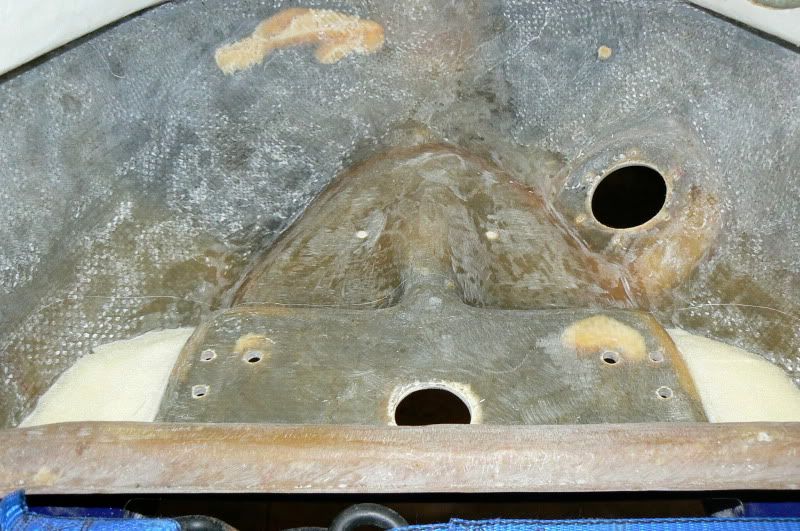
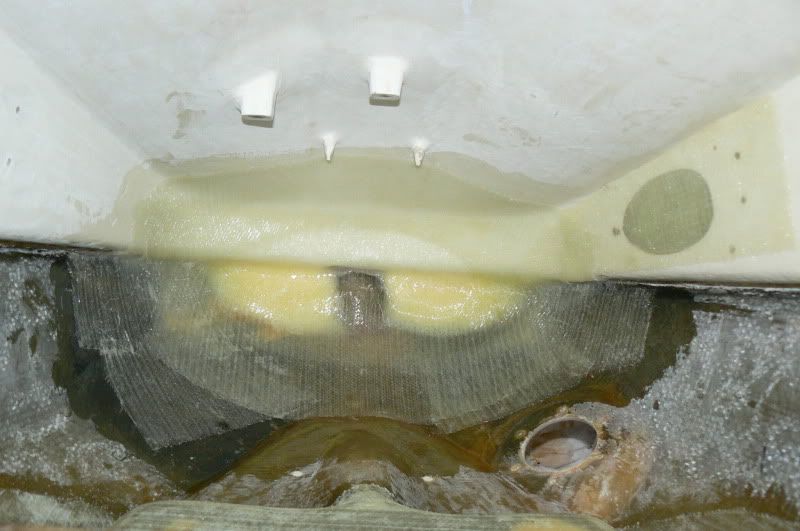
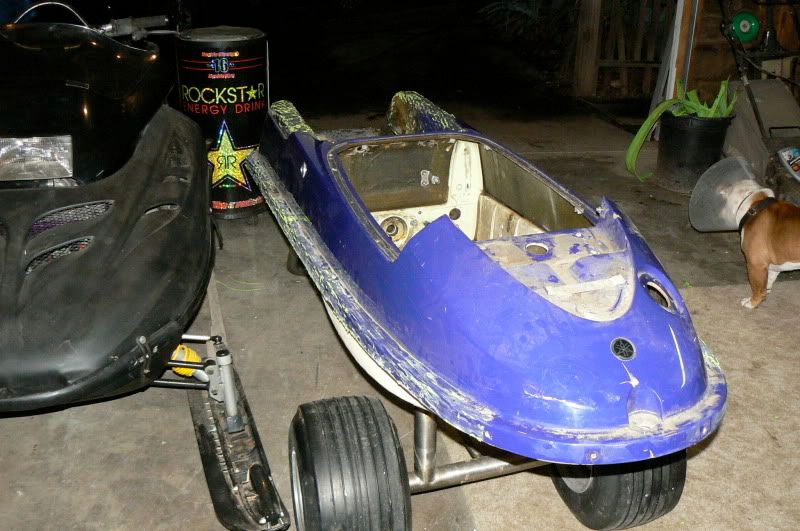
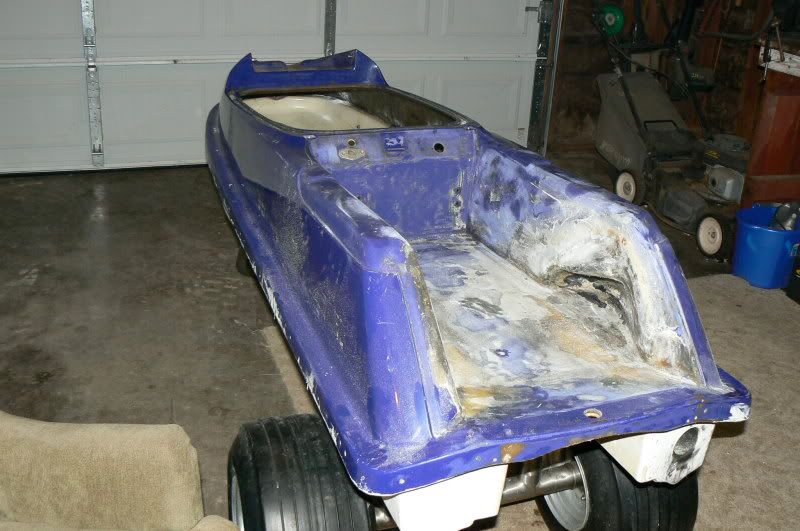
I Got this 2001 round nose hull to start with. She is a little rough, but I see potential.
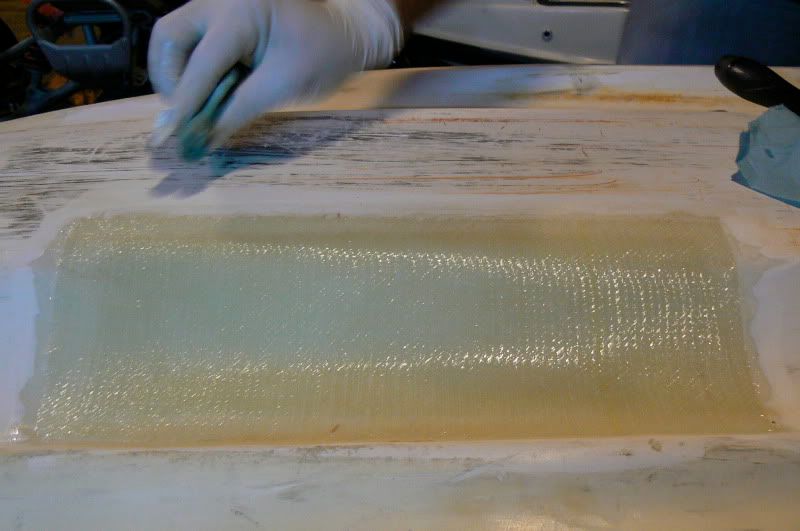
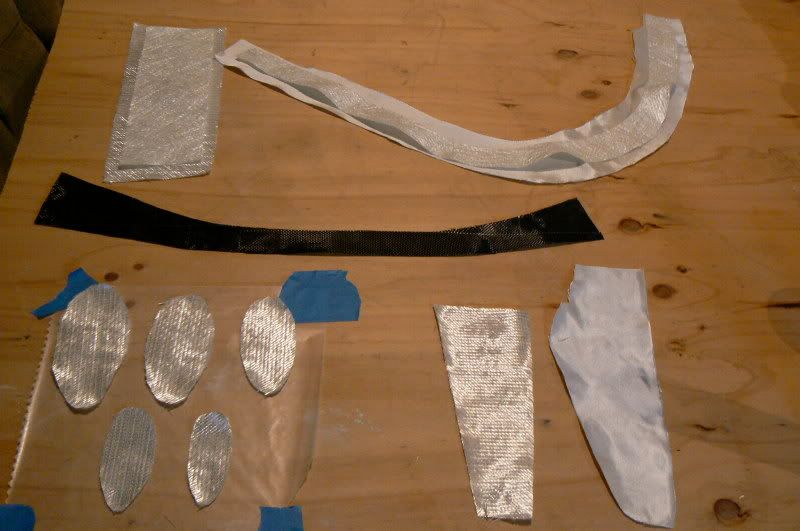
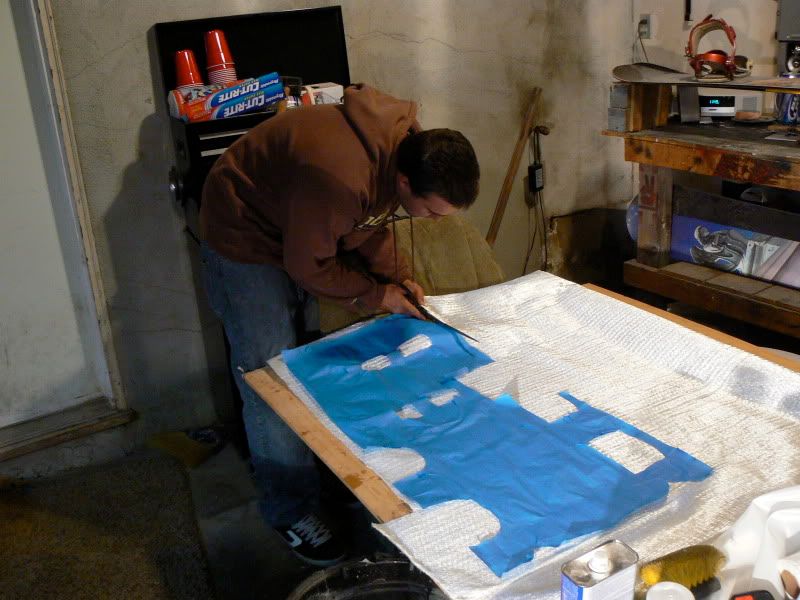
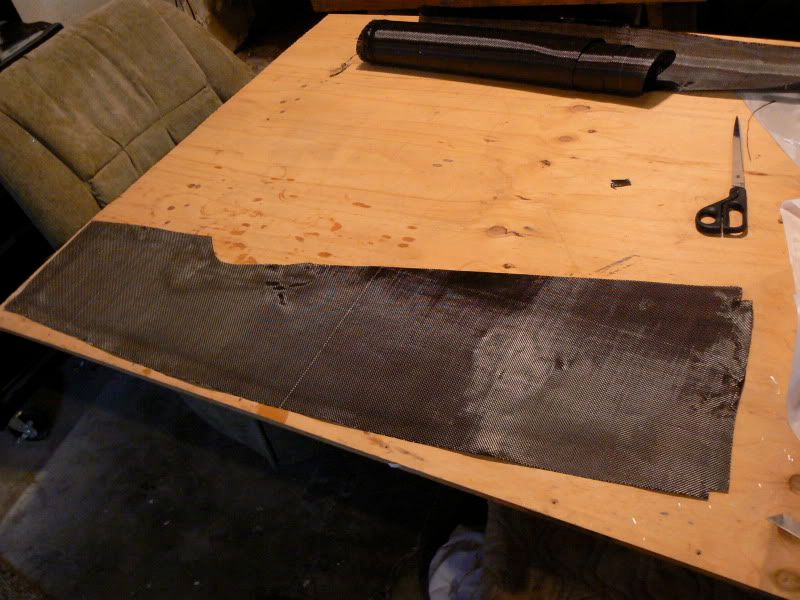
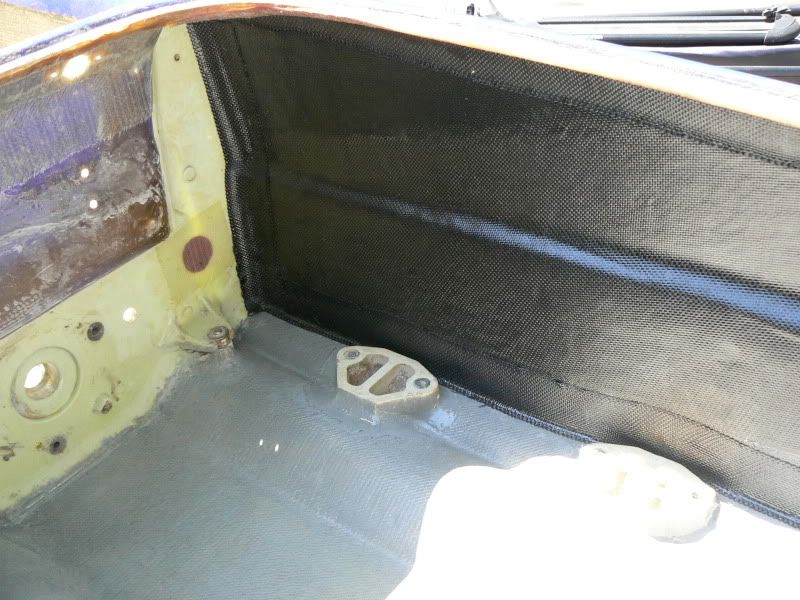
This will be my first attempt to do any fiberglass work. I was also thinking of painting it myself.

P1050122.jpg

P1050128.jpg

P1050131.jpg

P1050134.jpg


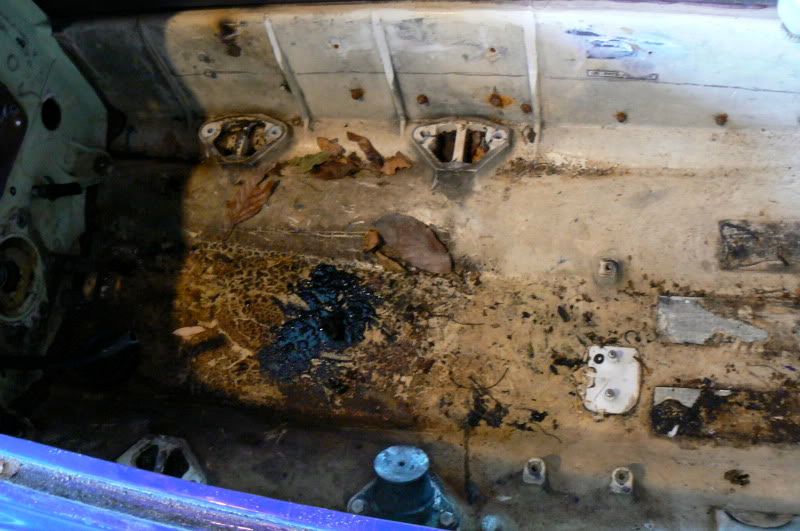
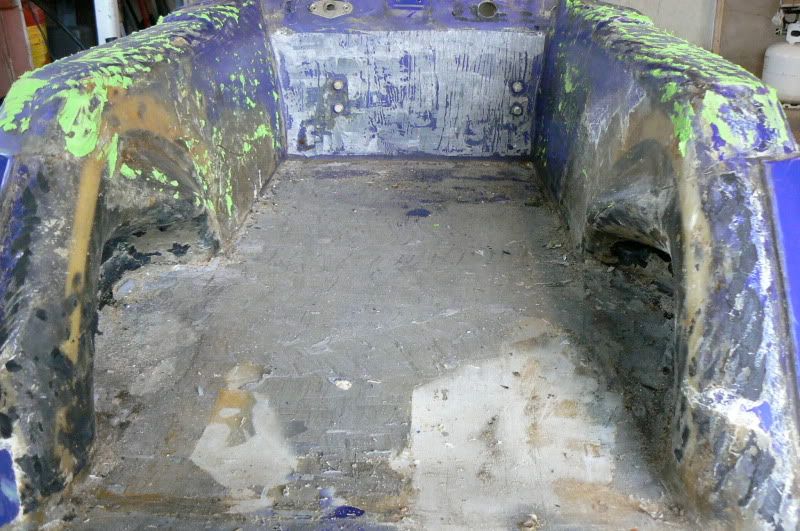
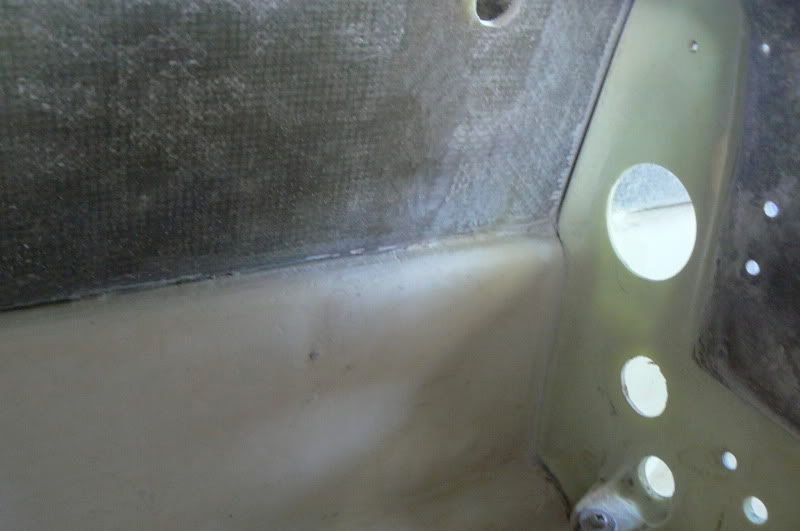
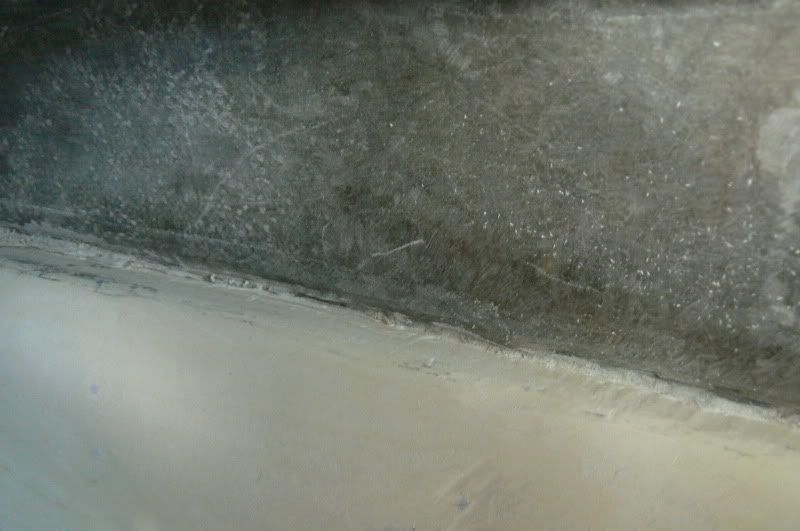
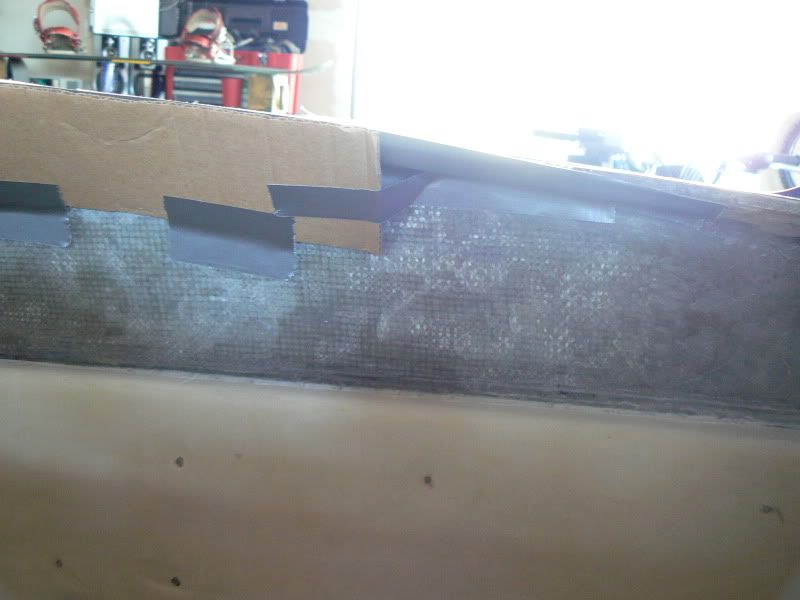
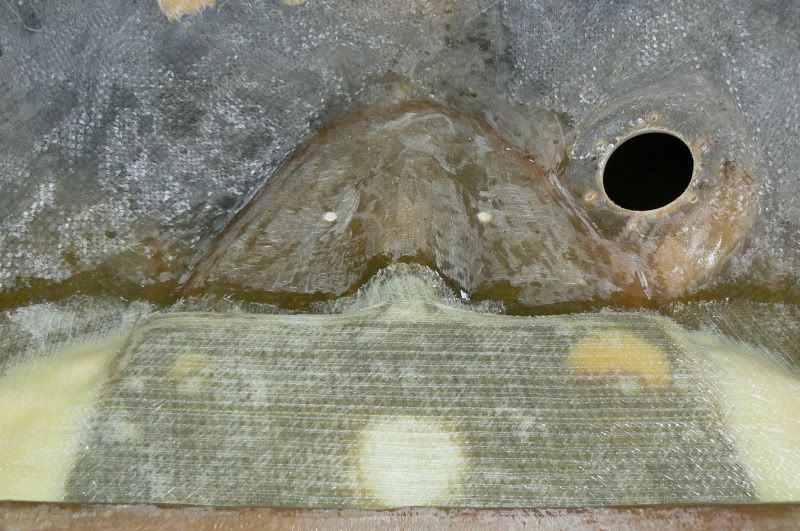
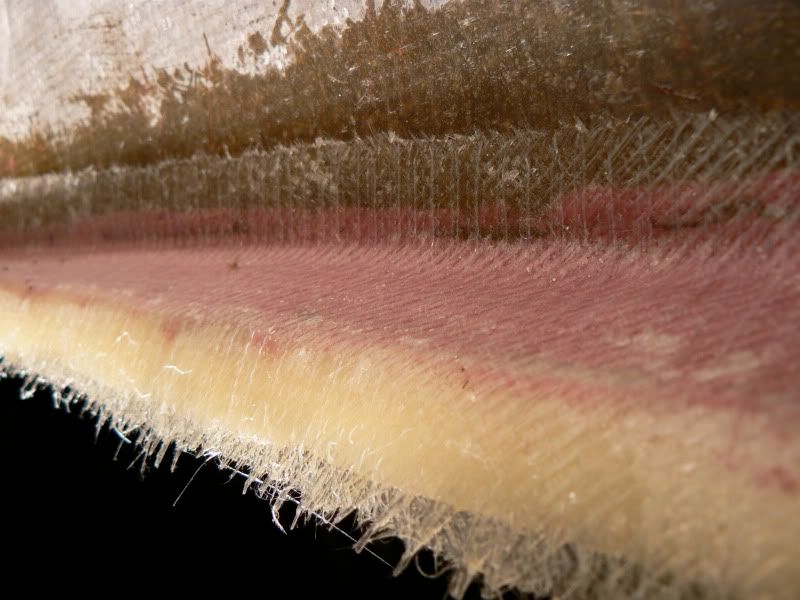
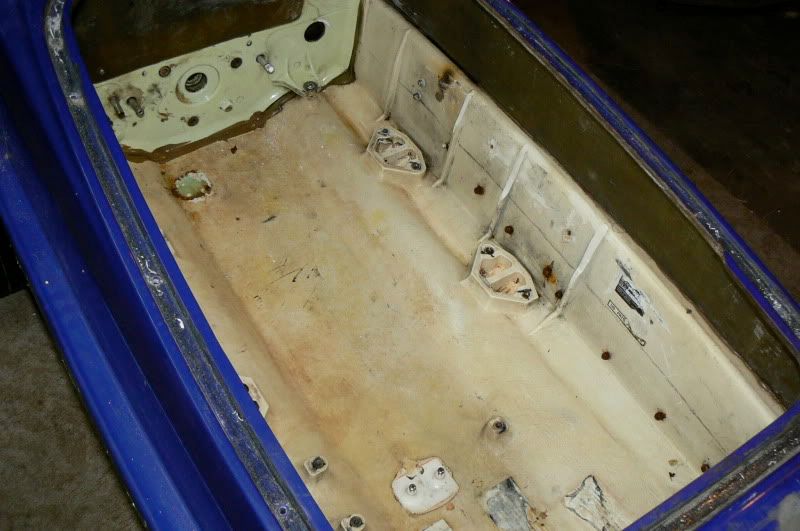
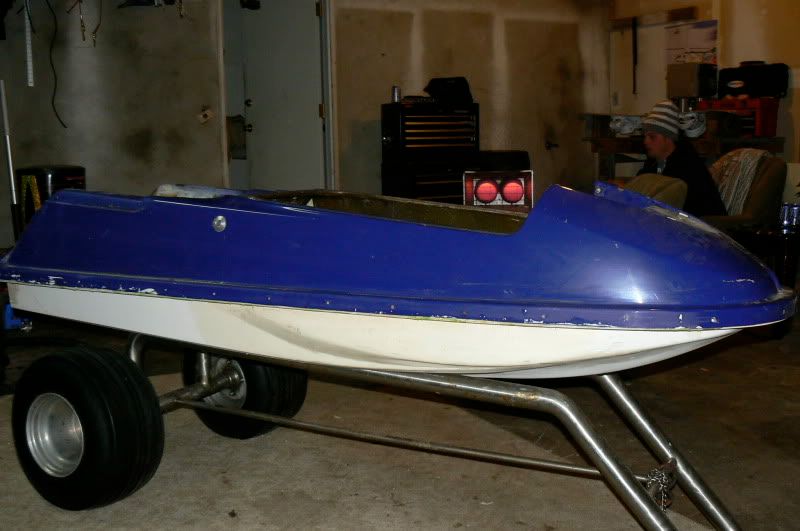
Here Are some pictures after I cleaned it up. I scrubbed the inside with ajax and steel wool. I also used a 3M eraser wheel to clean off some of the ugly green turf remnants.


P1050331.jpg

P1050335.jpg

P1050337.jpg
 
Last edited:

Ryan_G

Yamaha
Location
Fresno, CA
It was then time to start the real dirty work "defoaming." I decided to just go ahead and cut the whole tray out so that I could easily reinforce the inside.

P1050900.jpg


Once opened up I found wet foam as I suspected.

P1050912.jpg


What I didnt expect is to find the mess that I did. I was also surprised at how much foam was in there. It completely filled my 55 gal. garbage can. This was a very tedious job that left me quite itchy for almost 2 days.

P1050914.jpg

P1050915.jpg

P1050916.jpg
 

Ryan_G

Yamaha
Location
Fresno, CA
Next I flipped the ski over and started prepping the bottom for fiberglass. "Notice someones attempt to smooth in the tubbies." I removed the front exhaust and ground out a pretty big area around it. I followed the instructions from the west systems site for patching a hole. I made it pretty thin on the inside edges. I also prepared the nose lip area for reinforcement.

P1060528.jpg

P1060530.jpg

P1060535.jpg


When defoaming I found an extremely bad fiberglass job under the exhaust tube. Someone tried to patch a hole in the rear chine. I was able to pull up almost all the glass by hand. I sanded all the old stuff off to attempt to properly fix it.

P1060531.jpg

P1060532.jpg
 
Last edited:

Ryan_G

Yamaha
Location
Fresno, CA
I found a crack on the bottom of my hull. I started picking at it to remove the old/bad material and this is what I was left with.

P1050327.jpg


Then, I sanded it down to get it ready for glass.

P1060533.jpg


This was my first time laying fiberglass. I think it came out pretty good. It was relatively simple because it was a flat surface.I laid 2 layers of 12 oz biax.

P1060546.jpg


Next, the glass was laid on the nose area and filled the old front exhaust hole.

P1060543.jpg

P1060552.jpg
 
Last edited:

tightithrash

Zack Bright. I Thrash.
Site Supporter
Location
Oceanside, CA
looks good, thats a good hull to start with other than some glass work. already got tubbies and foot holds.just needs some straps. cool deal.
 

Ryan_G

Yamaha
Location
Fresno, CA
The next step was the long annoying step of prepping the inside for reinforcement. I sanded everything that was going to be getting glass. I also ground out as much green glue from the bond line as possible. Some of the tight spots and corners were a PITA. I also preped the handle pole bracket area for reinforcement. and filled the voids with foam.

P1060536.jpg

P1060537.jpg

P1060541.jpg

P1060550.jpg

P1060553.jpg

P1060556.jpg


The next step was to fill the area that was cut out for a dry pipe. I got it all roughed up and cleaned so that it was ready to be filled. Next I taped a piece of pealply along where I wanted to fill. I used pieces of cardboard to hold the shape I was looking for. I then filled it with a mixture of chopped strand and cabosil.

P1060541.jpg

P1060566.jpg

P1060572.jpg
 
Last edited:

Ryan_G

Yamaha
Location
Fresno, CA
Next I hung the ski upside down so that I could work in the nose area. I reinforced the handle pole bracket area with 3 layers of 12 oz nytex biaxle. I started the nose reinforcement by laying a layer of 12 oz over a damaged area in the nose. I also filled the voids in the nose with a paste made from epoxy resin and cabisil. I also added some of the paste to the front exhaust area to prevent air bubbles when reinforcing it from the inside. I then laid layers of 12 oz over the filler while it was still wet. I'm not sure how many, probably enough so that the main nose area has 3-4 layers)

P1060557.jpg

P1060560.jpg

P1060562.jpg


Once that dried I mixed up another batch of filler. This time I used equal parts cabosil and microbaloons. I used this filler to fill under the hood seal area. I then added 2 layers of 12 oz over it while it was wet. I also did a little reinforcement on the hood latch area.

P1060575.jpg
 
Last edited:

Ryan_G

Yamaha
Location
Fresno, CA
Now the fun part....

I used Flash-FX's advice in this thread (http://www.x-h2o.com/threads/50756&highlight) to do my hull reinforcement. The temporary fabric hold spray is a lifesaver! I was also very pleased with the results of the masking tape template. I was able to find some cheap 4in wide masking tape from Harbor Freight that worked really well. So a HUGE thanks to Flash-FX!

I Started by making a masking tape template of the inside bottom of the hull. I then transfered it to some 12 oz. biax. The fabric spray helps with cloth as well as carbon. I then laid it in the hull using a gray resin die. I am very happy with how it turned out.

P1060576.jpg

P1060577.jpg


Once that dried I made another filler mixture of cabisil and microbaloons. I put the ski on its side and filled the bond line. With it still wet I laid 2 layers of 12 oz from the nose to the bulkhead. I also laid a third layer of 12 oz under the hood seal area by the handle pole bracket. My idea behind this was to tie the handlepole bracket reinforcement and hood seal lip reinforcement all together with the side reinforcement. And finely I laid a layer of 5 oz carbon over it all just for looks. I also went around the edges with a carbon tape so that it looked nice and clean.

Then I flipped it over and did the same on the other side. The tape templates are nice for the sides because you do not have to make 2.

P1060582.jpg

P1060659.jpg
 

BruceSki

Formerly Motoman25
Location
Long Island
really nice job and attention to detail for your first fiberglass job.

ive done a few fiberglass projects before and i don't think my stuff comes out as clean as yours looks.
 
Top Bottom