650SX/X2 build

Vumad

Super Hero, with a cape!
Location
St. Pete, FL
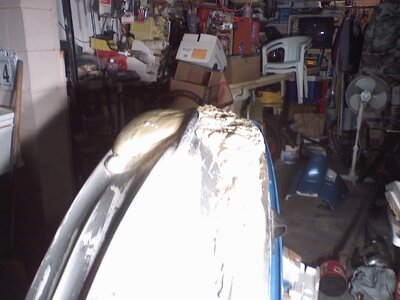
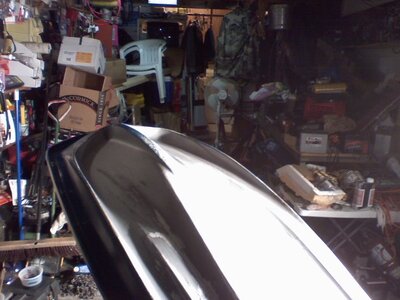
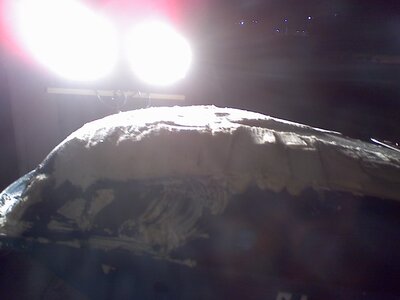
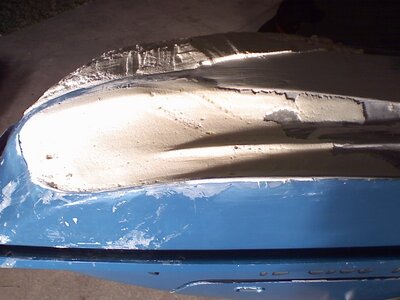
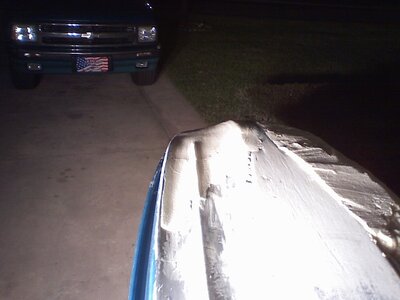
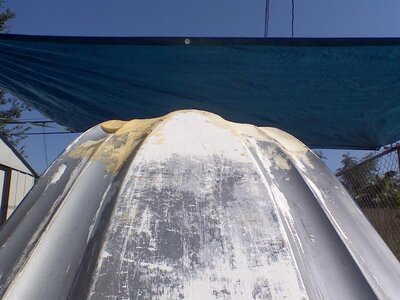
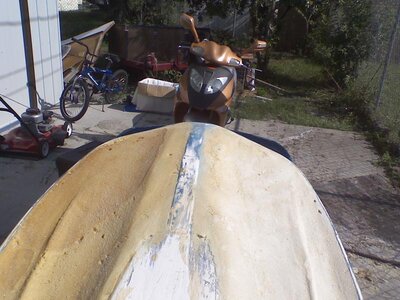
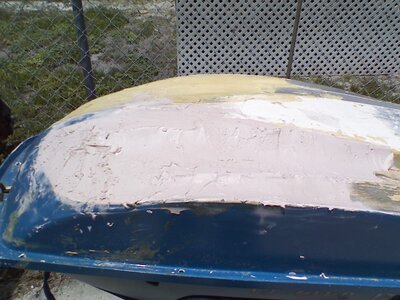
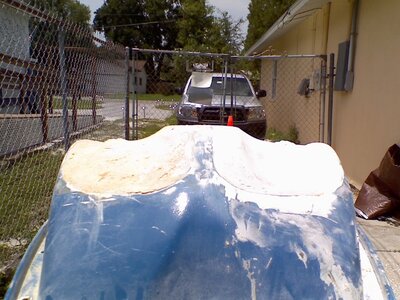
So I went back to my old ski and started working on the bottom. This was the 1st time I've ever used foam so I had a bit of a learning curve that wasted some time.

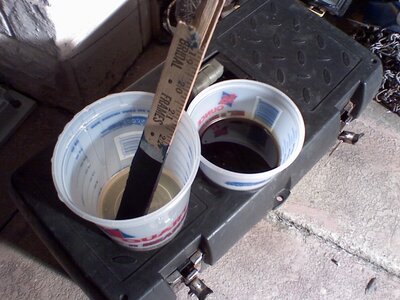
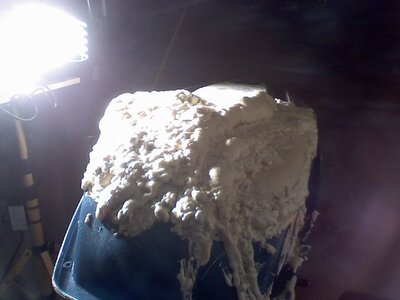
I used 2 about a quart of 2 pound foam (a pint of each part) with some obvious waste from that whole learning curve thing. It was about 50 degress out and I mixed anywhere from 100 - 300 ml of mix at a time.

Things I learned about foam...

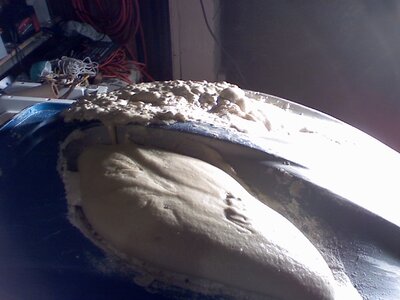
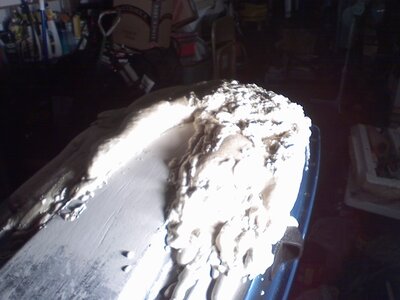
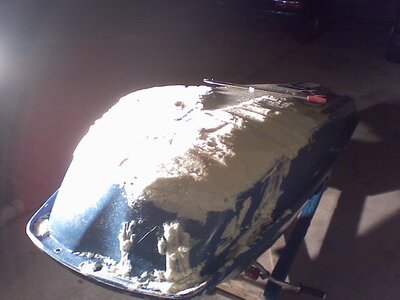
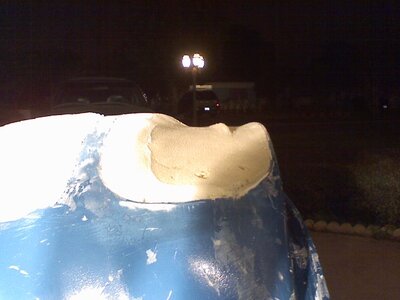
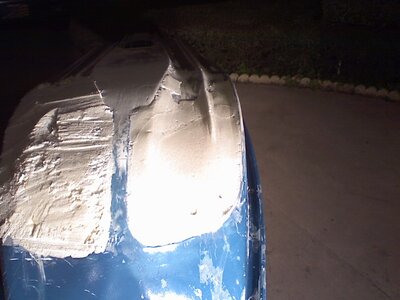
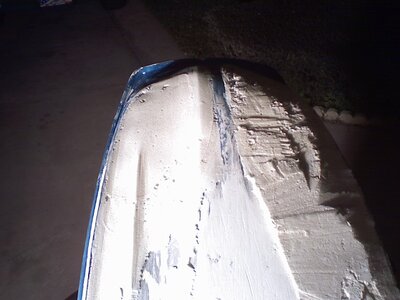
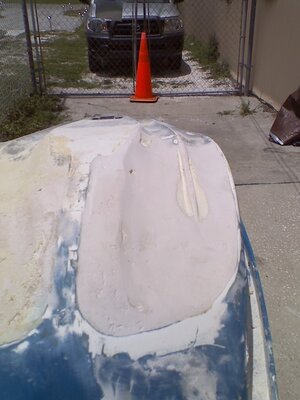
- Foam has a lot more viscosity than I thought it did. It's very runny before it starts to expand. I have a very unlevel surface and it made it more difficult than it needed to be
- YOu can 'pop' the foam if you mess with it before it dries. Once it starts expanding, let it expand. If you mess with it, it pops and gets very dense, so not a lot of expanding occurs. Pour it in the cracks, let it do it's magic and leave it alone.
 

Attachments

  • 0308082319a.jpg
    0308082319a.jpg
    117 KB · Views: 89
  • 0309080027.jpg
    0309080027.jpg
    88.1 KB · Views: 118
  • 0309080027a.jpg
    0309080027a.jpg
    81.6 KB · Views: 123
  • 0309080121.jpg
    0309080121.jpg
    76.6 KB · Views: 125
  • 0308082319.jpg
    0308082319.jpg
    96 KB · Views: 128
Location
hhh
hey i didnt read every word above but if you still need a stock w/box i think i have a few in the shop.


yea foam is fun stuff
 
Last edited:

Vumad

Super Hero, with a cape!
Location
St. Pete, FL
Here's another pic of the bottom and some pics of my hood.

I am going to be moving the air intake to the back of the hood. When I carve hard to the left, I bury the intake under the water. I want to moved so it's more protected. I'm also going to play with a few other things on it.
 

Attachments

  • 0309080121a.jpg
    0309080121a.jpg
    67.4 KB · Views: 116
  • 0308082348.jpg
    0308082348.jpg
    105.7 KB · Views: 97
  • 0308082342.jpg
    0308082342.jpg
    71.3 KB · Views: 105

Vumad

Super Hero, with a cape!
Location
St. Pete, FL
I'm not so sure I am completely happy with this... but I think it's pretty dang close to what I am going to go with.

I used a hacksaw to cut off most of the big stuff. Then i used a razor blade a perpendicular angle back and forth to shave it down to a rough shape. Sanded it smooth with some 100 grit and did a bit of fine shaping.

Need some feedback.
 

Attachments

  • 0311080052b.jpg
    0311080052b.jpg
    72.4 KB · Views: 103
  • 0311080052a.jpg
    0311080052a.jpg
    83.8 KB · Views: 112
  • 0311080052.jpg
    0311080052.jpg
    93.1 KB · Views: 94
  • 0311080051a.jpg
    0311080051a.jpg
    74.7 KB · Views: 81
  • 0311080051.jpg
    0311080051.jpg
    72.5 KB · Views: 92

Vumad

Super Hero, with a cape!
Location
St. Pete, FL
More
 

Attachments

  • 0311080052c.jpg
    0311080052c.jpg
    90.1 KB · Views: 68
  • 0311080053.jpg
    0311080053.jpg
    73.6 KB · Views: 74
  • 0311080053a.jpg
    0311080053a.jpg
    67 KB · Views: 71
  • 0311080054.jpg
    0311080054.jpg
    79.1 KB · Views: 80

#ZERO

Beach Bum
Location
Florida - U.S.A.
Looks great and If I owned an x-2 I'd be doing the same thing to keep the nose high.

Personally I would have used 8 lbs foam on the nose but it's looking good.

If you mix 3-part epoxy with about 2/3 glass micro balloons, it sands just like body filler and will work for shaping on top of the foam.

Just be sure to include a couple layers of thick chop fiberglass for extra strength between the epoxy mixes after you achieve the shape you want.
 

Vumad

Super Hero, with a cape!
Location
St. Pete, FL
Paramedic school is going well. I finally got some free time to work on the X2.

Here's some pics.

One of the biggest problems I've had with the X2 is a place to actually work on it. You can see my makeshift tarped workshop in the background. It's the best I can do. =(

Now I need to get something harder than foam on the bottom and work on the symetry. It's defanitly not balanced, especially in the nose.
 

Attachments

  • 0704081711.jpg
    0704081711.jpg
    65.8 KB · Views: 117
  • 0704081712.jpg
    0704081712.jpg
    84.9 KB · Views: 100
  • 0704081712a.jpg
    0704081712a.jpg
    66.5 KB · Views: 87
  • 0704081712b.jpg
    0704081712b.jpg
    77.5 KB · Views: 121
  • 0704081712c.jpg
    0704081712c.jpg
    97.7 KB · Views: 105

Vumad

Super Hero, with a cape!
Location
St. Pete, FL
I used 2 pound foam.

Can someone tell me how many layers of what kind of glass I should use?

I need to try to incorporate the thickness of the glass into the shape.
 
Last edited:

WFO Speedracer

A lifetime ban is like a lifetime warranty !
Location
Alabama
I used 2 pound foam.

Can someone tell me how many layers of what kind of glass I should use?

I need to try to incorporate the thickness of the glass into the shape.


I used 2lb foam on mine and it worked fine,one thing that i did do was spray the bottom with gelcoat after I glassed it up.then I did some more fine tuning by sanding the gelcoat to perfect the shape then primed and painted over that.
 

Vumad

Super Hero, with a cape!
Location
St. Pete, FL
I used 2lb foam on mine and it worked fine,one thing that i did do was spray the bottom with gelcoat after I glassed it up.then I did some more fine tuning by sanding the gelcoat to perfect the shape then primed and painted over that.

But how much of what kind of glass did you use?

8 layers of 1-1.5oz chop?
 

Vumad

Super Hero, with a cape!
Location
St. Pete, FL
I made a putty from poly resin and glass microsphears. Working on the final shape. I couldn't shape the chines the way I wanted with the foam because it kept breaking up. I'm pretty sure the right side is the final shape, it just needs to be fine tuned a bit.

Still hoping for some feedback on how much glass to use when I'm done. I think 8 layers of 1 oz chop will do the trick. Opinions?

Can I get some feedback on the shape? I'm afraid the the chines go up too far to the nose.
 

Attachments

  • 0709081311.jpg
    0709081311.jpg
    121.5 KB · Views: 68
  • 0709081434.jpg
    0709081434.jpg
    127.2 KB · Views: 72
  • 0709081434a.jpg
    0709081434a.jpg
    68.8 KB · Views: 85
  • 0709081435.jpg
    0709081435.jpg
    80.8 KB · Views: 86
Last edited:

Crab

thanks darin...noswad!
Location
Seattle
I did 4 pound with one layer of 17oz biax and one layer 12oz cloth, I have one spot that has broken through hitting the beach or a rock that needed repair. I wouldn't even do chop, you need strength without adding too much weight, and chop takes too much work to make look good later. I would also shorten the middle chines like you thought.
 

Vumad

Super Hero, with a cape!
Location
St. Pete, FL
Is the poly resin going to stick to the smc hull when you lay on the chop?

No, it will not. I will not be using poly resin when I lay the glass. I'll have to use Epoxy for that. The poly is a cheap way to make the putty to get a shape but not worth much else.
 

Vumad

Super Hero, with a cape!
Location
St. Pete, FL
I did 4 pound with one layer of 17oz biax and one layer 12oz cloth, I have one spot that has broken through hitting the beach or a rock that needed repair. I wouldn't even do chop, you need strength without adding too much weight, and chop takes too much work to make look good later. I would also shorten the middle chines like you thought.

How much do you think I should shorten them? Can you use paint and mark what you think?
 

Crab

thanks darin...noswad!
Location
Seattle
How much do you think I should shorten them? Can you use paint and mark what you think?
IDK, I did the same but after looking at my RN they are straight from the back. I wondered if they should curve, but I did it anyway.
 
Top Bottom