Specifications:
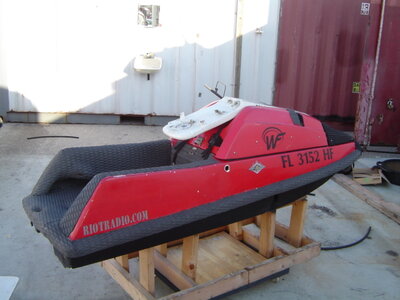
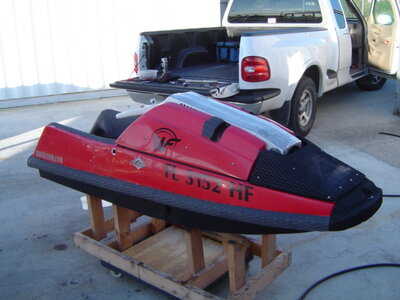
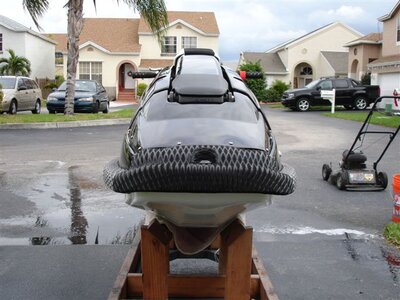
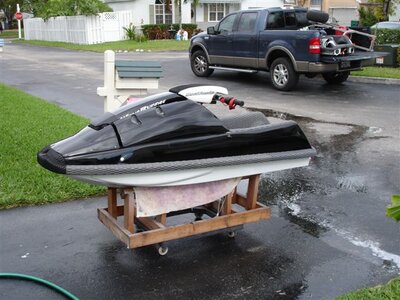
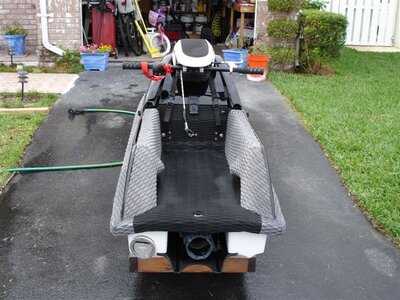
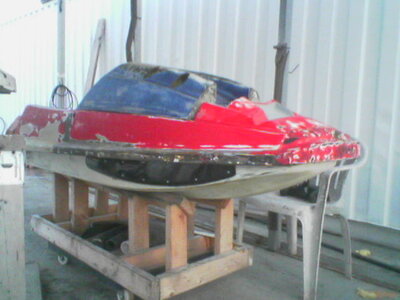
1990 Square Nose
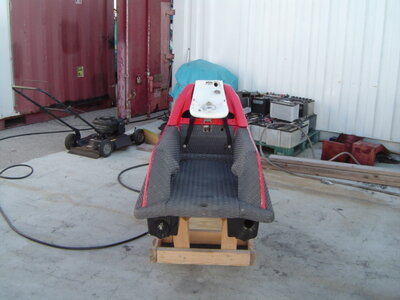
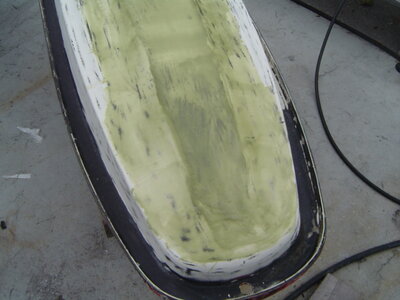
Fully reinforced bilge with 1208 biax and 6.5oz Carbon Fiber
Fully reinforced bondline in tray area w/ 1208 biax
Rickster hood mod
WCF front sponsons
Cyclone foot holds
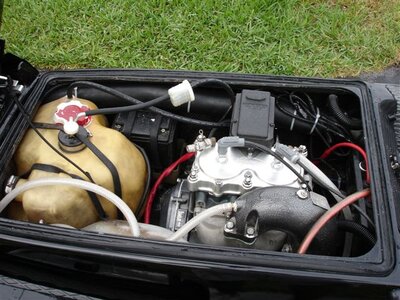
stock bore 701
MSD Enhanser
ADA head w/ 35cc domes
Single 48 Mikuni
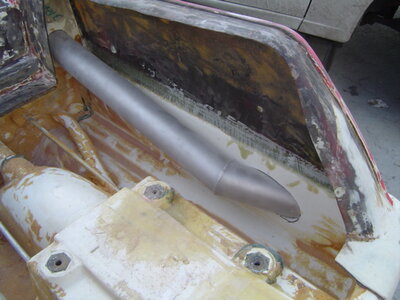
B-pipe
Single x-metal side rear exhaust
One way valve with 24/7 scupper
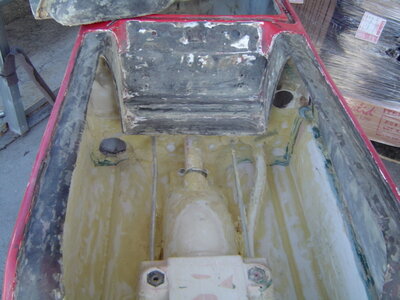
4 lb foam
dual 500 gph rule bilge pumps
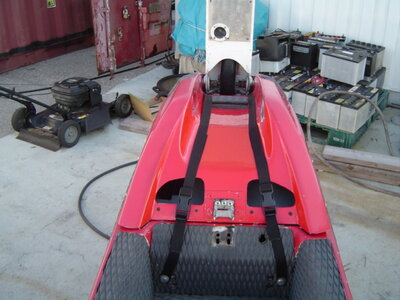
Lowered handpole bracket area
-4" stock RN pole with stock RN bracket
X-Metal plate and bares with umi steering kit
Rickster nose piece and turf
SFL Internal fuel fill mod
Rickster limiting strap
Rickster hood straps
The ski started life as one of Rob Pillus' ski's, and had a very hard life, to say the least. I was originally going to sell the hull, but decided I could not sell the hull in that condition to someone here, after I got into it and saw how bad the actual condition of the ski was.
- The redneck side exhaust needed to go
- the poor reinforcing job had to be ground out and done properly
- the blown out one way valve needed replacing
- the hull had been hit in the aft starboard corner and repaired badly, so this needed to be fixed properly
- the one way crack in the tray needed to be fixed lol
- the holes in the pump cavity needed fixing (someone drilled holes there for some reason)
- the heavily modified AC pole needed replacing
- the bottom of hull needed some serious filling and shaping
I started this in January 5 2007 and finally got brappage on New Years eve 2007!
:Banane57:
")