Postma's Superjet Rebuild

Postma

Delivered
Location
Plymouth, MI
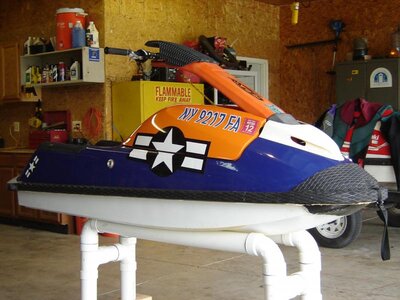
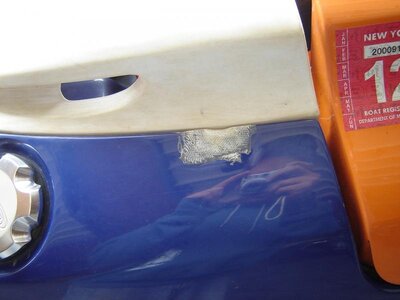
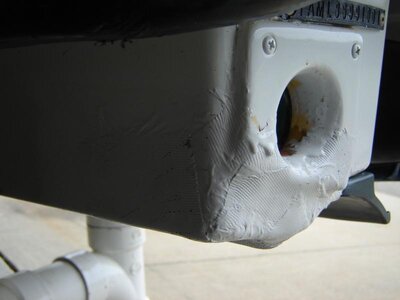
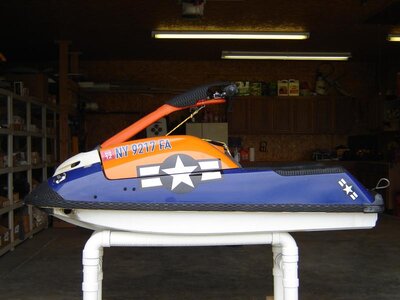
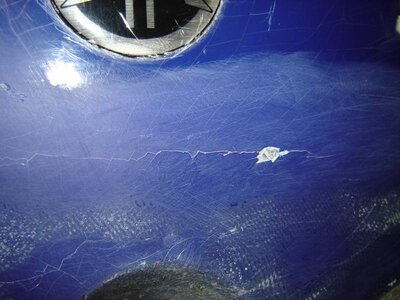
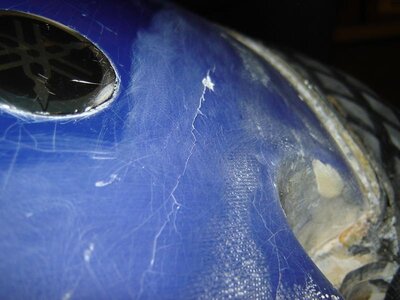
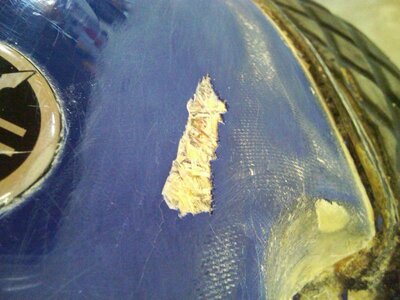
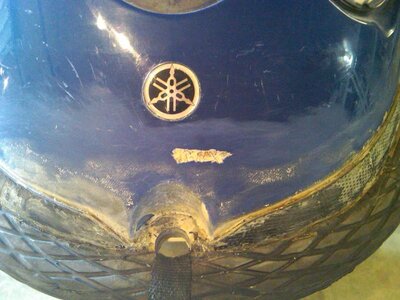
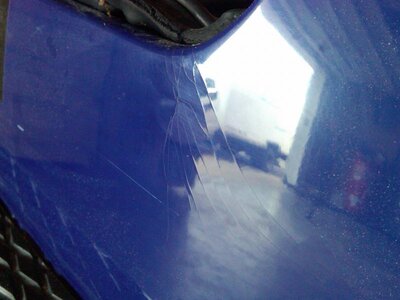
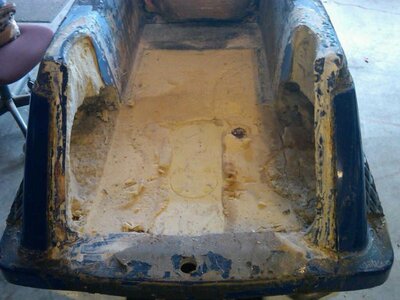
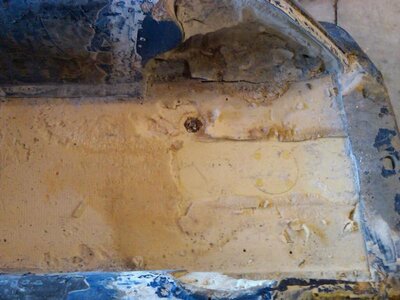
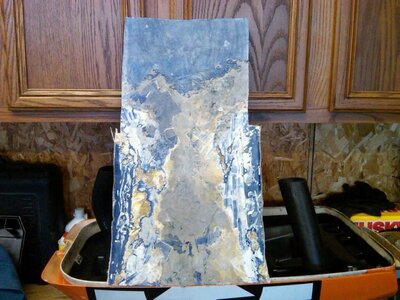
I bought this ski off of a fellow member here on the X. I was planning on just riding it the way it was, but got too interested in all this buildup stuff. I'm sad to say that I am also kind of a perfectionist, so all the repairs done on the ski where driving me nuts. I decided to completely tear it down and get to work. The ski has the following modifications on it:
-B-pipe mod chamber
-Dual cooling
-ADA girdled head with 35cc domes
-Pro-tec modded CDI
-Primer kit
-Solas concord prop (13/16 w3mm cut back)
-D-cut OEM plate
-Solas biload intake grate
-Blowsion one way valve
-Blowsion hood hooks
-Blowsion Kenny Keepers
-Minus 4" AC pole
-Riva spring with tightened bolt
-XMW lowered pole bracket
-XMW turn plate and straight bars with UMI bearing and UMI throttle
-XMW bypass fittings
-WDK chin pad
-24/7 footholds modified
-Highroller front foothold
-25mm underpad
-Blowsion hood straps
-Limiting rope
-ODI rogue grips
-1100 GPH bilge pump with sealed start/stop mounted switch
-XMW front exhaust
-Bored reduction nozzle
-Billet fuel selector knob and gas cap
-Taylor Curtis carbon fiber nose piece
-Fully reinforced with texalium

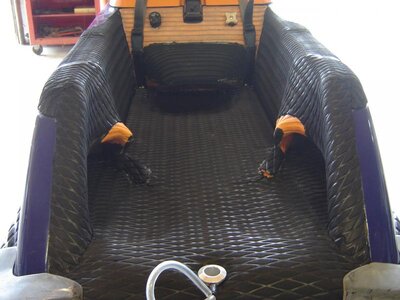
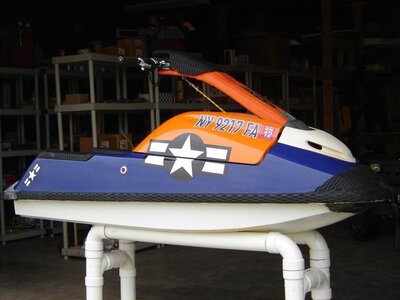
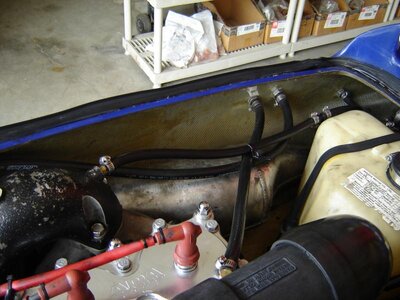
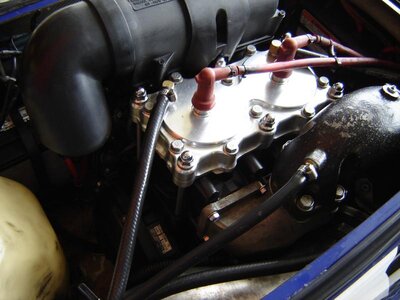
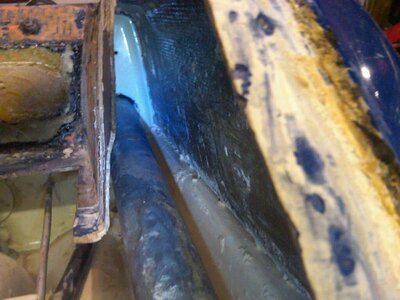
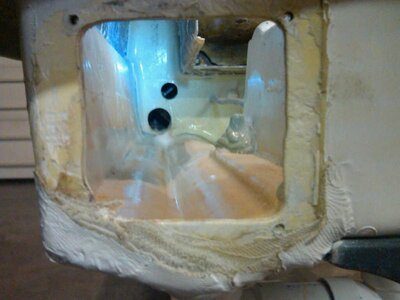
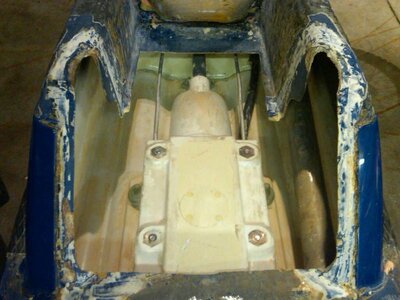
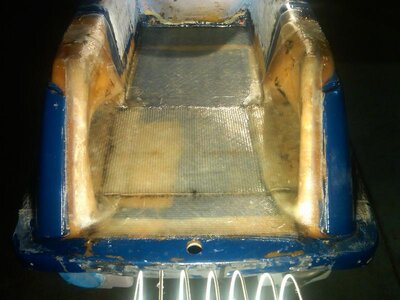
Here are some pictures from when I got it...
 

Attachments

  • DSC03083.jpg
    DSC03083.jpg
    59.7 KB · Views: 118
  • DSC03086.jpg
    DSC03086.jpg
    48.4 KB · Views: 86
  • DSC03094.jpg
    DSC03094.jpg
    71.1 KB · Views: 83
  • DSC03093.jpg
    DSC03093.jpg
    57.5 KB · Views: 86
  • DSC03082.jpg
    DSC03082.jpg
    68.9 KB · Views: 85
  • DSC03088.jpg
    DSC03088.jpg
    41.3 KB · Views: 91
  • DSC03089.jpg
    DSC03089.jpg
    33.3 KB · Views: 111
  • DSC03084.jpg
    DSC03084.jpg
    50.1 KB · Views: 76

Postma

Delivered
Location
Plymouth, MI
I removed the turf from the nose to see what kind of body work I need to do. There is quite a few spider cracks in the gel coat, but nothing that goes all the way through the hull. The nose has been reinforced quite heavily on the inside, plus the carbon fiber nose piece gives it some more reinforcement.

After a little sanding and scraping to get the contact cement off, I ended up with a little bit larger area of gel coat chipping off... :thumbsdown: I also noticed a couple of gel coat cracks near the front of the hood area/engine bay.
 

Attachments

  • DSC03096.jpg
    DSC03096.jpg
    69 KB · Views: 43
  • DSC03097.jpg
    DSC03097.jpg
    54.5 KB · Views: 43
  • IMG00032-20091010-1612.jpg
    IMG00032-20091010-1612.jpg
    72.2 KB · Views: 55
  • IMG00033-20091010-1612.jpg
    IMG00033-20091010-1612.jpg
    71.9 KB · Views: 59
  • IMG00035-20091010-1613.jpg
    IMG00035-20091010-1613.jpg
    49.9 KB · Views: 40
Last edited:

Postma

Delivered
Location
Plymouth, MI
Once I removed the turf in the back, I noticed a little bubbling in some of the fiberglass around the footholds. I was originally just going to throw some more glass around the holds, but got a little to aggressive with my chisel and took too much glass off...:slap:

I ended up getting both 24/7 footholds out in one piece :woot: The foam was really wet, so it is time to defoam... I cut must of the bottom of the tray out and it seems kind of sketchy, so it looks like I will be glassing in a new tray.
 

Attachments

  • IMG00043-20091026-1710.jpg
    IMG00043-20091026-1710.jpg
    64.9 KB · Views: 68
  • IMG00044-20091026-1710.jpg
    IMG00044-20091026-1710.jpg
    65.6 KB · Views: 52
  • IMG00045-20091026-1710.jpg
    IMG00045-20091026-1710.jpg
    58.9 KB · Views: 63
  • IMG00046-20091026-1710.jpg
    IMG00046-20091026-1710.jpg
    81.8 KB · Views: 60

Postma

Delivered
Location
Plymouth, MI
Finally got all of the foam out. It started out pretty easy but by the end I just wanted it to be done! My Blowsion one-way valve was leaking pretty good through the rubber sealing washer on the valve. The end piece, that goes on the outside of the ski, pretty much fell right off. I'm not sure if the glue that was used just didn't take or what the problem was with that.

Now I have to order a bunch of stuff from US Composites. I have to make a couple fiberglass repairs, install a new one-way valve, threw hull fittings for trim, and 5200 the schit outta it before I can start to re-foam.

Right now the dual cooling line goes threw the little alum bilge line. Should I take that out and just run the cooling line all the way to engine? Any other suggestions before I start to re-foam this thing?
 

Attachments

  • IMG00050-20091031-1603.jpg
    IMG00050-20091031-1603.jpg
    59.7 KB · Views: 57
  • IMG00051-20091031-1604.jpg
    IMG00051-20091031-1604.jpg
    46.3 KB · Views: 74
  • IMG00052-20091031-1604.jpg
    IMG00052-20091031-1604.jpg
    63.9 KB · Views: 98
Last edited:

Frosty

New York Crew
Location
Western New York
This thread is both killing me and warming my heart. I miss ole blue, but I'm glad she went to a perfectionists home... someone willing to spread the love!!

Call me if you need anything bro...
 

Postma

Delivered
Location
Plymouth, MI
This thread is both killing me and warming my heart. I miss ole blue, but I'm glad she went to a perfectionists home... someone willing to spread the love!!

Call me if you need anything bro...

Thanks for the offer Phil.

So far things have been going pretty good with ole blue. I didn't plan on getting this deep into working on a jet ski, but this :censored: is addicting. Usually I just like to ride it and be done with it. We will see how my first fiberglass job turns out though... And I'm not really looking forward to turfing.
 

Frosty

New York Crew
Location
Western New York
Thanks for the offer Phil.

So far things have been going pretty good with ole blue. I didn't plan on getting this deep into working on a jet ski, but this :censored: is addicting. Usually I just like to ride it and be done with it. We will see how my first fiberglass job turns out though... And I'm not really looking forward to turfing.

Nice. Yeah, it really is addicting. and especially during the winter months. It makes a killer winter project to help get by the many months of not being able to ride.

Do you snowmobile?
 

Postma

Delivered
Location
Plymouth, MI
Do you snowmobile?

Ya, I've been snowmobiling since I was a little kid. Although, the past couple of years I have lost some interest in it and have only used my sled a couple times in the past three years. I have been tossing around the idea of selling the sled, to feed my new found jet ski addiction. :sasmokin:
 

Postma

Delivered
Location
Plymouth, MI
Well the ski pretty much sat all winter and I got no work done on it..... :smashfreakB:

Here is the one-way valve & scupper installed, along with everything re-foamed. I ended up using 3lb two part foam in the gun-whales and poly foam in the bottom half.

IMG00055-20100601-2024.jpgIMG00056-20100601-2024.jpgIMG00057-20100603-1624.jpg
 

Postma

Delivered
Location
Plymouth, MI
Here is the tray epoxied & fiberglassed back in. The footholds and tray where first epoxied in with cabosil. The tray then has two layers of 17 oz biaxial across the whole tray and a third layer of 17 oz biaxial between the footholds for reinforcement. The footholds have two layers of 9oz tape around them.


IMG00058-20100603-1928.jpgIMG00063-20100608-2344.jpgIMG00061-20100608-2343.jpgIMG00060-20100608-2343.jpg
 

Attachments

  • IMG00059-20100608-2342.jpg
    IMG00059-20100608-2342.jpg
    64 KB · Views: 39

Postma

Delivered
Location
Plymouth, MI
Here is the bottom all painted. I didnt do too much finishing work on the bottom since I know it will be getting all scratched up in no time. I finished off where I had to make fiberglass repairs on the back left of the ski. Everything else just got sanded and painted. I just used appliance epoxy spray paint. Turned out pretty good, but the paint almost has a rubbery feel to it and scratched easily...

IMG00068-20100617-1749.jpgIMG00067-20100617-1748.jpgIMG00065-20100617-1748.jpgIMG00069-20100617-1749.jpg
 

Postma

Delivered
Location
Plymouth, MI
Here is the top of the ski epoxy primed and ready for paint. I found an epoxy primer in a spray can at my local paint supplier. It cost about $17 and seemed to work pretty good. I also decided to relocate the one bypass fitting so all three would be in a row.

IMG00079-20100623-1942.jpgIMG00080-20100623-1942.jpg
 

Postma

Delivered
Location
Plymouth, MI
Here is the almost finished product. Still have to turf, but took it out on the lake yesterday. Man is this thing fun!! Doesn't even compare to my old 650sx...

Anyways, I also painted the top with appliance epoxy spray paint. Looks really good now, but with one day of light use there are a few scratches in the paint. I'm not sure if I applied to many coats of paint, but both the top and bottom have what I would describe as a rubbery feeling. :scratchchin: It scratches very easily...

I plan on re-doing the upper half paint fairly soon, I'll probably wait till winter again. I guess this time I will have my buddy spray it with some "real" paint... I will also have to re-paint the handle pole as I ended up dropping it while it was still wet....:banghead:

IMG00083-20100624-2025.jpgIMG00084-20100624-2025.jpgIMG00085-20100626-2233.jpgIMG00081-20100624-2024.jpgIMG00082-20100624-2025.jpgIMG00086-20100626-2234.jpg
 

Postma

Delivered
Location
Plymouth, MI
on your poly foam, it looks like its all crushed up and broken apart?

98% of the foam is cut into blocks and jammed in there. On the top I cut the poly foam a hair to short, so I figured I would crush up some of the scrap pieces I had and level it out. Not sure if it was the best idea or not but I figured the more foam the better even if it wasn't solid blocks...
 
Top Bottom