C-Rock87
Water Junky
- Location
- Boise, Idaho
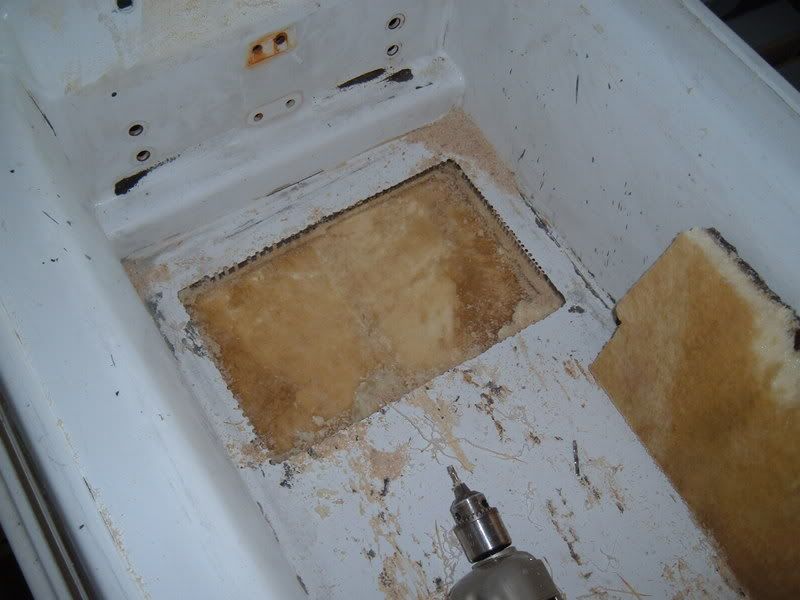
A square is a great thing.
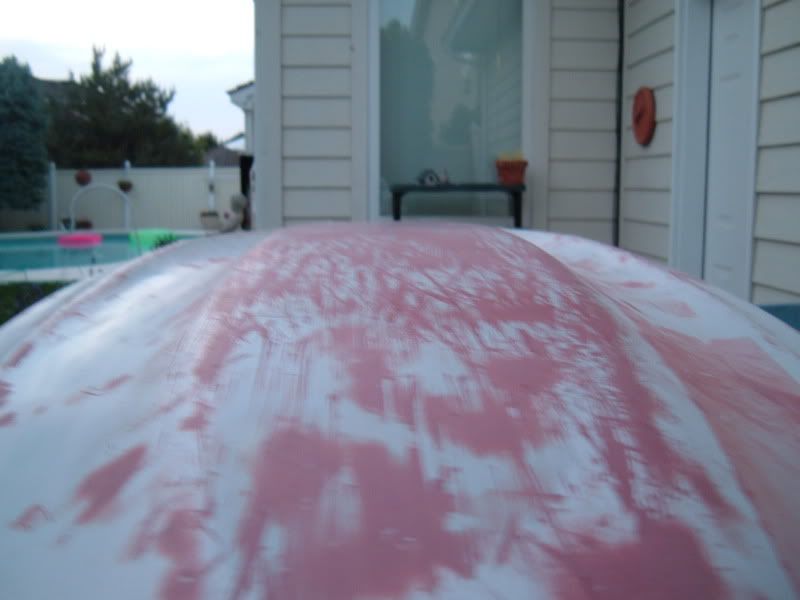
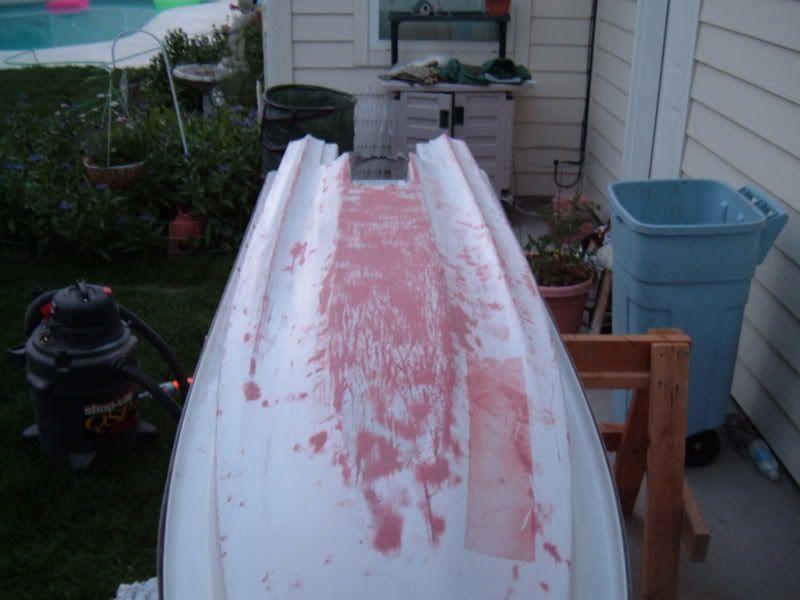
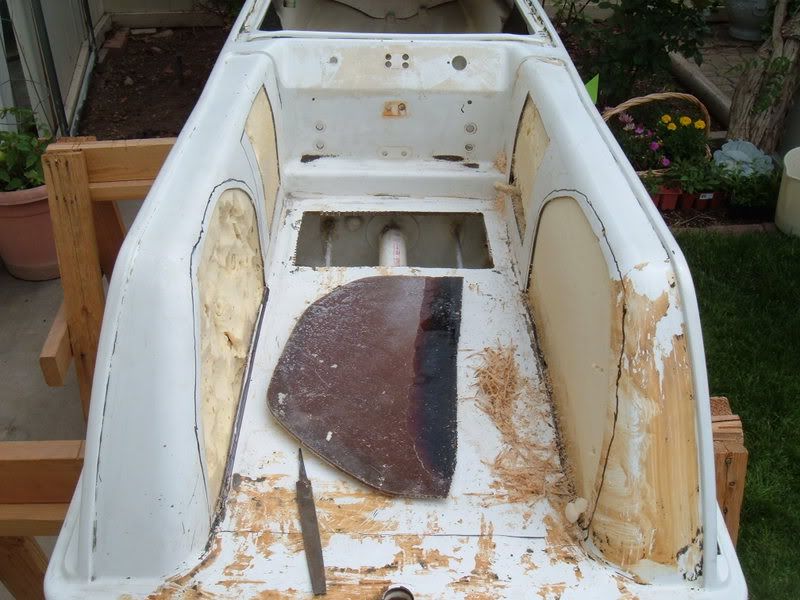
looks good keep at it. you should be getting the itch to finish it now.
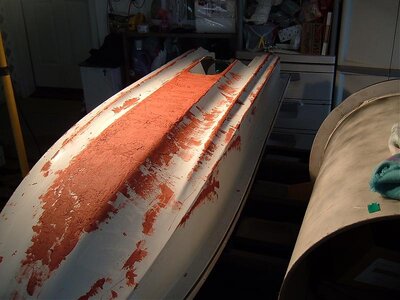
thanks bro, yea i've definitely got the itch and it gets stronger every time i work on it.
A square is a great thing.
looks good keep at it. you should be getting the itch to finish it now.
Nice Yard!
Oh yea..... Boats coming along well to! :biggrin:
I came home from jury duty today to find some goodies had arrived! BIG THANKS TO PAUL AT LPW! He is the BEST guy to work with! It's amazing how much heavier the box was when it came back :Banane01:
LPW Freestyle Ported and Bored Cylinder
ADA Head kit w/33 cc Domes
Wisco 81.5mm pistons
Lightened flywheel
Bored Nozzle
AND STICKERS...thats where the real powers is :Banane09: :wink: :laugh2:
Lookin' good man!
Doug