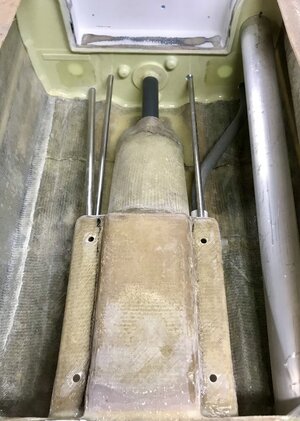
X2 on the OEM inserts. Way more thread depth, and won’t gall with stainless bolts.
You are using an out of date browser. It may not display this or other websites correctly.
You should upgrade or use an alternative browser.
You should upgrade or use an alternative browser.
Back From the Dead - Yamaha FX-2
- Thread starter brapperdoodle
- Start date
- Location
- Asheville, NC
Big Kahuna
Administrator
- Location
- Tuscaloosa, AL
This be ready for the 2022 SFF?
- Location
- Asheville, NC
This be ready for the 2022 SFF?
Yes, I should be finishing up by March just in time for our season to begin. Luckily, I have that fresh LPW 735 to toss in here so at least I don't have to worry about building an engine!
- Location
- Asheville, NC
Should I drill a couple holes in the inserts so that the epoxy can get through? Or will the hex hold just fine?
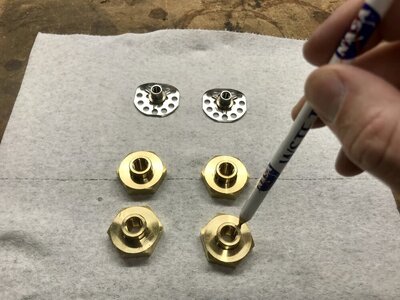
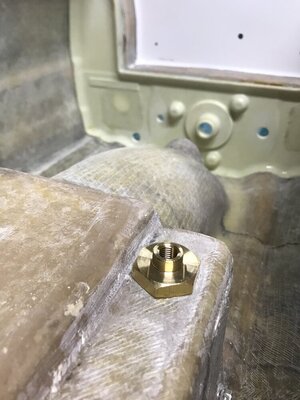
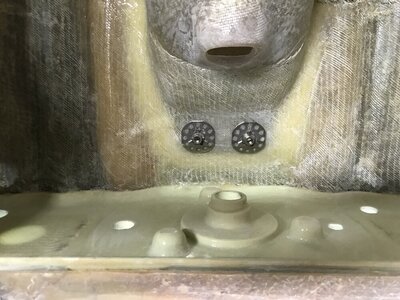
On another note, I also trimmed my exhaust tube back a little bit, I was worried it might interfere or be in the way, but this should be good!
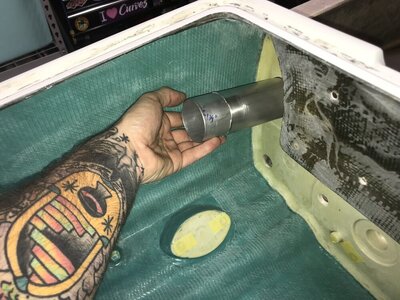
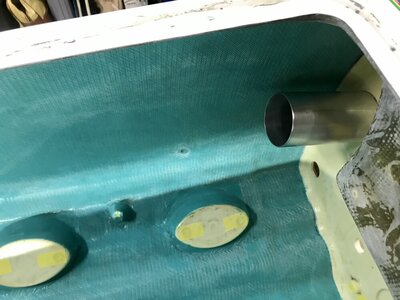
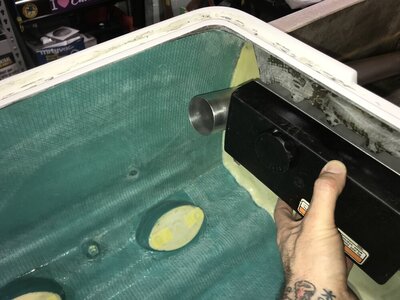
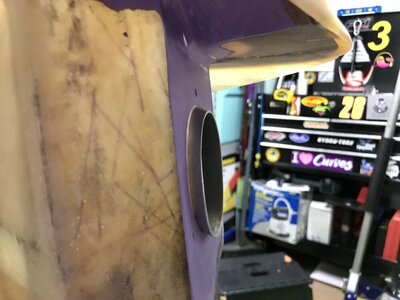
I also got my cooling lines cut to 20” and with them installed evenly it gives me about 1.5” sticking through the bulkhead and the same amount in the pump area. Does that sound about right? I’m ready to permanently install them so this is the last chance to make any changes! Hopefully installing the inserts and gluing in all the lines with 5200 for the next couple days!!! So excited to be getting ready to finish up this part of the build!!
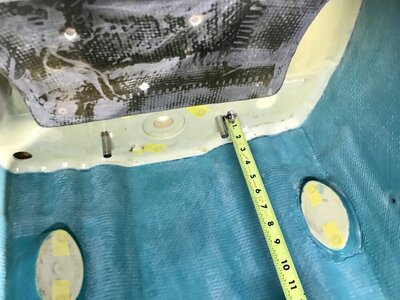
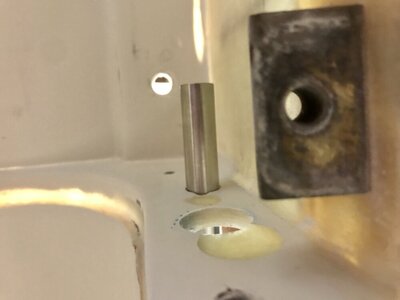
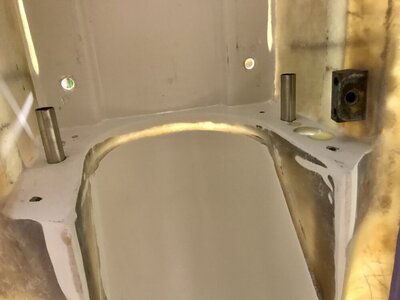


On another note, I also trimmed my exhaust tube back a little bit, I was worried it might interfere or be in the way, but this should be good!


I also got my cooling lines cut to 20” and with them installed evenly it gives me about 1.5” sticking through the bulkhead and the same amount in the pump area. Does that sound about right? I’m ready to permanently install them so this is the last chance to make any changes! Hopefully installing the inserts and gluing in all the lines with 5200 for the next couple days!!! So excited to be getting ready to finish up this part of the build!!


Big Kahuna
Administrator
- Location
- Tuscaloosa, AL
Biggest thing is to get them set so they won't spin when you are tightening the pump bolts.
Last edited:
really…Biggest thing is to get themnset so they won't spin when you are tightening the pump bolts.
- Location
- Buffalo, NY
Biggest thing is to get themnset so they won't spin when you are tightening the pump bolts.
Absolutely! Make sure they're set in there VERY well, especially before you fiberglass the tray all back together. You certainly don't want to have to cut your freshly redone tray all apart to reset them because they're spinning when you tighten your pump bolts, ugh that would be a bad day! By the way, very nice work on the build! It's coming along nicely!
- Location
- Asheville, NC
Biggest thing is to get themnset so they won't spin when you are tightening the pump bolts.
Interesting... Can you send a link? I was planning on using thickened epoxy but Im open to suggestion. I trust a lot of people on here, lots of experienced veterans! That is why I ask, I really appreciate advice and helping me learn
Absolutely! Make sure they're set in there VERY well, especially before you fiberglass the tray all back together. You certainly don't want to have to cut your freshly redone tray all apart to reset them because they're spinning when you tighten your pump bolts, ugh that would be a bad day! By the way, very nice work on the build! It's coming along nicely!
Thanks dude!! Im getting very anxious to ride this thing.. I know its going to be different than my SJ
hornedogg79
dodgin' bass boats
The original fx1 inserts were pretty cool. They just sat in an indention on top of the tray with a plastic cap over them. If you needed to change one you could just pull the turf up and drop one in. No epoxy to deal with.
- Location
- Asheville, NC
The original fx1 inserts were pretty cool. They just sat in an indention on top of the tray with a plastic cap over them. If you needed to change one you could just pull the turf up and drop one in. No epoxy to deal with.
I thought about trying to reuse those but I think they are M8 size bolts… maybe I was mistaken. Superjet is M10 correct?
- Location
- Charlotte, NC
That shouldn't be an issue. The pump bolts in our Tigercrafts and probably other am hulls are M8.I thought about trying to reuse those but I think they are M8 size bolts… maybe I was mistaken. Superjet is M10 correct?
- Location
- Asheville, NC
Maybe I will use them… they cleaned up real nice today!
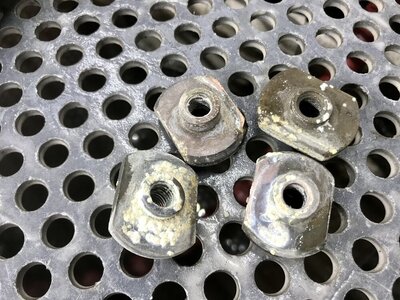
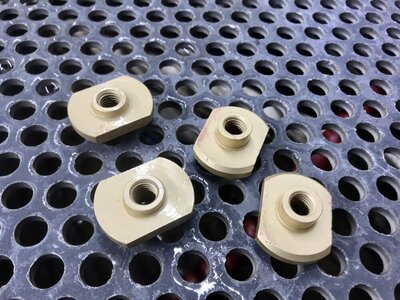
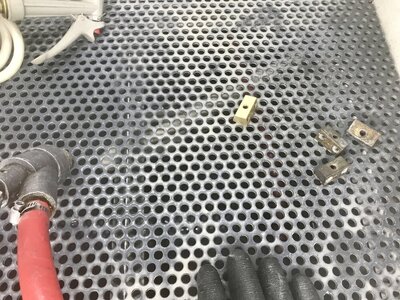
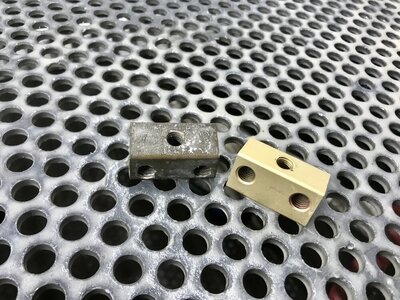
I also got the manifold drilled and tapped for dual cooling. I offset the hole 1/4” from the original hole to give a little clearance for the cooling lines. I bought a brand new Q drill bit and for some reason the hole got a little weird. I believe it was a burr that made the top oblong a little bit but the tap went through fine.
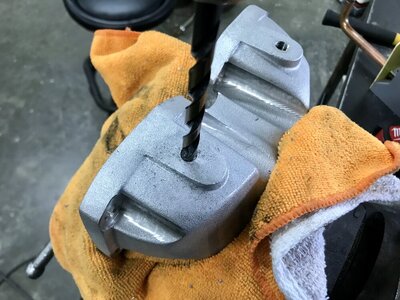
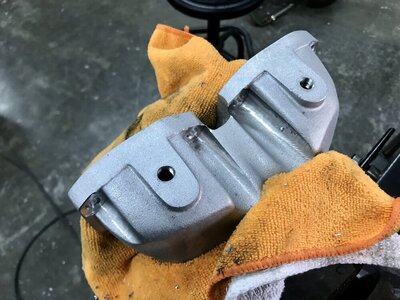
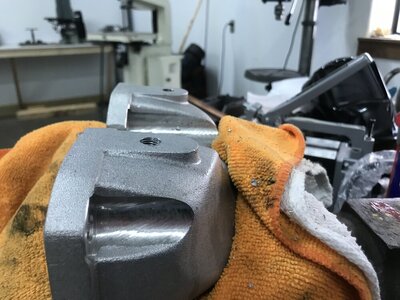


I also got the manifold drilled and tapped for dual cooling. I offset the hole 1/4” from the original hole to give a little clearance for the cooling lines. I bought a brand new Q drill bit and for some reason the hole got a little weird. I believe it was a burr that made the top oblong a little bit but the tap went through fine.


- Location
- Buffalo, NY
When I did the dual cooling on my fixed steer Superjet, I put the 90 degree brass elbow fittings into the manifold with this white paste stuff that my friend that owns a pressure washing company uses on this hose connections. I wish I could remember what it was called, but I never had any issues with leaking, and if I ever had to remove the brass fittings, they would unscrew nice and easy.
You're moving along nicely on this project. It gives me some motivation to take my 701 out and get it ready to do the 735 build. Keep up the good work!
You're moving along nicely on this project. It gives me some motivation to take my 701 out and get it ready to do the 735 build. Keep up the good work!
- Location
- Asheville, NC
When I did the dual cooling on my fixed steer Superjet, I put the 90 degree brass elbow fittings into the manifold with this white paste stuff that my friend that owns a pressure washing company uses on this hose connections. I wish I could remember what it was called, but I never had any issues with leaking, and if I ever had to remove the brass fittings, they would unscrew nice and easy.
You're moving along nicely on this project. It gives me some motivation to take my 701 out and get it ready to do the 735 build. Keep up the good work!
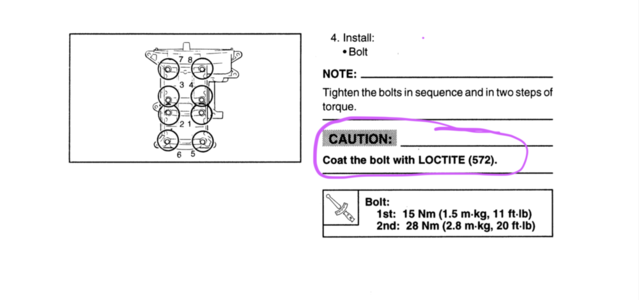
Loctite 572, Yamaha service manual also specs this to use on your crankcase bolts, cylinder bolts and also cylinder head bolts. Stuff is awesome but kind of a pain to clean up!
LOCTITE 572
Medium strength thread sealant for coarse threads on metal pipes and fittings. Slow curing to allow adjustment after sealant application.
- Location
- Buffalo, NY
Yes, that's the stuff! I completely forgot, but right after you mentioned this, I realized I had ordered a brand new tube of it over the Summer. Some industrial supply overstock store on ebay was selling the big tubes of it for only $11 with free shipping.Loctite 572, Yamaha service manual also specs this to use on your crankcase bolts, cylinder bolts and also cylinder head bolts. Stuff is awesome but kind of a pain to clean up!
LOCTITE 572
Medium strength thread sealant for coarse threads on metal pipes and fittings. Slow curing to allow adjustment after sealant application.www.henkel-adhesives.com
View attachment 420528
- Location
- Asheville, NC
Yes, that's the stuff! I completely forgot, but right after you mentioned this, I realized I had ordered a brand new tube of it over the Summer. Some industrial supply overstock store on ebay was selling the big tubes of it for only $11 with free shipping.
I bought some of those like 2 years ago and they were expired… well, the use by date had passed. I still used them though hahah.
- Location
- St.Catharine’s Ontario Canada
Nice
- Location
- Asheville, NC
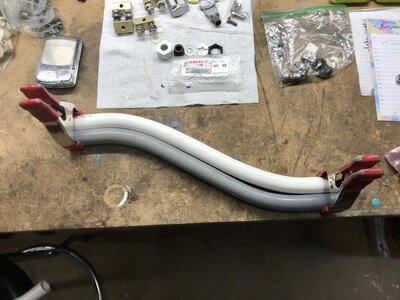
Well, I’ve been figuring a few things out and planning. Lots of critical thinking on this build hahah. I’ve gotten all of my lines trimmed and everything set up where I am happy with. I made myself a new steering cable tube and test fit everything. I heated up the PVC with a heat gun and then formed it into place using the original tube as a template. I used clamps on the ends to hold it in place until it cooled. Fits great! The other good news is that with the steering cable installed, the cable clears the pump in all directions with trim pulled! It does bump a little if you turn full right and trim but I’m not worried about that. I was going to start sealing everything in place but my tube of 5200 was all crinkled up and it split and exploded before I could use any… so I’m waiting on another tube of 5200.
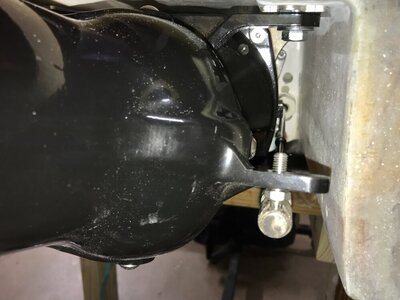
I also was able to get my intake grate Rotaloc inserts installed. I drilled the holes to just under 3/8” and the shank of the insert fit very tightly through the hole. I then checked the depth of the inserts to make sure that they did not go too far through the hull. I set them about 1.5mm recessed from the grate mounting surface. I then used thickened epoxy with chopped strand to blob over and underneath the insert working it through and making sure it was filled all around. I then waited until it started to flash. After that I laid a piece of 1208 biax over the inserts to give it even more strength. I forgot to take more pictures of the process but you get the idea. It came out super smooth!!! Intake grate aligns perfectly.
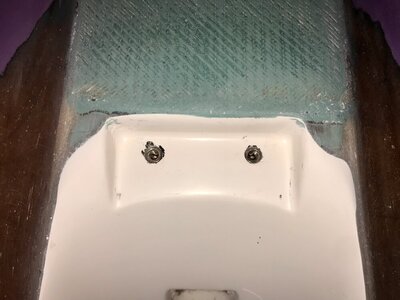
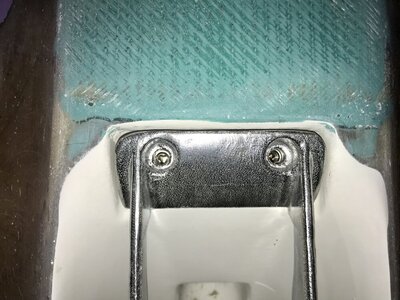
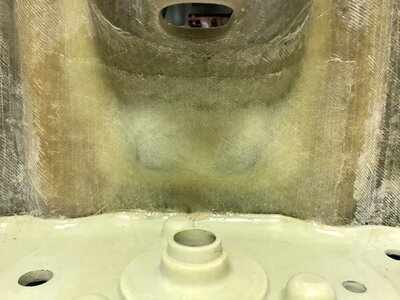


I also was able to get my intake grate Rotaloc inserts installed. I drilled the holes to just under 3/8” and the shank of the insert fit very tightly through the hole. I then checked the depth of the inserts to make sure that they did not go too far through the hull. I set them about 1.5mm recessed from the grate mounting surface. I then used thickened epoxy with chopped strand to blob over and underneath the insert working it through and making sure it was filled all around. I then waited until it started to flash. After that I laid a piece of 1208 biax over the inserts to give it even more strength. I forgot to take more pictures of the process but you get the idea. It came out super smooth!!! Intake grate aligns perfectly.


Last edited:

