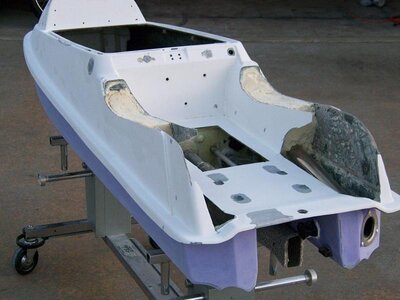
FX-1 Removeing The Pump Shoe

demolition_x

Not After Fame & Fortune
Its not to late to change if their no good. Which ones should I get? Thanks for letting me know!

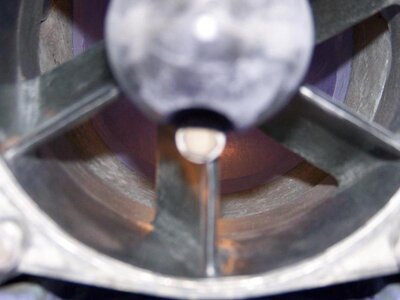
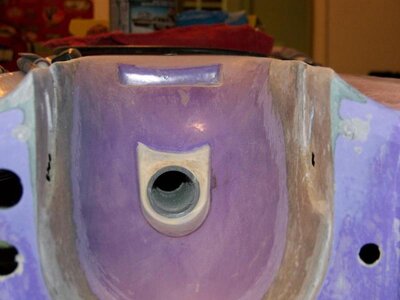
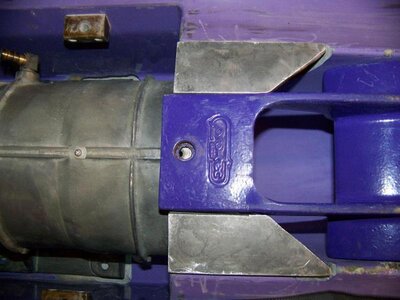
This is the one i have used and will be using again. all one piece round body valve. I got mine at home depot for 17 bucks.
install-sump-pump-check-valve-200X200.jpg


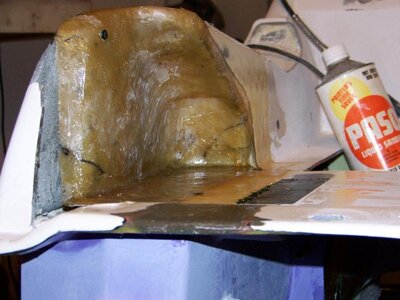
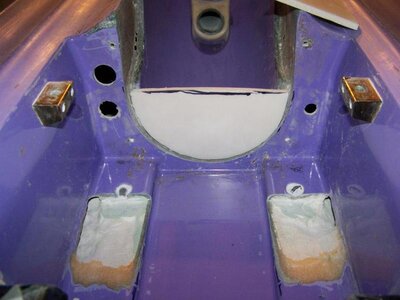
When i did my first one way i bought both the square and the round body valves. Filled them both up with water and sat them on my kitchen sink. Almost immediately the square body valve drained out, while the other valve held water and nothing came out. I let the round body one sit on the counter over night and it still had water in it the next day. I thought there was a problem with the square body valve but i returned it and got a new one and the same thing. I have used the round one in my ski for 2 years and it works flawlessly. Bilge is never full when it sits in the water. I mounted mine as close to the front of the ski as possible. Since i ran mine straight out the back i bought a beat up scupper to protect it some what from landings so water doesn't get forced up the tube as much but i doubt it works too well protecting it since its so beat up. That valve has been good and I have one to install in my fx1 project too.

My $0.02 :beerchug:
 
Another thing is if your gonna refoam the tray wont that clear hose you have running to your one ways get smooched together by the expanding foam? Just a thought, you may have all this figured out. I would hate for you to go through all that trouble to have your one ways blocked.

Bah you dont owe me on the ski deal, just messing with you. Id rather pass the deals to someone I know than let them pass.
 
install-sump-pump-check-valve-200X200.jpg

My $0.02 :beerchug:
Demo!

I went to H/D to inspect again.


I blew in a square one softly and they leaked. I tried the round ones and they didn't. Its why I went with them first. I like the water test you did and if I were going to leave my ski floating I would think about it more. I have though about putting it in water like it is and testing just to be sure.
Plenty of time to think about it. Not going to foam till much other work is done.
 
Last edited:
I thought it foams up quick and soft then dries hard now you got me thinking.

I really dont know if it will or not but I do know that fx1s from the factory have humps on the hull on the lower deck side where the expanding foam expanded too much, you can rub your hand across it and feel them. What you could do is experiment with a hose in a soda bottle, maybe drill the end out where the hose could stick out then pour the foam in. Once it the foam dries try blowing through it. Or just plumb it straight with pvc and be done.
 
After 6 hours of grinding and test fitting, the pump is in. I made a couple of templates for ruff fit. Special fx told me to lay the glass on the inside before I start to grind. Glad I did would not want to do it the other way. It also helped in letting me know how far I had gone with the grinding as you see the new glass. I have to say this is turning out to be a very easy mod. A little more glass and I'm finished!
 

Attachments

  • a2.jpg
    a2.jpg
    59.4 KB · Views: 80
  • a3.jpg
    a3.jpg
    39.7 KB · Views: 70
  • a4.jpg
    a4.jpg
    51 KB · Views: 94
  • a5.jpg
    a5.jpg
    37.2 KB · Views: 87
  • a6.jpg
    a6.jpg
    51.2 KB · Views: 90
  • a7.jpg
    a7.jpg
    55.7 KB · Views: 100
  • a8.jpg
    a8.jpg
    40.6 KB · Views: 100
  • a1.jpg
    a1.jpg
    55.5 KB · Views: 96
Last edited:
Looks perfect! You'll have to elongate the hole in your Pro-Tec scoop grate, the R&D grates come elongated already and bolt right up. I've seen some folks move the pump forward so that the scoop bolt lines up and it doesn't seem to hurt anything since there's enough slop in the motor mount bolts to allow for this.....only downside is it puts your Factory Pipe chamber closer to your tank.

Nice work so far.......keep grinding ;)
 
Well, another nite of grinding. I matched the pump intake to the pump with what I thought look right to my eye. A little more work and it will be time to flip it back over.
 

Attachments

  • a4.jpg
    a4.jpg
    39.4 KB · Views: 58
  • a9.jpg
    a9.jpg
    59.1 KB · Views: 77
  • a8.jpg
    a8.jpg
    56.2 KB · Views: 80
  • a7.jpg
    a7.jpg
    56.2 KB · Views: 61
  • a6.jpg
    a6.jpg
    48.4 KB · Views: 75
  • a5.jpg
    a5.jpg
    45.3 KB · Views: 55
  • a3.jpg
    a3.jpg
    49.9 KB · Views: 72
  • a2.jpg
    a2.jpg
    47.2 KB · Views: 62
  • a1.jpg
    a1.jpg
    55 KB · Views: 64
I know the bolts will hold it in place. But I wanted it to fit with no wiggle room and the pump was not sitting flush on the mounting tabs as well. I also had some big chunks out of the intake to fix so I went ahead and built it up to be flush with the bottom of the pump. It takes a little more time and work but less silicone will be needed this way. It should make pulling the pump a little easier too.
 

Attachments

  • a3.jpg
    a3.jpg
    57.3 KB · Views: 58
  • a10.jpg
    a10.jpg
    45.6 KB · Views: 71
  • a9.jpg
    a9.jpg
    32.8 KB · Views: 50
  • a8.jpg
    a8.jpg
    47.6 KB · Views: 57
  • a7.jpg
    a7.jpg
    48.4 KB · Views: 62
  • a6.jpg
    a6.jpg
    52.2 KB · Views: 53
  • a5.jpg
    a5.jpg
    48.5 KB · Views: 60
  • a4.jpg
    a4.jpg
    51.1 KB · Views: 66
  • a2.jpg
    a2.jpg
    61.2 KB · Views: 59
  • a1.jpg
    a1.jpg
    68.4 KB · Views: 75
Glassed old bilge holes, going to lower them. Glassed choke and fuel valve holes. Glassed in thru hull tubes. Sanded hole ski with 80 grit.
 

Attachments

  • a1.jpg
    a1.jpg
    54.5 KB · Views: 62
  • a2.jpg
    a2.jpg
    60.7 KB · Views: 55
  • a3.jpg
    a3.jpg
    95.2 KB · Views: 55
  • a4.jpg
    a4.jpg
    38.8 KB · Views: 44
Glassed the footholds in place. My two part foam should be in tomorrow,any tips using it would be appreciated.
I need to order some pistons but not sure what to get, any suggestions? The motor has never been rebuilt or apart. I'm thinking going 1st over but do I even need to bore? Where's the best place to get the pistons, gaskets, wrist pins/bearings and seals?
Shawn
 

Attachments

  • 000_0845.jpg
    000_0845.jpg
    59.1 KB · Views: 55
  • 000_0850.jpg
    000_0850.jpg
    58.7 KB · Views: 42

tshank123

Yo hablo ingles
Location
Vegas
If you didn't have a seizure or anything you probably don't need a bore, just a hone, bore costs more. You may want someone who know what they're doing to take a look at your cylinders before you order pistons though, just in case you need the bore. Alot of people suggest Pro-X pistons, you can buy a whole top-end kit from Parker Yamaha with Pro-X pistons.

http://www.parkeryamaha.com/pro-xtopendpistonrebuildkityamaha.aspx
 
Last edited:
If you didn't have a seizure or anything you probably don't need a bore, just a hone, bore costs more. You may want someone who know what they're doing to take a look at your cylinders before you order pistons though, just in case you need the bore. Alot of people suggest Pro-X pistons, you can buy a whole top-end kit from Parker Yamaha with Pro-X pistons.

http://www.parkeryamaha.com/pro-xtopendpistonrebuildkityamaha.aspx


Thanks for the info. From what I read the pro-x top-end kit from Parker does look like the best deal to suit my motor and kind of riding. A lot of people seem to be happy with them too. Plus Parker will have the rest of the parts I need. I'm going to try to tear it down tonight. I'll mic and post some pix. I'm thinking I did have a seizure once a couple of years ago but not sure, we'll soon see.
 

tshank123

Yo hablo ingles
Location
Vegas
I just watched that video in your sig. Is that you? Thats with no mods to the hull? Pretty sick.
 
Top Bottom