My (Daytona?) "Freeride" SuperJet Project

I'm hoping to have it done before January but will not rush it. Also depends on money... (If only I wasn't into $photography$). I really hope once I get it setup how "I" like it that I will grow to love the RN. See, I've been riding a SN for so long that when I get on a borrowed RN, it just doesn't do it for me. I simply love the way my SN rides (that happens to be for sale or parts).

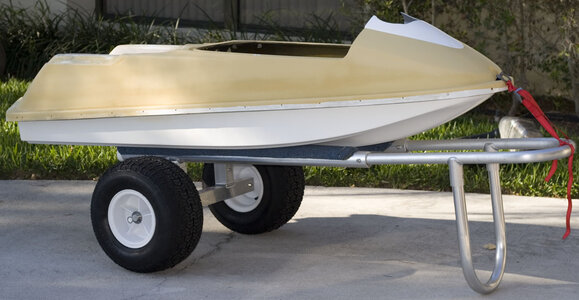
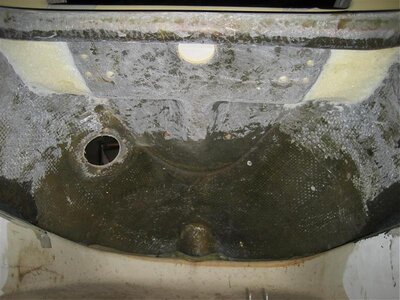
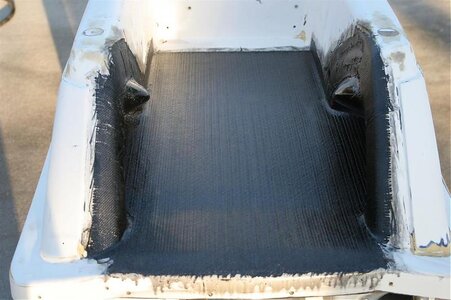
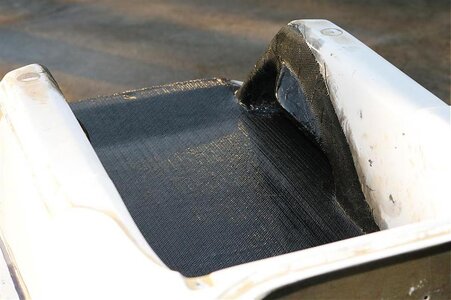
I just put it on an accurate scale.....102 pounds as shown in pic (Stipped, primered and with footholds).

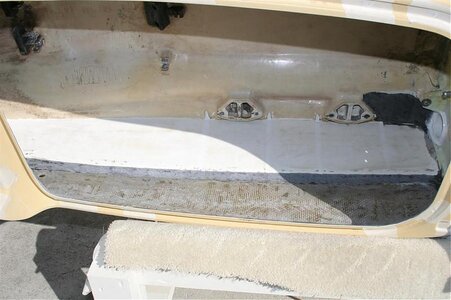
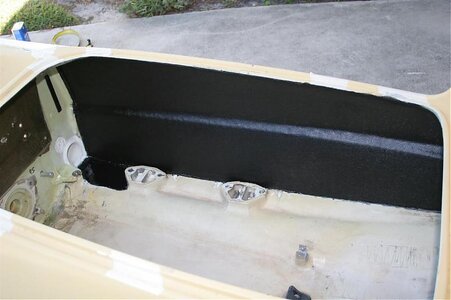
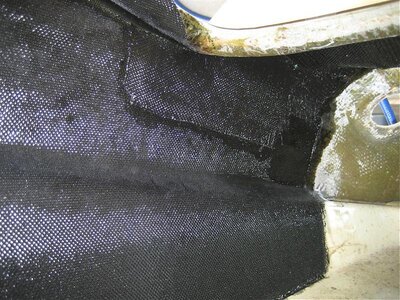
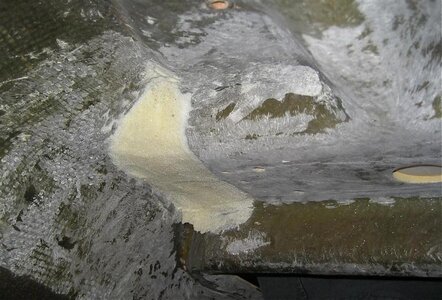
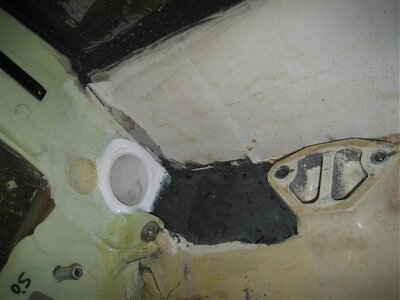
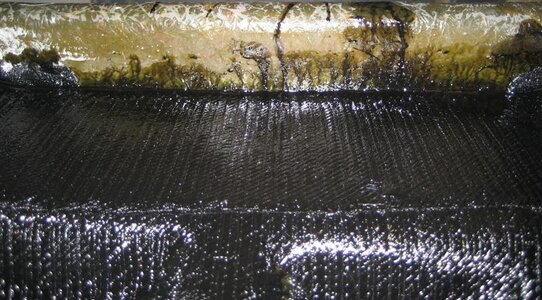
Next will be to reinforce sides, under pole mount, ect..

Items I will need to buy:
*Aluminum handpole
Lowered handpole bracket
UMI steering
Prop
Black trim - nose, sides, corners (may just turf it)

*optional at the moment
 

Attachments

  • sanfish-rn1.jpg
    sanfish-rn1.jpg
    169 KB · Views: 229

yamanube

This Is The Way
Staff member
Location
Mandalor
You should leave it that color (like a flesh color) just clear over it. Maybe put a nipple on the nose or paint it like a...well you know.
 
UPDATE: (11/27/06)

Sanded away the side ribs, seams filled with Fasco (cabosil/microballon mix), side rails (inside) done with 12oz Biax and 4oz mat. The void pocket under pole area was filled with 4lb foam, shaped then glassed over with 2.5 layers of 12oz Biax. Sides under front left & right of hull hood corners was beefed with extra Biax and covered with 4oz mat. I use 4oz mat because it leaves a smooth to the touch finish. Raw hardened Biax can really leave a lot of sharp pieces unless you sand it or apply tons of epoxy.

The epoxy resin was a 2:1 and wasn't put on thick or heavy. Just enough epoxy was used to saturate glass...and no more! (important part)

I'm now in the process to remove the old (urathane) paint job someone did and after its 100% stripped, I will be re-gelcoating the ski. Doing it in gelcoat is 5 times harder than having someone paint it...but I really prefer gelcoat when at all possible (more durable).

I've also drew up some (vector) graphics in FlexiSign, but nothing has jumped out and grabbed me yet. But this is icing and have more important work to do.
 

Attachments

  • IMG_7291 (Custom).jpg
    IMG_7291 (Custom).jpg
    57.4 KB · Views: 84
  • IMG_7293 (Custom).jpg
    IMG_7293 (Custom).jpg
    48.5 KB · Views: 118
  • IMG_0551 (Large).jpg
    IMG_0551 (Large).jpg
    136.9 KB · Views: 129
  • IMG_0524 (Large).jpg
    IMG_0524 (Large).jpg
    81.3 KB · Views: 106
  • IMG_0539 (Large).jpg
    IMG_0539 (Large).jpg
    79.8 KB · Views: 99

Boris

The Good Old Days
To good for the square nose, are we ?:cool2:


The glass does look purdy, keep a record of the weight. that info might be useful in the future. :biggthumpup:
 
The glass does look purdy, keep a record of the weight. that info might be useful in the future. :biggthumpup:
The new weight of bare hull after all glass work & large Wamilton scupper installed is 106 lbs (on digital scale). Even with the epoxy sides and scupper I only gained 4lbs. I've taken a heavier dump then that so its all good:Banane01:
 
Last edited:
i guess the blasters gone huh?! you still got your sq nose?
Sold the B1 on a Wednesday and sold my original girl (SN SJ) on Thursday.

For the first time ever I am without a running ski :banghead: The line I use (justification) is it gives me motivation to finish my new SJ...but the truth is it sucks big time.

did you use knytex first then the 4oz cloth on top of that? and thats black pigment int he resin right?
I layed 12oz biax first then 4oz "E glass" cloth (not "mat" like I originally stated) over the biax. What you see in the pictures is the E glass.

Yes, I used a small amount of black pigment. I even used that in mixing of the 2-part Fasco epoxy/cab/ballons for the seam. If you noticed I also built up the valley just in front of the scupper hole to aid water flow out.
 
Today I completed all the fiberglass and epoxy work. Actually, I plan to make a mold for a front left foot hold that mounts to the firewall. I am lost without being able to plant my left foot under a lip (like you can with a SN/SJ). I will try to also make it a storage compartment for rope and other critical things.

Layed down 12oz biax on foot tray to tie in footholds - notice how the biax was cut to fit inside footholds (1-piece). Joined sides with more 4oz cloth. All I need to do is feather in the fiberglass (it will harden by tomorrow).
 

Attachments

  • IMG_7343 (Custom).jpg
    IMG_7343 (Custom).jpg
    58.6 KB · Views: 129
  • IMG_7350 (Custom).jpg
    IMG_7350 (Custom).jpg
    61.1 KB · Views: 88

Flash-FX

No Square..No Round..FX-1
Today I completed all the fiberglass and epoxy work. Actually, I plan to make a mold for a front left foot hold that mounts to the firewall. I am lost without being able to plant my left foot under a lip (like you can with a SN/SJ). I will try to also make it a storage compartment for rope and other critical things.

Layed down 12oz biax on foot tray to tie in footholds - notice how the biax was cut to fit inside footholds (1-piece). Joined sides with more 4oz cloth. All I need to do is feather in the fiberglass (it will harden by tomorrow).

Hey...That's looking sweet! Isn't it cool messin around with different resins/additives/combinations & mixtures. I love coloring outside the lines. Question, Why didn't you post your project under the 'Ski buildup' section?
 
Top Bottom