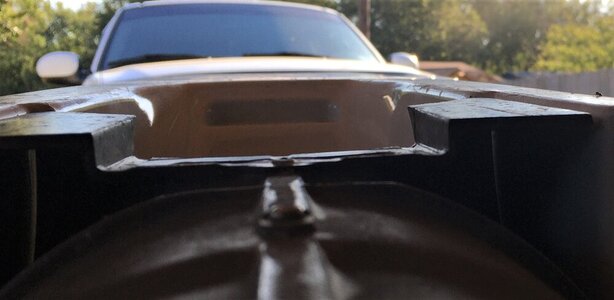
At purchase X2 started & created smoke, noise sporadically. Dropping fire to the plugs intermediately. Knew it was a basket case so not disappointed. Didn't bother diagnosing any further. Stator made in China, toss, going with JSS stator. E-box with butchered wires with OEM colors, easy fix. Secondary on coil, a brick shows lower resistance. Send to JSS. Pump/Engine alignment compromised. Forum members here pointed me in the right direction. (Thank you all). Remarkably good compression on both cylinders. 140/144. Leak down passed. Previous owners say the case has never been split & between both owners it is estimated 350<400 hrs? Maybe a testament to Klotz bean oil? No matter, splitting the case & doing overhaul on the 30 year old engine. So 1st step, hull recondition. This is where I like to have some opinions on material/procedure used.
1st. Sand down, various grits per progression
2nd. Dremel/clean cracks & gouges alcohol or acetone??
3. Fill with 3M SMC/Fiberglass repair adhesive -35, 08219, green. I could really entertain some opinions on this.
4. Evercoat( Hi Bond) white Gelcoat (hardener container included) with no wax, 3 layers
5. This is where I'm @ a crossroads. Do I final coat with paraffin wax or skip & use PVA (polyvinyl alcohol) as oxygen barrier? Opinions PLEASE.
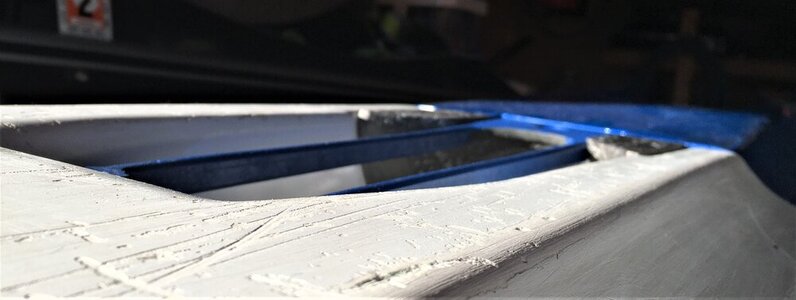
Last edited: