Super Jet SN hull shortening topside and bottom and moving footholds up

3 years ago I reinforced the engine compartment and added footholds. About 3 months later I bought an 09 and turned the SN into a yard ornament. Over the last few months I have got cabin fever and seen quite a few builds that interested me so I am getting on the bandwagon with a big bang for the motor, even better then my ported big bore 760 I had in it last. I will post pics as I go since the motor project is in the works I figured I would get on the ball with the hull work...

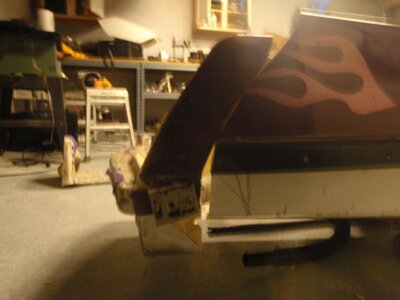
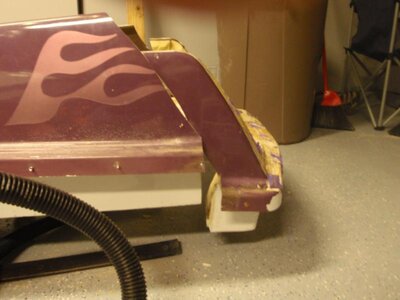
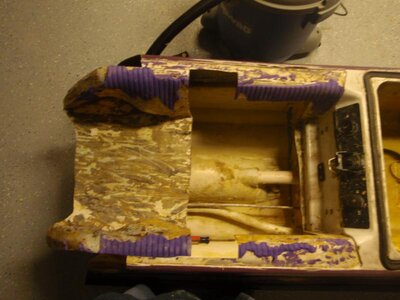
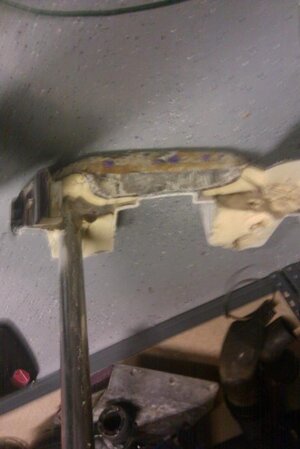
I took off quite a bit off the back, yeah its gonna be squirly, I have the 09 for go fast and stability.

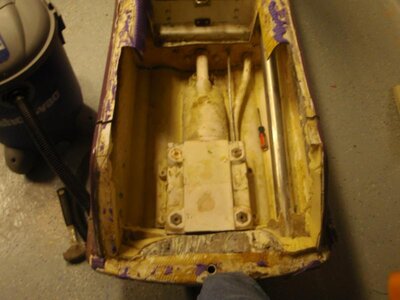
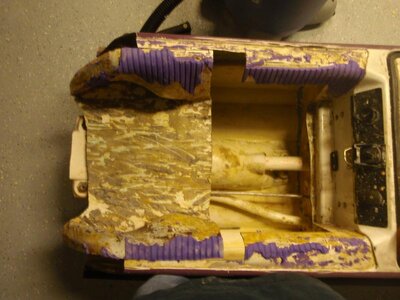
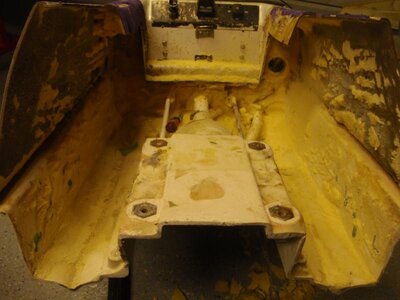
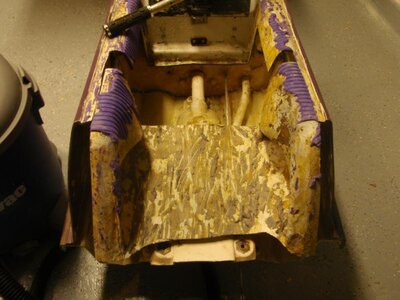
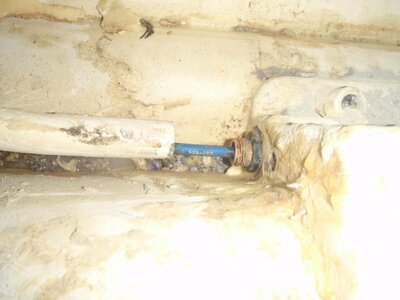
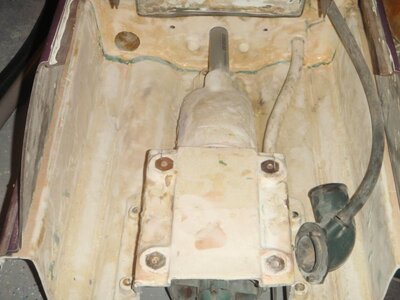
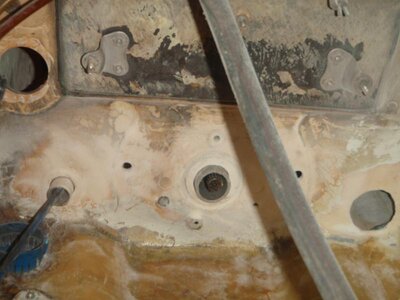
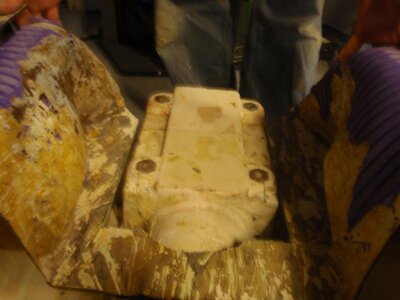
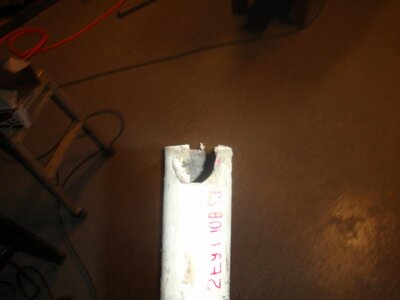
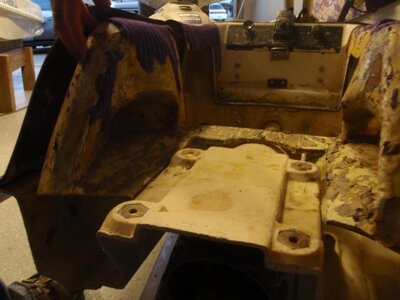
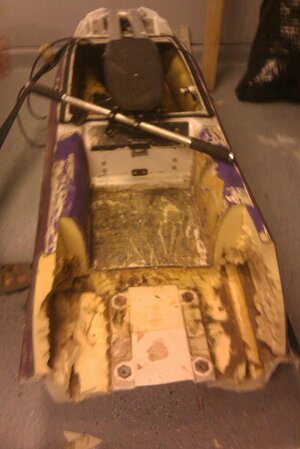
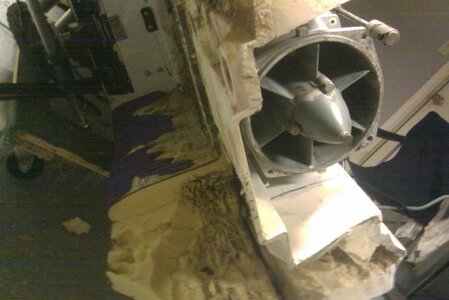
I also choped out the foothold section with the intent of moving it 4-5 inches forward I have removed the exhaust tube for the moment, I will make adjustments to allow it to clear the footholds. I am also going to defoam but I have not decided what to put back inside it but I am plaining on reinforcing the bondline while I have it open and seal all the lines.
 

Attachments

  • htc hero 074.jpg
    htc hero 074.jpg
    37.8 KB · Views: 94
  • htc hero 070.jpg
    htc hero 070.jpg
    35.5 KB · Views: 101
  • htc hero 072.jpg
    htc hero 072.jpg
    48.4 KB · Views: 138
  • htc hero 069.jpg
    htc hero 069.jpg
    50.8 KB · Views: 116
Last edited:

SJBrit

Extraordinary Alien
Location
Bradenton, FL
How much did you take off the back? I think you might be surprised at how much more stable it's going to feel, and yet how much more quickly and easily it turns.
 
Unless you are a fiberglass god, go for styrofoam. Or face wet 2-part foam down the road.

ha ha I am no where near a fiberglass god, My mad glassing skills is part of the reason for it being torn apart right now, The thing weighed 350 plus with motor after my last glassing try.... I have some friends that are decent at it but would rather use something else.. I saw the thread with styrofoam he shapped in the back. It looked pretty efficient... I have 2 part on the shelf but would rather it stay there.
 
Last edited:
How much did you take off the back? I think you might be surprised at how much more stable it's going to feel, and yet how much more quickly and easily it turns.

I cut it to where I would have 2 bolts holding on the ride plate and its squared off back there. As for the top I took about 4 inches out of it... I also shifted my motor back an inch. Going to start defoam tomorrow. Being unemployed is kinda nice for a while...
 
I took some mesurements. When I started the tray was 32 inches front to back. Now the tray is 27 and 3/8 where I plan to rebuild it in the back. I measured the bottom and I cut 4 inches off the bottom... Did some more defoaming today. What a nightmare.

Here are some more pics of the progress... Pics of what I cut off and pics of where it was and where its going. Tomorrow I plan on mocking up exhaust tube which is getting turned into the pump cavity and the scupper valve I am putting in.
 

Attachments

  • ski 009.jpg
    ski 009.jpg
    40.2 KB · Views: 67
  • ski 007.jpg
    ski 007.jpg
    48.9 KB · Views: 68
  • ski 008.jpg
    ski 008.jpg
    44.2 KB · Views: 84
  • ski 005.jpg
    ski 005.jpg
    62 KB · Views: 72
  • ski 006.jpg
    ski 006.jpg
    57.3 KB · Views: 71
  • ski 002.jpg
    ski 002.jpg
    53.5 KB · Views: 71
  • ski 004.jpg
    ski 004.jpg
    62.8 KB · Views: 73
Last edited:
More progress today... I trimmed my foothold section to drop it down a bit (based on newer ski designs and guys not foaming there to get lower) I also cleaned all the pipe fittings and removed them with the intention of re sealing them... When I pulled the midshaft I found the pipe was broke that connected the engine compartment to the tunnel area... pics attached! I tugged on the steering cable tube it was half assed in the day.... I would also like to 90 the exhaust tube into the pump area.... any thoughts
 

Attachments

  • newer 004.jpg
    newer 004.jpg
    48.7 KB · Views: 50
  • newer 007.jpg
    newer 007.jpg
    55.7 KB · Views: 50
  • newer 006.jpg
    newer 006.jpg
    52.2 KB · Views: 52
  • newer 001.jpg
    newer 001.jpg
    46.7 KB · Views: 52
  • newer 005.jpg
    newer 005.jpg
    25.8 KB · Views: 55
  • newer 002.jpg
    newer 002.jpg
    51.9 KB · Views: 54
  • newer 003.jpg
    newer 003.jpg
    40 KB · Views: 46
Last edited:
Progress

Got the footholds glued in place. Next I need to form the foam into the areas in the tray. Also need to plum in the scupper. Also need to put in exhaust pipe and put foam around it. I sealed up all the lines tonight as well. I cut the foothold apart and moved them as far apart to widen the tray and I also moved them up another 2 inches. You can see from the pics the footholds are set a bit lower in the tray. I built a box to support the footholds out of aluminium. I used some micro bead filler and will smooth it out once it dries.
new phone 058.jpgnew phone 055.jpgnew phone 057.jpgnew phone 056.jpg
 
Top Bottom