SJ Build from Philly

Location
FL
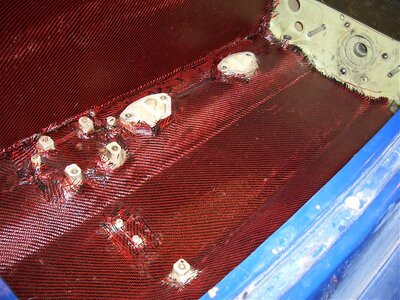
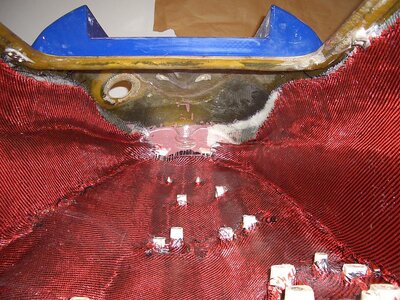
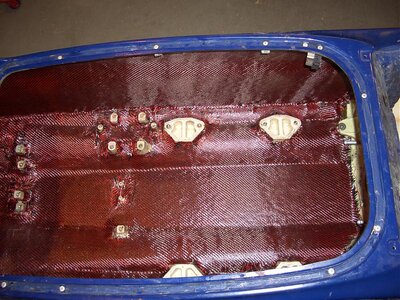
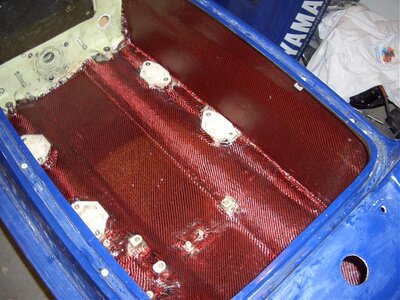
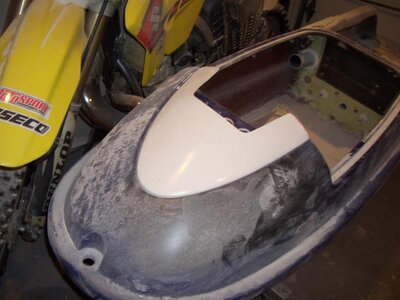
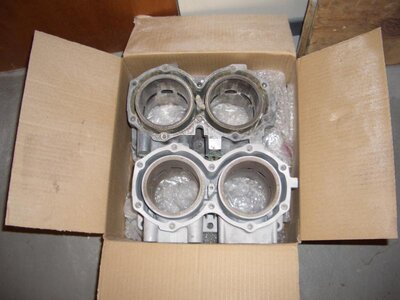
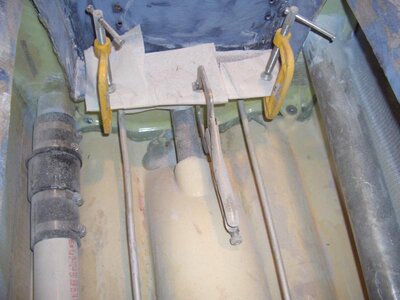
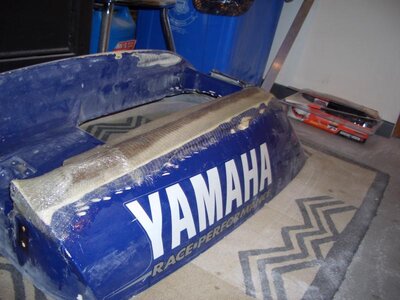
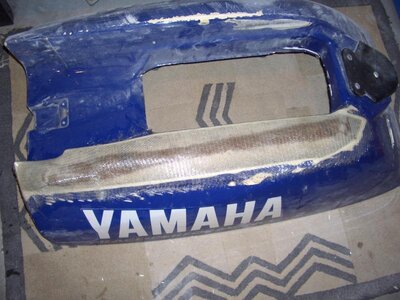
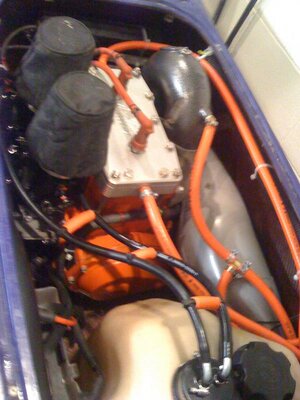
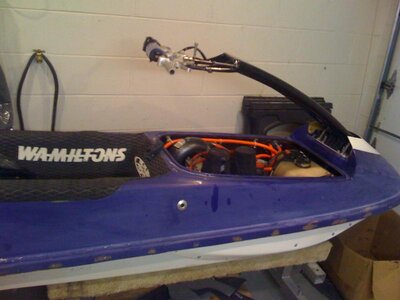
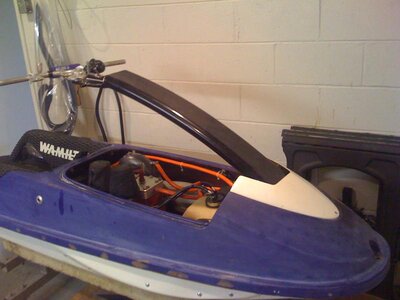
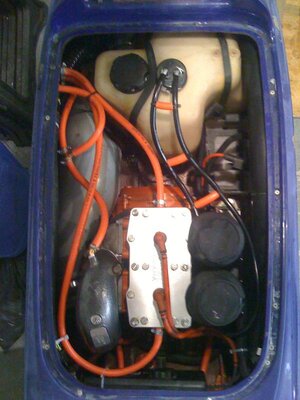
Filled in the bond line .... and some more pics of the build. I am just at the first steps of the build so not that much progress done. I used epoxy resin with the microballons and it works really well. Kinda hard to balance the ski so the mixture doesnt leak all over the place but i got it to work. The sides should be all dried up by tomorrow so i will move to the nose.

How does that work compared to the west 404 filler? Does it thicken up as much? Is it easier to sand?
 

n247hp

N247hp
Location
Philly
i have never used the west 404 but this one dries up real nice. its easy to send. its preety think so its easy to work with. the drying time takes up alot so i leave the ski over night to dry on each fill
 

n247hp

N247hp
Location
Philly
Got most of the reinforcing done. I used 18oz 1708 biaxial and carbon kevlar hybrid cloth. For mu first build and never working with resin on glass i think it worked out well. It looks very cool with the orange and black. got to finish the nose reinforcement, under the pole, close up the gas cap and a few other places.
 

Attachments

  • CIMG1995.jpg
    CIMG1995.jpg
    142.4 KB · Views: 87
  • CIMG1996.jpg
    CIMG1996.jpg
    150.3 KB · Views: 109
  • CIMG1997.jpg
    CIMG1997.jpg
    146.8 KB · Views: 106
  • CIMG1994.jpg
    CIMG1994.jpg
    112.1 KB · Views: 111

chad

I pretty much love beer
Site Supporter
Got most of the reinforcing done. I used 18oz 1708 biaxial and carbon kevlar hybrid cloth. For mu first build and never working with resin on glass i think it worked out well. It looks very cool with the orange and black. got to finish the nose reinforcement, under the pole, close up the gas cap and a few other places.

how was that cloth to work with ?
I love the looks of the carbon/kevlar
was it diffucult to make the bends around the hood seal area?

nice work so far !
 

n247hp

N247hp
Location
Philly
the biaxial was real easy but the carbon/kevlar was more of a bitc%. It wouldnt stay in place. But after a few times u just wet it and let it sit for like 3-5 min and it becomes easier. I am actually surprised that it came out this well. i never done this before so i am happy. lets hope it wont fall apart on the next BR isaster attemp.
 

n247hp

N247hp
Location
Philly
Here is an update on what ive been working on. I had a long break pondering on what i will be doing, and now i gota move fast. The weather is warming up and its almost time to ride.

New stuff
x-metal steering system (-4)
Scupper valve from ATP, great products by the way
lowered nose piece and sponson from surfjetlouie
61x cyl, ported followed with new wiseco pistons.
 

Attachments

  • CIMG2331.jpg
    CIMG2331.jpg
    54.4 KB · Views: 51
  • CIMG2339.jpg
    CIMG2339.jpg
    64.7 KB · Views: 61
  • CIMG2334.jpg
    CIMG2334.jpg
    56.3 KB · Views: 72
  • CIMG2335.jpg
    CIMG2335.jpg
    51.1 KB · Views: 63
  • CIMG2338.jpg
    CIMG2338.jpg
    55.9 KB · Views: 73

n247hp

N247hp
Location
Philly
Also started working on lowering the hood. I cut the top off and stuck the paper cylinder roll that held the cloth from us composites underneath to create a slight curve. for some reason i thought that it will come in handy so i decided to keep that paper cylinder. i dont know how the hood will look once it dries up but so far it might actually work. I really winged it on this one.
 

Lucifer

Jet Junkie
Location
Croydon PA
Hey Nick, Its looking real good.
I can totally relate to being a first time fiberglasser!!
You switched to a 61x cylinder, what size pistons are you using?
 

n247hp

N247hp
Location
Philly
Finally all done, just a few minor things left.
 

Attachments

  • IMG_0003.jpg
    IMG_0003.jpg
    68.7 KB · Views: 52
  • IMG_0004.jpg
    IMG_0004.jpg
    68.8 KB · Views: 52
  • IMG_0005.jpg
    IMG_0005.jpg
    60 KB · Views: 46
  • IMG_0006.jpg
    IMG_0006.jpg
    48.4 KB · Views: 61
  • IMG_0007.jpg
    IMG_0007.jpg
    67.1 KB · Views: 72
Top Bottom