my winter overhaul

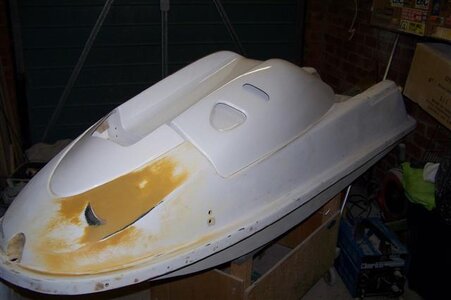
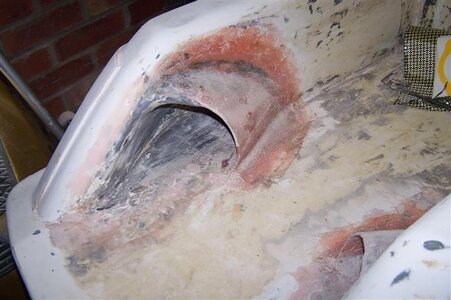
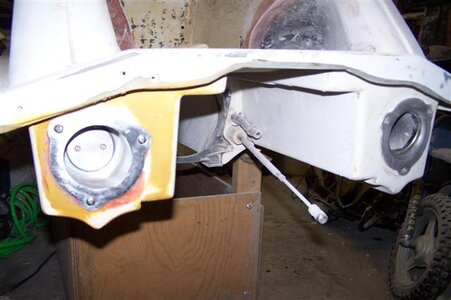
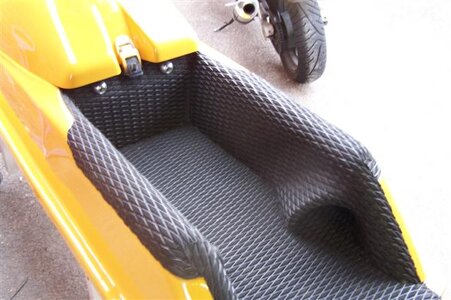
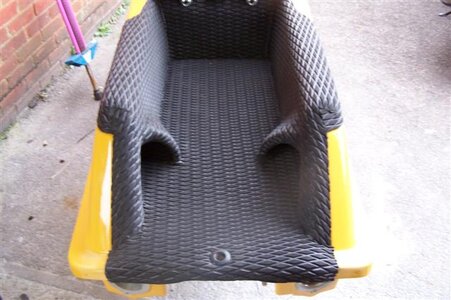
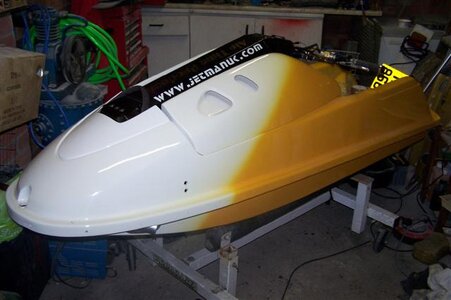
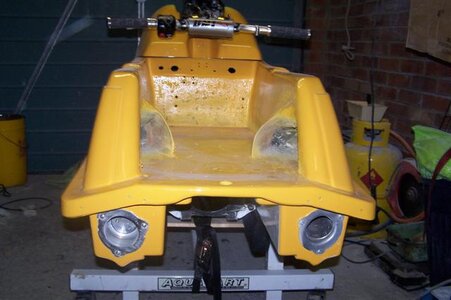
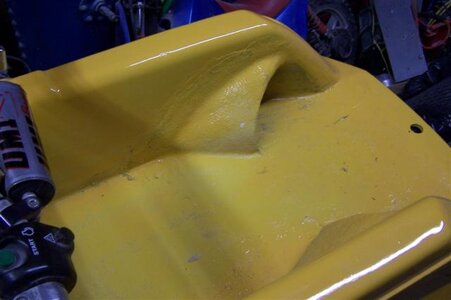
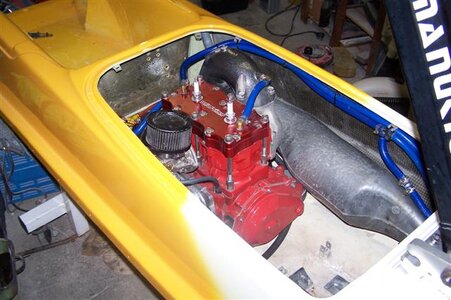
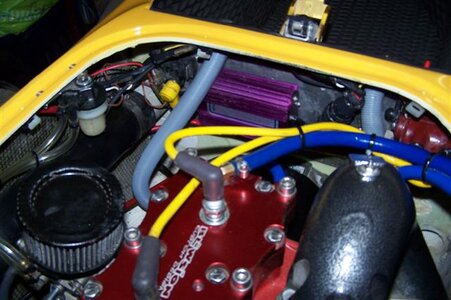
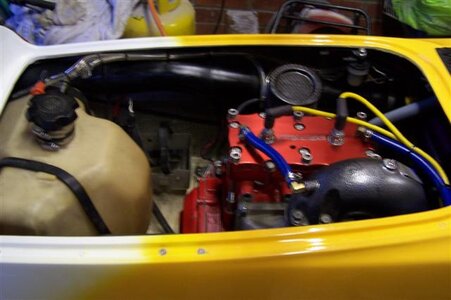
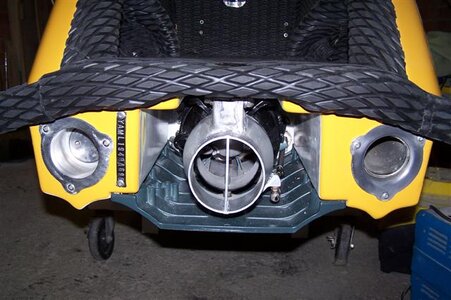
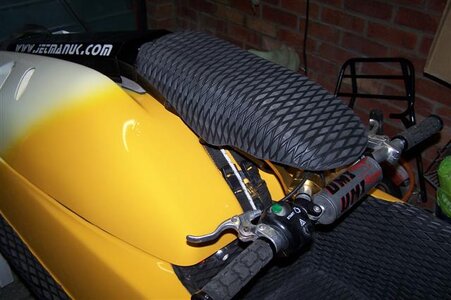
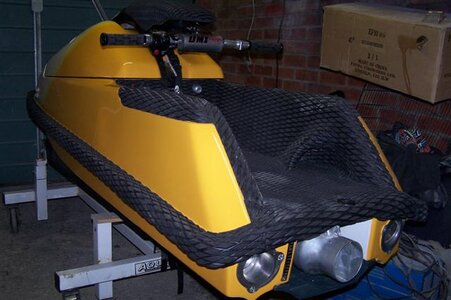
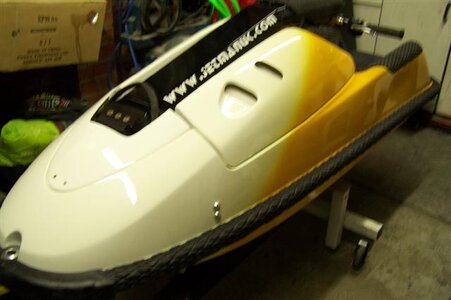
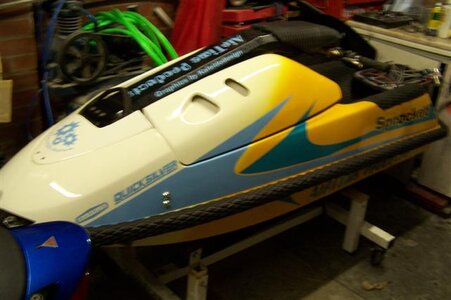
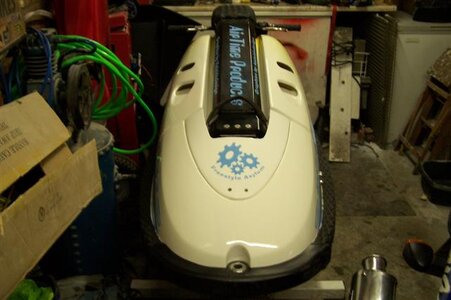
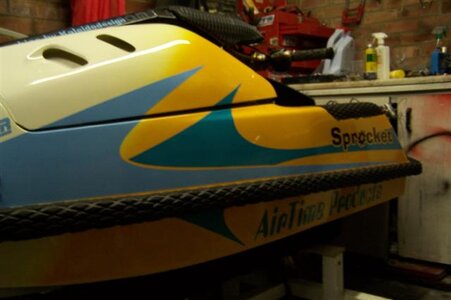
Hi guys have posted sum pics of my build on pwc today but thought i'd bore you guys now:biggrin: Started this a couple of months ago with the intention of a quick spray job and needless to say it got a bit out of hand lol I stripped the origional paint and flush filled the gas cap , reworked the footholds, and fitted an atp scupper valve.
 

Attachments

  • 100_0170 (Small).JPG
    100_0170 (Small).JPG
    26.6 KB · Views: 70
  • 100_0175 (Small).JPG
    100_0175 (Small).JPG
    40.7 KB · Views: 88
  • 100_0169 (Small).JPG
    100_0169 (Small).JPG
    36.5 KB · Views: 66
didnt have to do 2 much on the motor as had ripped it apart 6 months previous so just changed the o rings and checked the bores, fitted a new pump ring as the old one was cracked .
 

Attachments

  • 100_0242 (Small).JPG
    100_0242 (Small).JPG
    62.7 KB · Views: 86
  • 100_0304 (Small).JPG
    100_0304 (Small).JPG
    46.3 KB · Views: 70
  • 100_0306 (Small).JPG
    100_0306 (Small).JPG
    42.8 KB · Views: 98
ok ski back from the painters so time to start the reasembly and the matts couldnt use a freestyle kit as the footholds had been alterd ,
 

Attachments

  • 100_0301 (Small).JPG
    100_0301 (Small).JPG
    48.6 KB · Views: 93
  • 100_0300 (Small).JPG
    100_0300 (Small).JPG
    49.2 KB · Views: 97
  • 100_0288 (Small).JPG
    100_0288 (Small).JPG
    39.3 KB · Views: 90
  • 100_0290 (Small).JPG
    100_0290 (Small).JPG
    42.2 KB · Views: 65
  • 100_0292 (Small).JPG
    100_0292 (Small).JPG
    30.8 KB · Views: 63
next the engine bay install the motor , jetenetics total loss and exhaust.
 

Attachments

  • 100_0296 (Small).JPG
    100_0296 (Small).JPG
    56.9 KB · Views: 67
  • 100_0311 (Small).JPG
    100_0311 (Small).JPG
    54 KB · Views: 96
  • 100_0307 (Small).JPG
    100_0307 (Small).JPG
    42.9 KB · Views: 70
next install the pump and get the trim working which is a variation on the cats system, and fit the side rail turf again this was made off the roll
 

Attachments

  • 100_0318 (Small).JPG
    100_0318 (Small).JPG
    56.2 KB · Views: 89
  • 100_0319 (Small).JPG
    100_0319 (Small).JPG
    45.6 KB · Views: 70
  • 100_0321 (Small).JPG
    100_0321 (Small).JPG
    45.6 KB · Views: 59
  • 100_0326 (Small).JPG
    100_0326 (Small).JPG
    35.3 KB · Views: 56
and this is a few pics all finished with the graphics on now just waiting for a break in the weather so i can go watertest it:Banane01:
 

Attachments

  • 100_0333 (Small).JPG
    100_0333 (Small).JPG
    42.4 KB · Views: 87
  • 100_0330 (Small).JPG
    100_0330 (Small).JPG
    40.6 KB · Views: 44
  • 100_0332 (Small).JPG
    100_0332 (Small).JPG
    34.4 KB · Views: 79
lol well thats about it hopefully going to get it on the water sunday to check ive rememberd to do all the bolts up. will try and get a mate to get some pics of her in action at some point.
regards sprocket
 
Cheers guys well aprecaiated the nice comments. the storry behind the ski is i bought it about 4 years ago after i ripped the nose off my square, I was compeating in the jsra (british freestyle) championships so needed a new boat for that it started as a 96 which had been subed into a breakwater and all the frount was trashed so i repaired and swapped most of the stuff from the square and had it sprayed gold as you can see in the avatar, well retired now so the ski needed a well deserved make over and a lot of long needed repairs and this was the finifshed article which im well happy with. ill try and get some more pics of the engine bay as theres a few trick bits in there as well.

just a couple of thanks for the help chris giles at ATP for building the one off hood hes been very suportive for me and a lot of other guys in the sport and my mate Matt hards whos just started a graphix bussynes Kalido desighn who did the stickers sweet job mate
 
Last edited:
Top Bottom