My square build w pics/?'s

DaUpJetSkier

I like square
Location
Marquette, MI
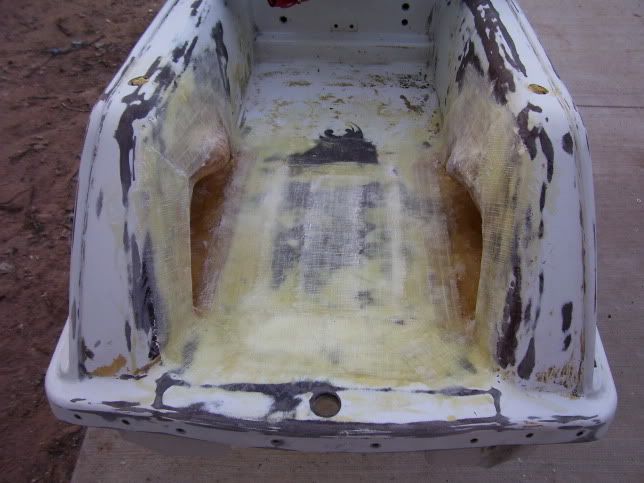
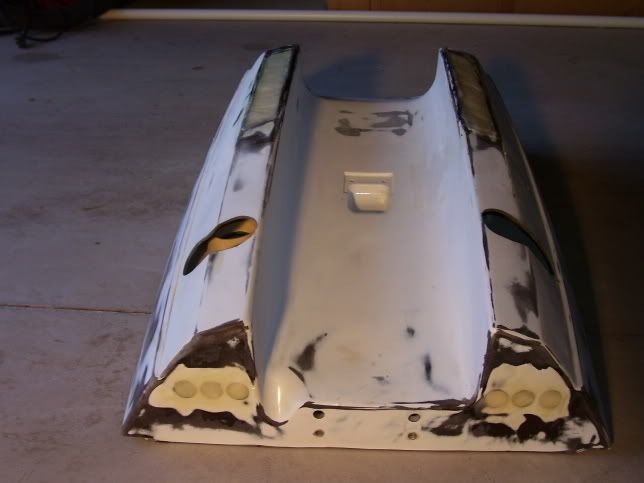
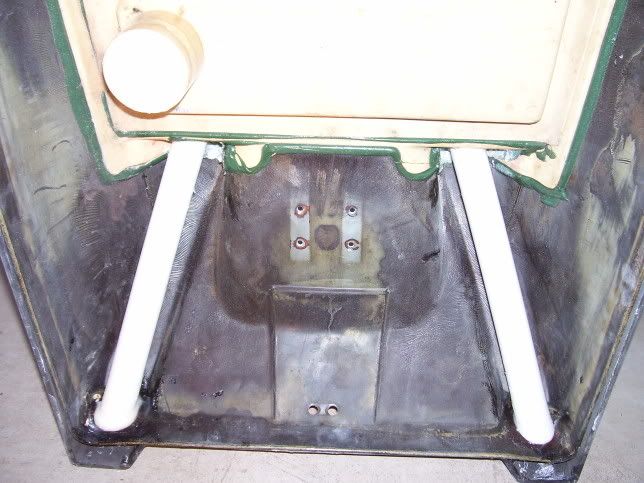
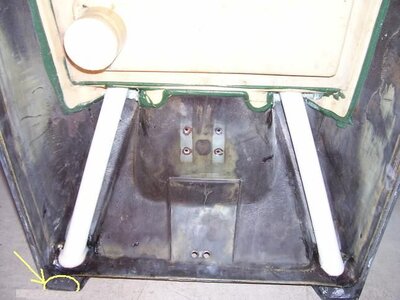
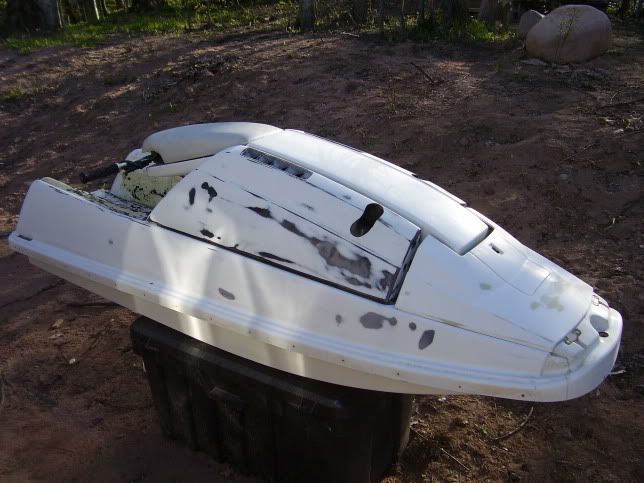
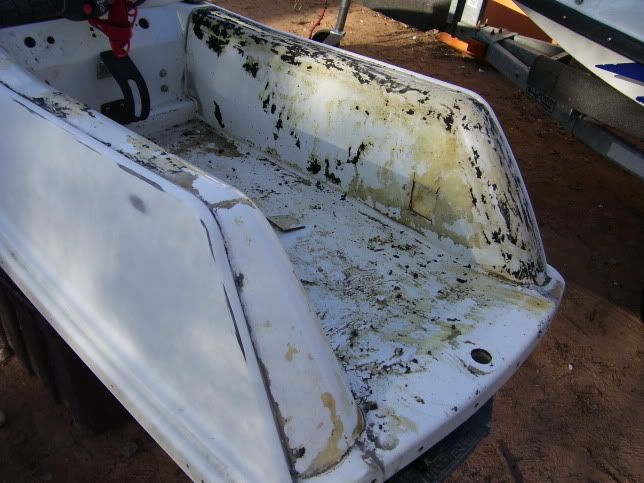
I started the sanding and dissasembly over the past two days, my plans are footholds, kit, and basically some appliance epoxy paint and some airbrushing which is a secret for now. Well for some reason I cut some holes for hand holds today, I dont know what I was thinking but I hope somone can help me out on what to do next. As you can see I cut the holes and took out the foam around them. Now what next? I dont wanna take out the liner because this is just a temporary build until next winter or spring when I can do some reinforcing. Anyways, can I just fill in the stock air openings and simply use the holes I made for air and everything? How about the holes in the front of the hood? I wanna do this simple and cheap. Btw, like any freestyler I dont want a lot of wwater coming in, I plan on getting some tubing for the inside and maybe blocking one hole but how much can I block yet still keep enough air coming in??

I'll update this along the way over the next 2 weeks, hopefully i'll be done by then.
buildup001.jpg

buildup002.jpg

buildup005.jpg

buildup004.jpg

buildup003.jpg

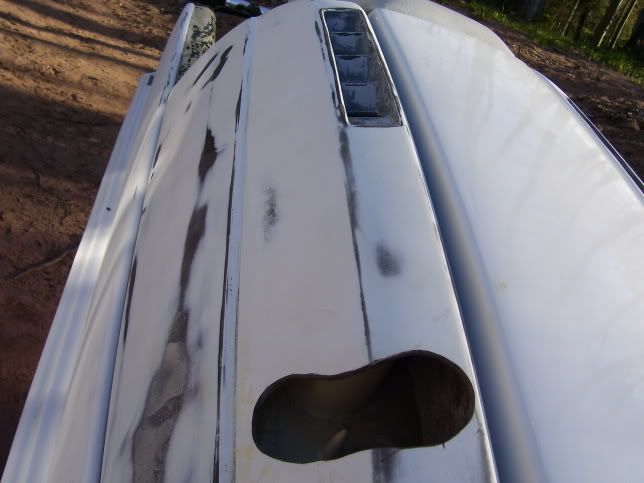
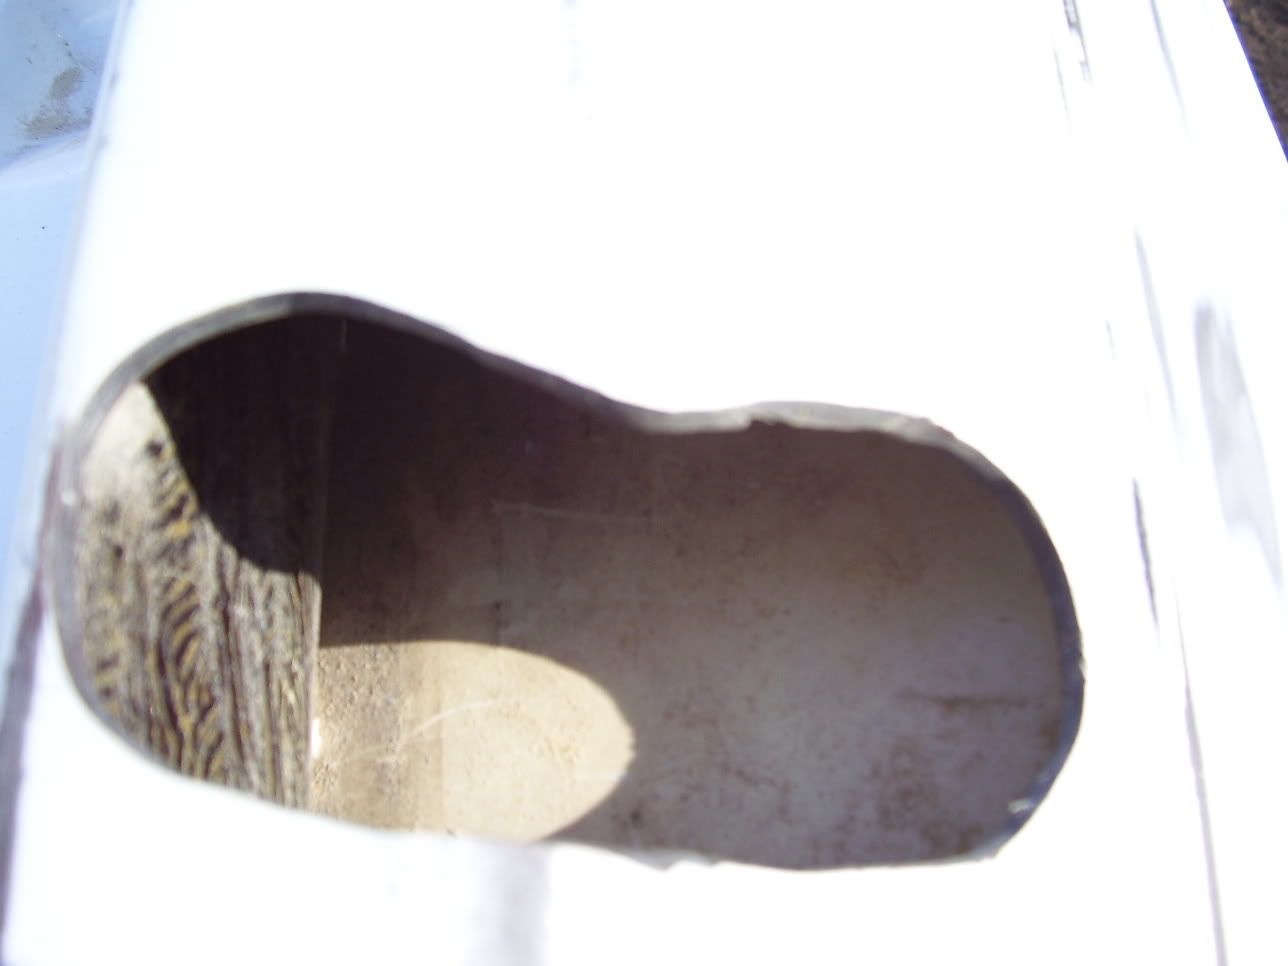
Im happy to find out the foam is dry as far as I cant tell by cutting out that small hole ;)
 
Last edited:
F

Freestyleriverrat

Guest
My foam was pretty much dry as well except for some small leaks at the bond line and a couple at the rideplate bolts. You won't reall know unless you start diggin. Keep the pics comming :biggthumpup:
 
F

Freestyleriverrat

Guest
The best way to do it is make it so the holds are seperate from the intake.......box them in on the inside. Then glass or epoxy the intakes in and reposition them on the back of the hood.
 

Frosty

New York Crew
Location
Western New York
yeah, you don't want to leave those hand holds open, you will get a lot of water in that way. I would just pop the liner out and do it up...
 

DaUpJetSkier

I like square
Location
Marquette, MI
thats what I didnt want to do this year, the guys at blowsion are supposed to be sending me some pics of a way I can fix it without pulling the liner.
 

DaUpJetSkier

I like square
Location
Marquette, MI
well footholds are in and setting with screws and resin, I'll pull them out later and start glassing. Started filling in the vents in the hood and also the holes in the front. Im not going to mod the hood liner, just seal those and then add 1" pvc vents from the back of the hood to the hood liner. I should have enough air but not quite as much water as my current setup with the hand holds in. I'll post pics when i get more done cuz youve all seen glassed footholds and and a nasty tray.
 

Frosty

New York Crew
Location
Western New York
DaUpJetSkier said:
well footholds are in and setting with screws and resin, I'll pull them out later and start glassing. Started filling in the vents in the hood and also the holes in the front. Im not going to mod the hood liner, just seal those and then add 1" pvc vents from the back of the hood to the hood liner. I should have enough air but not quite as much water as my current setup with the hand holds in. I'll post pics when i get more done cuz youve all seen glassed footholds and and a nasty tray.

Cool. Hey, instead of PVC try using some reinforced flexible pool hose from home depot of lowes. You can buy it by the foot, and it's pretty cheap. This way you can flex and bend it to fit better.

Keep the pic coming bro... I love watching builds.
 

DaUpJetSkier

I like square
Location
Marquette, MI
heres how far I am as of tonight. Basically all I have to do is scuff up some more areas, sand the hood where I glassed, paint, turf, and assemble. This warm weather is going to kick me in gear and have it done by friday I hope.
buildup012.jpg

buildup011.jpg

buildup007.jpg

buildup009.jpg
 
Last edited:

DaUpJetSkier

I like square
Location
Marquette, MI
k well I used one piece of glass to cover up the vents and just made a pasty bondo like stuff from epoxy resin and the filler from blowsion, I still have to sand smooth. I also filled in the 6 holes in the front with a layer of glass and just smoothed it out. I just cut my own hand holds to what i thought will work, I still need to smooth them out. As far as the new air intake goes I got some pvc a lil bigger than an inch and its thin wall type, I drilled a hole going into the liner as you can see then another hole going from the inside of the hood to the open area where the hood sticks over on the rear of the hood. I dremeled the holes to make the pvc fit perfect and I also cut angles in the pvs to make it fit flush, sealed it all up with that mixture of epoxy. i also took the top of a spray paint can and sealed up one hole and im gonna play with that to see if its needed or not.
 

Rickster

Matakana Menace
I could not tell fromthe pics, but if that 1" does not go through the hood, and only into the area between the hood seal and hood flange, make sure that you dremel out a nice half circle like in the picture.
 

Attachments

  • buildup009.jpg
    buildup009.jpg
    48.7 KB · Views: 163
Last edited:

Rickster

Matakana Menace
DaUpJetSkier said:
why?, I was just thinking but does that practically sit flat over the hull so really no air could get to it anyways?? makes sense if thats true.

There will not be enough flow of air under the hood skirt, and your engine will starve.

I'm not a Mechanical Engineer, but I have to agree with SFL, and I think two 1" tubes will have a hard time feeding a 44 mikuni.:27:
 

Frosty

New York Crew
Location
Western New York
You're going to leave the hand holds open like that? No buckets or anything? That will give you plenty of air flow to the carb... but plenty of water too I would think...
 
Top Bottom