- Location
- Downers Grove
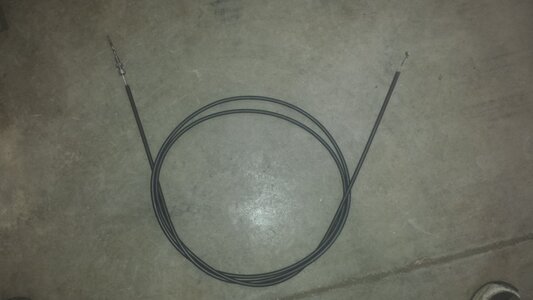
A few pics of how I make my own trim cables.
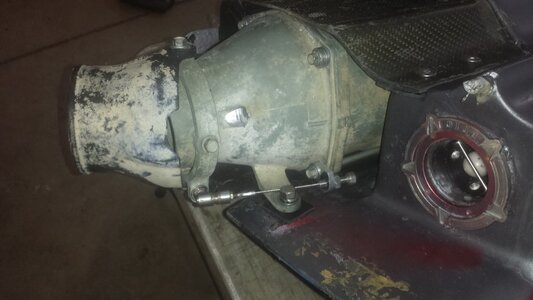
It is fairly easy to do, but you will need a lathe and drill press. I use a spool of wescon cable conduit (ok I only bought enough to do my cable since there`s a place near me that sells it by the foot). you can order it online through amazon/ebay/mfg supply though. I use 3/32 cable as it is the largest conduit that seems to be commonly available and is significantly bigger than all of the commercially available trim cables. The conduit is wescon part number 485280 it accepts 3/32 cable and is 9/32 OD......so you will have to drill that trim lever cable adjuster out to get it to fit.
For the inner cable I use stainless steel aircraft cable. In the cable I made for my first superfreak I just went to home depot and bought a length off the rack, I don`t even know if it was 7x7 cable or 7x19. It has held up for at least 4 years though. On this cable I had ordered the inner cable off e-bay and I believe it was 7x19 strand stainless.
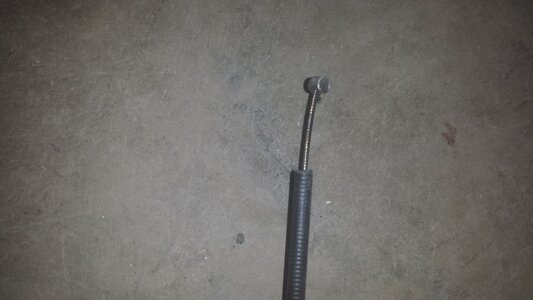
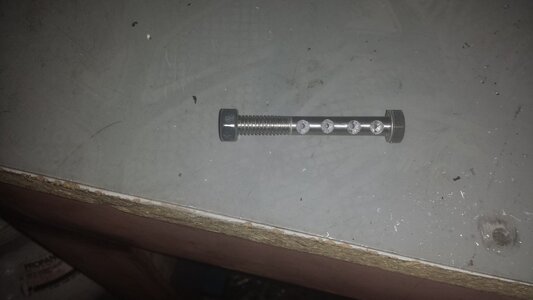
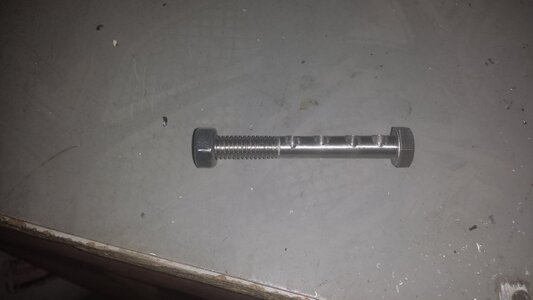
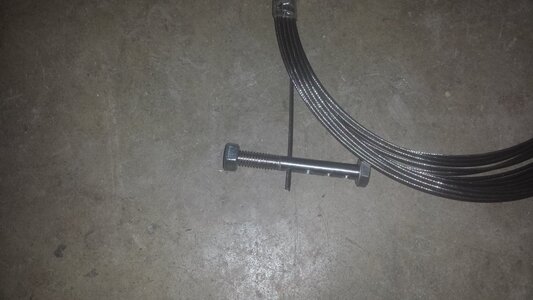
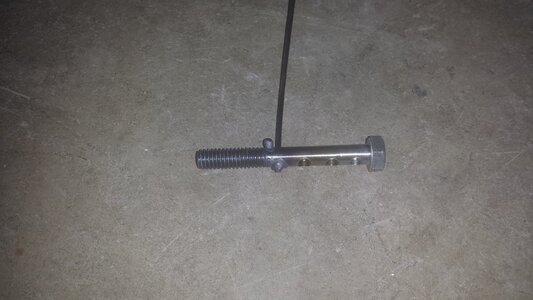
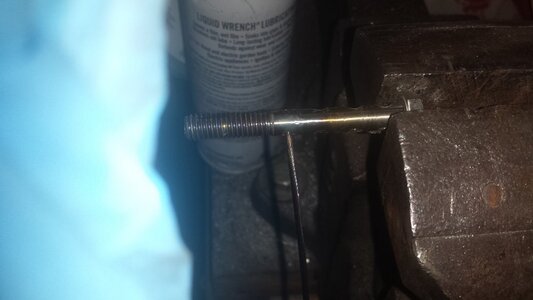
For the barrel end that goes into the lever I make them myself out of a stainless bolt. On this lever a 5/16 " barrel was slightly too big to fit the lever so I had to cut the diameter of the bolt down with the lathe so it would fit. Then use the drill press to make a few holes through the bolt for the cable to thread through. Make them slightly larger than the cable and chamfer one side of the hole to make it easier to slide the cable through. The other side needs to be drilled quite a bit larger so that you can fill the hole back in with silver solder or braze. Now heat the bolt up with a torch until it starts to glow red, move the torch away from the hole and towards the end of the bolt, slide the stainless aircraft cable in and solder it in place with silver solder or braze it with brass. You want the bolt to be red and melting the solder, but you don`t want to get the aircraft cable red hot as it will make it fragile. Thats why I drill several holes in the bolt, sometimes I don`t get a good joint on the first try. If you have several holes you can just cut the cable off and move over one hole.
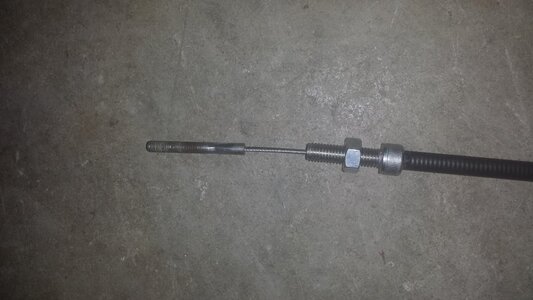
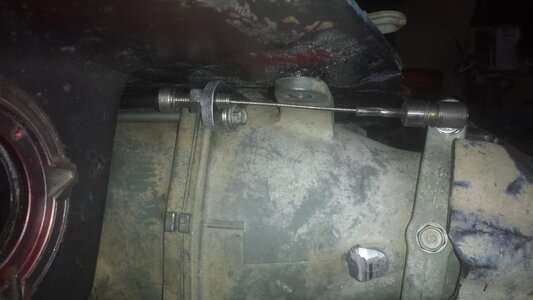
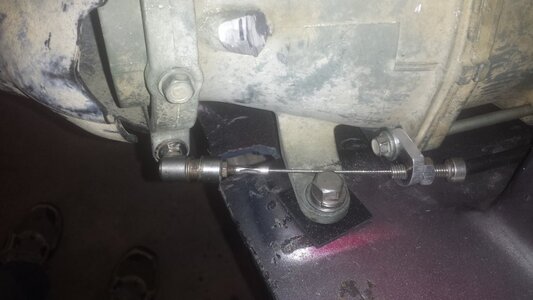
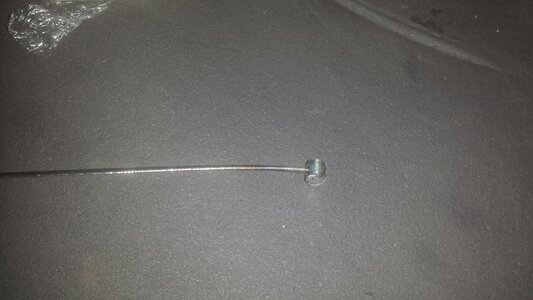
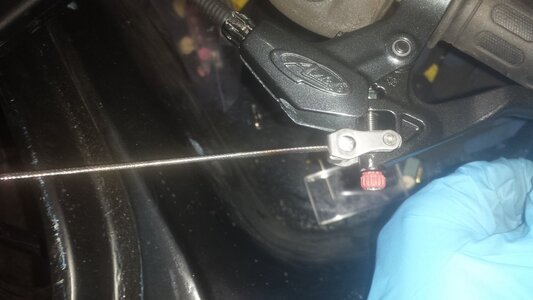
On all my other cables I just used a bolt and a couple washers to trap the cable on the trim end. This time a went a bit further. I drilled a 8x1.25mm socket head cap screw (stainless of course) to make an adjuster for the trim end. Then since I had a couple of broken steering cables I salvaged the ends of those, cut them down and drilled it out so I could crimp it onto my cable. That way not only do I have a joint that swivels, it will also make up for the misalignment in my trim setup and is a quick connect. I thought that I would be able to use a 10 ton wire crimper to crimp the end on.....but it was not strong enough to crimp all the way. I ended up putting the dies in my 20 ton press. so if you don`t want to buy a crimper you can always buy the dies off e-bay for less than $10 and use your own press.
It is fairly easy to do, but you will need a lathe and drill press. I use a spool of wescon cable conduit (ok I only bought enough to do my cable since there`s a place near me that sells it by the foot). you can order it online through amazon/ebay/mfg supply though. I use 3/32 cable as it is the largest conduit that seems to be commonly available and is significantly bigger than all of the commercially available trim cables. The conduit is wescon part number 485280 it accepts 3/32 cable and is 9/32 OD......so you will have to drill that trim lever cable adjuster out to get it to fit.
For the inner cable I use stainless steel aircraft cable. In the cable I made for my first superfreak I just went to home depot and bought a length off the rack, I don`t even know if it was 7x7 cable or 7x19. It has held up for at least 4 years though. On this cable I had ordered the inner cable off e-bay and I believe it was 7x19 strand stainless.
For the barrel end that goes into the lever I make them myself out of a stainless bolt. On this lever a 5/16 " barrel was slightly too big to fit the lever so I had to cut the diameter of the bolt down with the lathe so it would fit. Then use the drill press to make a few holes through the bolt for the cable to thread through. Make them slightly larger than the cable and chamfer one side of the hole to make it easier to slide the cable through. The other side needs to be drilled quite a bit larger so that you can fill the hole back in with silver solder or braze. Now heat the bolt up with a torch until it starts to glow red, move the torch away from the hole and towards the end of the bolt, slide the stainless aircraft cable in and solder it in place with silver solder or braze it with brass. You want the bolt to be red and melting the solder, but you don`t want to get the aircraft cable red hot as it will make it fragile. Thats why I drill several holes in the bolt, sometimes I don`t get a good joint on the first try. If you have several holes you can just cut the cable off and move over one hole.
On all my other cables I just used a bolt and a couple washers to trap the cable on the trim end. This time a went a bit further. I drilled a 8x1.25mm socket head cap screw (stainless of course) to make an adjuster for the trim end. Then since I had a couple of broken steering cables I salvaged the ends of those, cut them down and drilled it out so I could crimp it onto my cable. That way not only do I have a joint that swivels, it will also make up for the misalignment in my trim setup and is a quick connect. I thought that I would be able to use a 10 ton wire crimper to crimp the end on.....but it was not strong enough to crimp all the way. I ended up putting the dies in my 20 ton press. so if you don`t want to buy a crimper you can always buy the dies off e-bay for less than $10 and use your own press.
Attachments
-
 20190206_110318.jpg53.5 KB · Views: 65
 -
 20190206_110327.jpg49.6 KB · Views: 64
 -
 20190206_110336.jpg47.3 KB · Views: 63
 -
 20190206_110413.jpg94.6 KB · Views: 64
 -
 20190206_111452.jpg93.9 KB · Views: 66
 -
 20190206_115105.jpg61.7 KB · Views: 66
 -
 20190206_115641.jpg102.1 KB · Views: 70
 -
 20190206_115731.jpg75.8 KB · Views: 72
 -
 20190206_121234.jpg43.8 KB · Views: 75
 -
 20190206_123913.jpg64.2 KB · Views: 79