Freestyle How to build ultimate square nose-sub-fountain-hood mod

Quick build instructions for everyone who has inquired in the past... and for everyone like me who is missing doing "Ole scoo tricks" having that dam BOB..;0)

Again these are just my recommendations after building numerous Squares and utilizing ideas from other members here i have found these specific techniques to best and ensure long subs and hood rides as well as ongoing fountains without stalling/flooding the engine bay.

"opinions will differ "

The build will be kept down to bare info and I will cut some corners which some of the new peeps on the board might want to follow up with additional questions, furthermore this is a budget build.
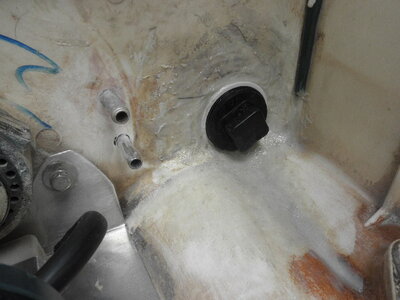
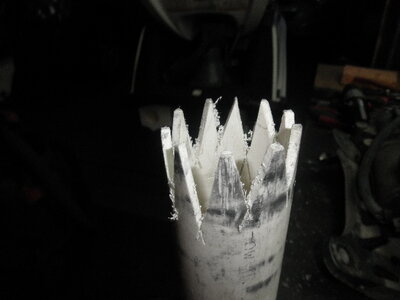
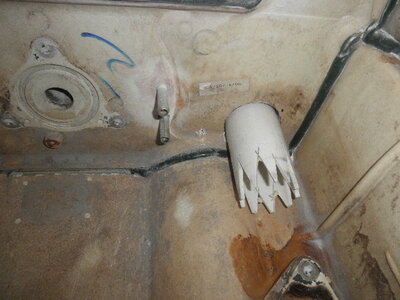
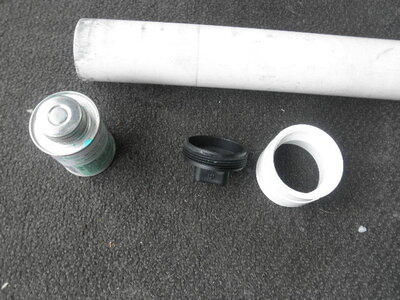
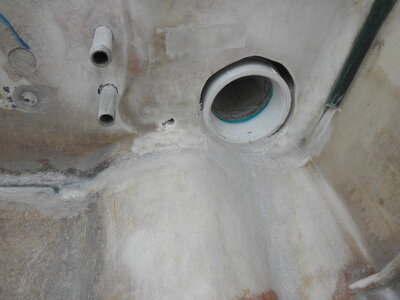
- SCUPPER
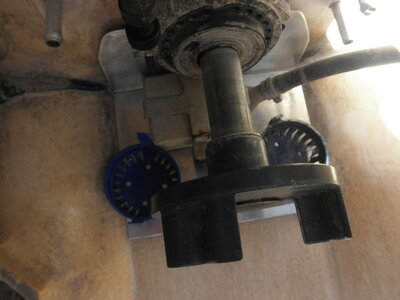
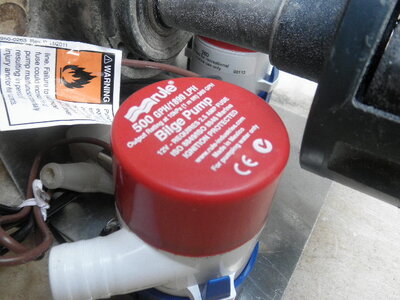
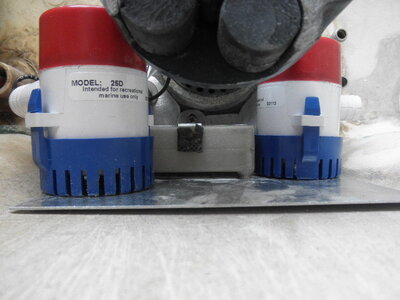
- DUAL RULE 500 BILGE & PLACEMENT OF BILGE OUTLET
- DUAL COOLING
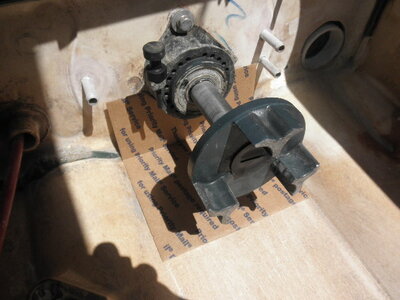
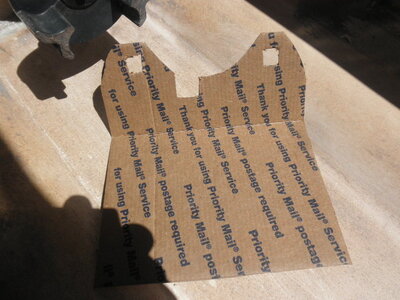
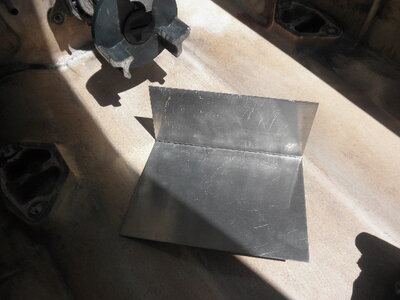
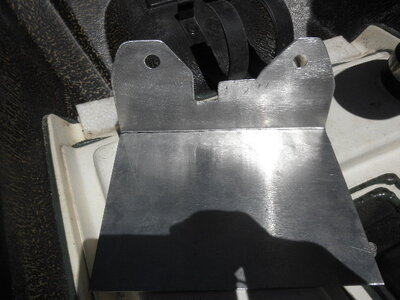
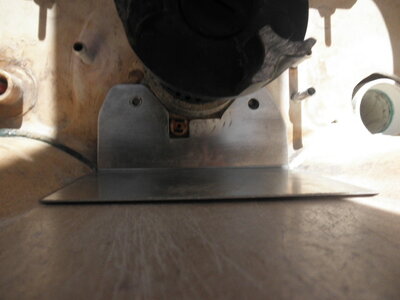
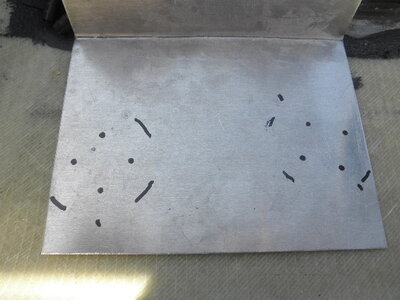
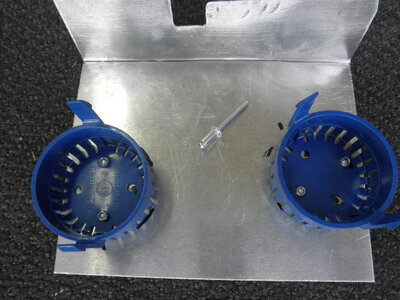
- CUSTOM ALUMINUM PLATE FOR BILGE & OEM BILGE
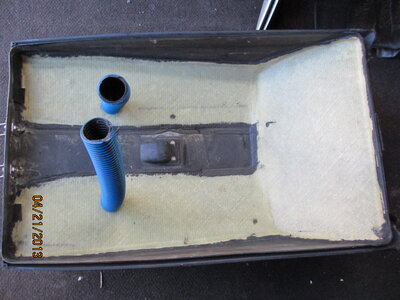
- HOOD MOD & HANDHOLDS
- HOOD STRAP & HOOD SEAL
 

Attachments

  • P4180035.JPG
    P4180035.JPG
    82.1 KB · Views: 143
  • P4180037.JPG
    P4180037.JPG
    84.4 KB · Views: 132
  • P4180038.JPG
    P4180038.JPG
    82.5 KB · Views: 135
  • P4180039.JPG
    P4180039.JPG
    84.6 KB · Views: 134
  • P4180040.JPG
    P4180040.JPG
    85 KB · Views: 139
  • P4180041.JPG
    P4180041.JPG
    84.2 KB · Views: 135
  • P4180042.JPG
    P4180042.JPG
    85.5 KB · Views: 139
  • P4190043.JPG
    P4190043.JPG
    83.8 KB · Views: 134
  • P4190044.JPG
    P4190044.JPG
    82.9 KB · Views: 137
Last edited:
-with an extended drill you drill a second cooling line >> stick another rod into existing cooling line drill parallel
-Home depot 2" white pvc line, some glue, end cap with thread, and screw on end cap >> this will allow to screw the cap on and close the scupper off
- I choose to ramp the scupper to make it easier for water to leave the engine bay, place scupper as far down as possible

- AT this point nothing has been sealed with 5200 yet !!
 

Attachments

  • P4190045.JPG
    P4190045.JPG
    84.5 KB · Views: 139
  • P4190046.JPG
    P4190046.JPG
    87.2 KB · Views: 132
  • P4190047.JPG
    P4190047.JPG
    85 KB · Views: 139
  • P4190048.JPG
    P4190048.JPG
    87.3 KB · Views: 138
  • P4190049.JPG
    P4190049.JPG
    77.5 KB · Views: 133
  • P4190050.JPG
    P4190050.JPG
    84.5 KB · Views: 147
  • P4190056.JPG
    P4190056.JPG
    82.2 KB · Views: 163
Last edited:
- "quick" fabrication of aluminum plate that will allow for oem bilge and dual 500's or what ever you wish to have >> i preferr not to glue the bilges down thus they come loose

- Hood mod, most fun ever....
>Remove old liner completely...
>Close front Holes
>Close top Holes
>Install Handholds of your choice ( these are 750 SX buckets that can be molded to fit by grinding and heating and bending them )
>Install Liner ( used 17 & 12 )
>Drill Hole in bottom of hood corners
>Grind inner corners out of Hood
>The Additional Hood air intakes are from Westmarine ( $ 3 ) each, they will have the cut down
>The breather tube is from Homedepot ( spa equipment )
>Drill Holes ( pic 4 ) for bilge outlets , make sure to not be to close to rubber seal ( the bulk inside underneath will not allow you to put the nut on ).

The last pictures shows placement of your Bilge 45 Degree highest point to outside of tray
 

Attachments

  • IMG_0524.JPG
    IMG_0524.JPG
    120.1 KB · Views: 186
  • IMG_0525.JPG
    IMG_0525.JPG
    118.6 KB · Views: 171
  • IMG_0526.JPG
    IMG_0526.JPG
    107 KB · Views: 168
  • IMG_0527.JPG
    IMG_0527.JPG
    99.8 KB · Views: 165
  • IMG_0528.JPG
    IMG_0528.JPG
    84.2 KB · Views: 153
  • IMG_0529.JPG
    IMG_0529.JPG
    116.8 KB · Views: 167
  • IMG_0530.JPG
    IMG_0530.JPG
    119.1 KB · Views: 164
Last edited:
More Hood Mod pics

- The Liner is ONLY GLUED in with Adhesive, this will allow to be cut out at later time in case of any repair or access needed and will provide flexibility when hood is stressed
- Hand holds buckets or self made ones should be glued in and also attached to center for additional support
 

Attachments

  • P4210006.JPG
    P4210006.JPG
    83.9 KB · Views: 150
  • P4210007.JPG
    P4210007.JPG
    85.5 KB · Views: 136
  • P4210008.JPG
    P4210008.JPG
    78.5 KB · Views: 125
  • P4210009.JPG
    P4210009.JPG
    83.8 KB · Views: 116
  • P4210010.JPG
    P4210010.JPG
    85.9 KB · Views: 123
Last edited:
Finalization ( no pics yet )

* if your OEM hood seal is not 100% ok it will not seal !! Use new aftermarket hood seal if neccessary
* IMPORTANT all Hoods are different in lenght and size....go figure ?? preferrably modify the Hood that came with your ski
* Install Scupper of choice in rear
* Install Bilges make sure the actual bilge does not rub on coupler/drive shaft
* Install Bilge Switch and wiring
* Install Hood strap
 
Last edited:
That's it .....if everything is done accuratly you should enjoy your extended stay under water ( sub's ) and riding that hood and spraying people for a very long time.... ;0) .

Feel free to post improvements, comments, feedback....
 
Thank you so much for posting these instructions! I am just now getting my feet wet with glass...trying to get my sn wave ready. Could I ask you two questions?

How exactly did you go about making the new liner?

Also, I see you made 4 holes in the back of the hood, 2 under each corner flange, which you said you then ground down. And in between those there are 2 more, for those you covered with 2 vent covers you said you got from west marine.. What is the reason for having 4 vent holes in the back instead of 2? All four are inside the new liner correct?
 
-New Liner template with cartboard ( free USPS shipping boxes these fold easy and are not to thick ) and duct tape ( leave a lip at the ends )
Lay one sheet liner 12 OZ let it dry and then remove cart board and duct tape , grind down and sand place the now fully dryed 12OZ glass in Hood and lay 17 OZ on top )
-The 2 Holes in corner flange inside are for water to drain out, the hood is ground down on corners to allow for 45 degree bilge fittings to be placed.
-The 2 large vents are actualy for air to come in ( replacing top hood oem and front vents ).

>> OEM Bilge Braket modified see pic 3 , this will move oem bilge closer to bulk head which allows for enough distance of bilges to driveshaft and coupler ( bend little metal straight , cut of U shaped and and bend over.
>> The Bilge sockets then are attached with rivets to custom plate
 

Attachments

  • P4220041.JPG
    P4220041.JPG
    84.8 KB · Views: 67
  • P4220042.JPG
    P4220042.JPG
    82.1 KB · Views: 75
  • P4220044.JPG
    P4220044.JPG
    86.4 KB · Views: 78
  • P4220045.JPG
    P4220045.JPG
    86.8 KB · Views: 68
  • P4220047.JPG
    P4220047.JPG
    83.8 KB · Views: 74
  • P4220048.JPG
    P4220048.JPG
    86.3 KB · Views: 74
Last edited:
More pics updated for bilge set up

The liner can be made 2 ways, I had the liner sit flush to inside hump and then up to lip of Hood ( where latch is ) this means each channel is run seperatly and just allows air and water to be combined at the end. You can also raise the liner to have it sit higher than inner pole hump but you might run into problems utilizing certain aftermarket pipes, it will alow for more airflow and combined chambers.

Today will be 5200 DAY ( currently at homedepot for $ 8.97 that is almost 50% cheaper than westmarine or wallmart )
 
Last edited:

NVJAY775

My home away from home.
Orangefinger's ski builds are super tidy and solid. Great guy and rider. He's helped me so much over the past few years, to get me and my skis where they are.

This hood mod is absolutely amazing. You literally can do fountains as long as you want the way it's vented. Great post!
 
Top Bottom