Brapp's 1987 Toyota 4Runner Build

This is a super high quality build with amazing attention to every detail! Thanks for posting it. I can't imagine how much fun it'll be to launch a pair of old stand ups with this rig. I think some nice vintage KC HiLites would finish this off nicely (I think I might have seen some in one of your photos if I'm not mistaken). Keep up the good work!
 
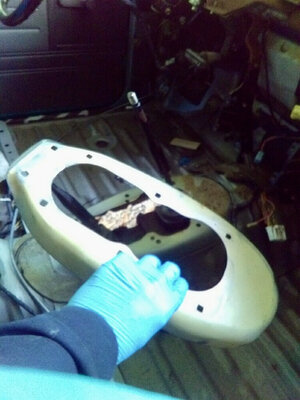
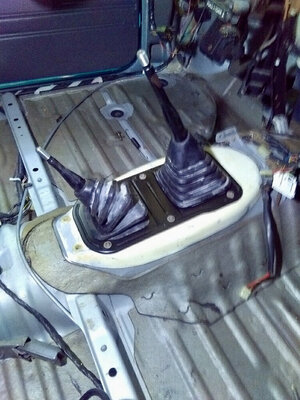
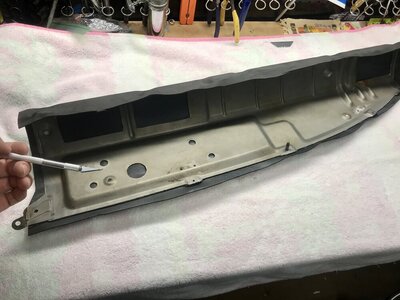
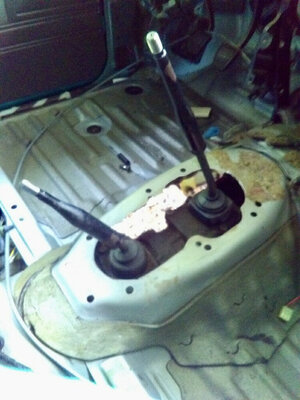
Being that this 4Runner was an automatic, I also had to deal with the transmission hump in the cab. This hole is designed to accept the automatic transmission and applicable trim for the shifter. Because I had a manual transmission donor vehicle, I opted to carefully cut the entire mounting out of the donor truck and overlay it into the new truck. Because these trucks for the most part were 95% the same, I was able to overlay the trimmed mount and basically "snap" it down onto the existing floor. I could then find the correct template for the metal I needed to remove from the new truck. I drilled the holes for the new mount also and used the same plastic inserts to secure the boot. I smoothed everything out along the edges and made sure I had a tight fit. I decided to silicone the underside of the new piece and insert the plastic inserts, which firmly held the piece in place. Boom, smooth as butter!
IMG_3504.JPG

IMG_3505.JPG

IMG_3506.JPG

IMG_3501.JPG

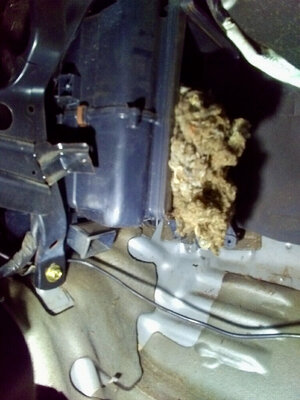
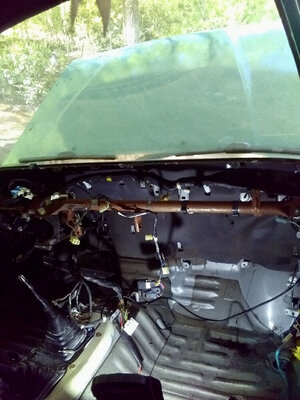
I had to remove the complete ducting system, heater core, fan and all the ducting. I had been losing a battle with a mouse that would not vacate the duct work! Kept eating the peanut butter off of the traps... Well I pulled his house, or I should say MANSION out and cleaned all of the ducting very thoroughly. That was a pain.
IMG_3503.JPG

IMG_3502.JPG


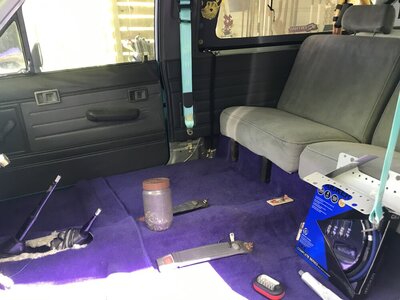
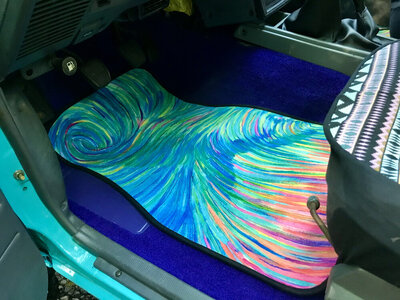
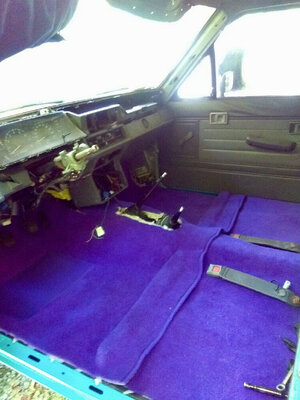
Finally after re-assembling the entire vent system, cleaning the pile off goo off the floorboard from the mouse waste (yuck) and also scrubbing down the entire floor pan 1 last time, I was able to install the front carpet. WOO HOO!
IMG_3500.JPG

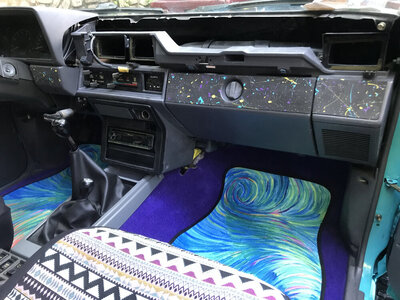
This had proved to be a very difficult process, The carpet is not trimmed to size nor does it have any holes for seatbelts and console mounting. So, fitment was very nice after a couple hours of slowly and carefully trimming the pieces to fit. I was also able to install some of the dash not that the "mouse house" was removed.

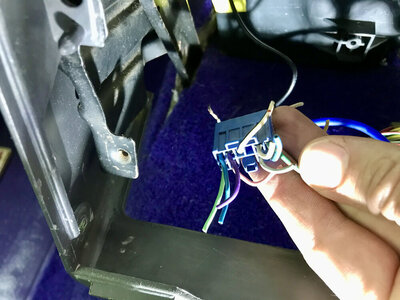
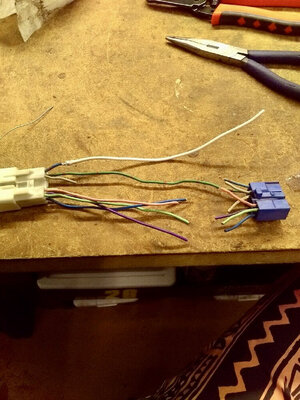
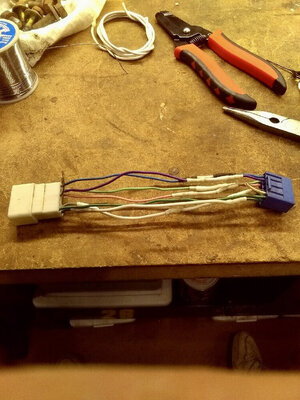
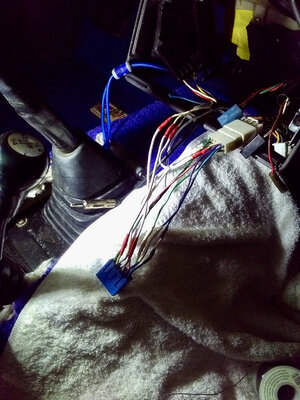
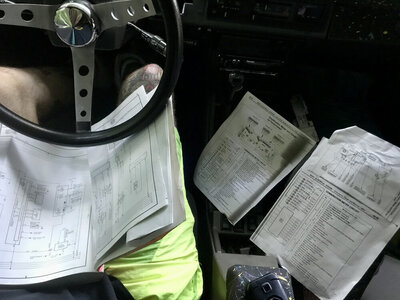
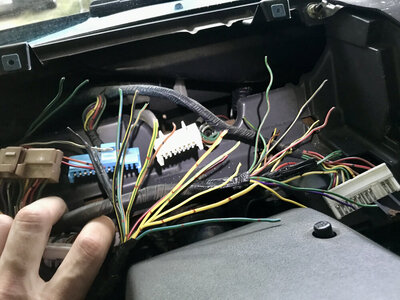
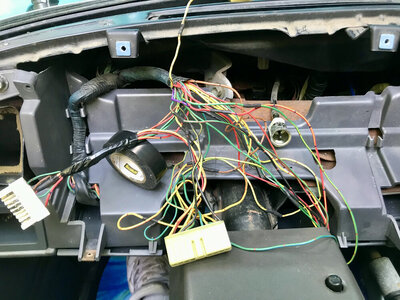
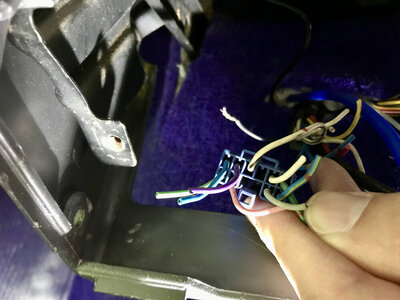
Onto greener pastures, I started to take closer look at the radio wiring and wiring in general. I found all of the proper locations for relays and fuse panel mounting/buzzer etc. I did all of the wiring for the amplifier/subwoofers and routed everything neatly underneath the carpet/panels/console. The real challenge was fixing the trashed radio wiring harness! Luckily I enjoy soldering and pinning connectors so I was excited to fix this disastrous mess. I have a few OEM Toyota service manuals that were very helpful for getting everything sorted and connected properly. I started with this garbage...

IMG_8042.jpeg

IMG_8043.jpeg

IMG_8044.jpeg
 
I reconnected each wire, double heat shrink on all the connections.

IMG_3499.JPG

Looking good...
IMG_3498.JPG

Nice! Now onto the vehicle harness...

Boom. All connections soldered and double heat shrunk.
IMG_3497.JPG

And we have lift off. Things started going quickly after that, I was too excited to stop and take too many pictures... Engine and transmission went in with no hiccups. A few pieces showed up and I was able to nearly complete the interior!

2E6E226A-EAE8-46C4-93FE-AE30E943972E.jpeg
IMG_8055.jpeg

IMG_8083.jpeg


SO LONG, AND THANKS FOR ALL THE FISH!!!
IMG_8056.jpeg

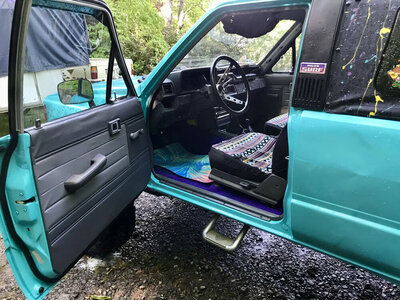
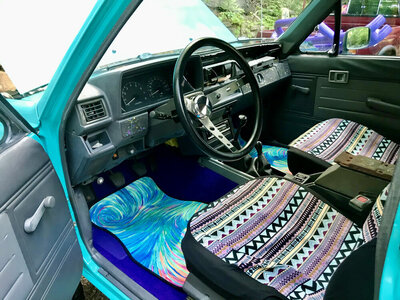
This interior package had a 'Woodgrain" trim package. I didn't like it, but when I peeled the "wood" off the dash it left glue marks... SO I got creative. I found thin "craft foam" at the craft store, Basically super thin Hydroturf! I trimmed the pieces out, painted them, and installed same as turf. Voila, custom dash!
IMG_8061.jpeg

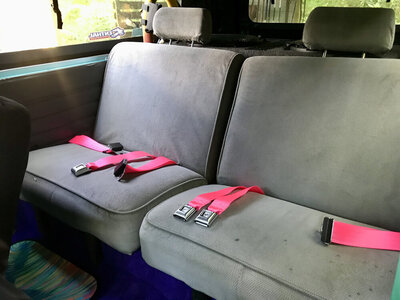
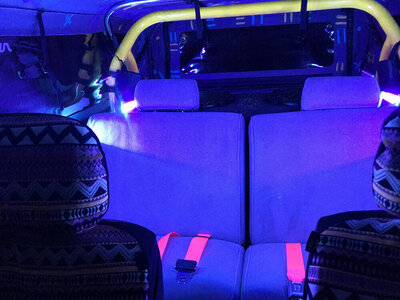
Grey rear seat belts? BORING... lets make it pop.
IMG_8058.jpeg

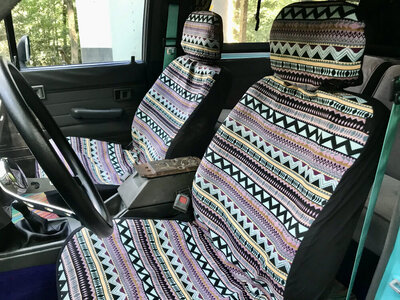
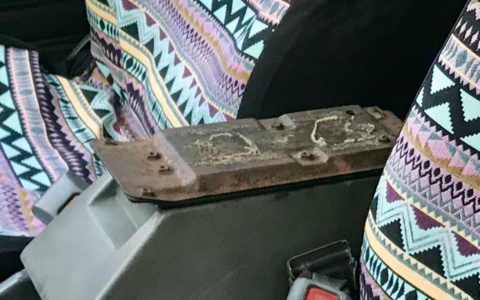
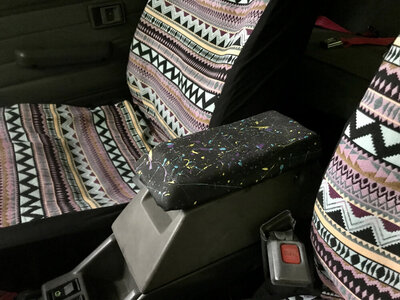
I decided to save some money and time and just use these el-cheapo seat covers for my roached original seats... Looks good to me! Notice the arm rest pad missing off the center console??

IMG_8057.jpeg
 
Last edited:
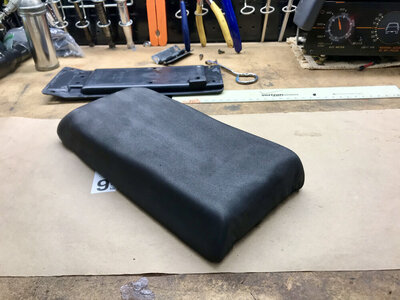
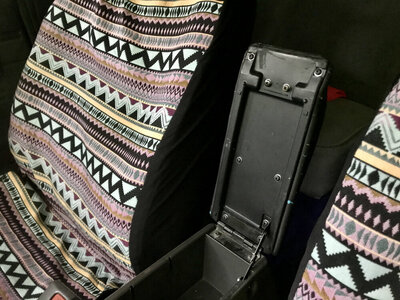
So the center console pad was missing...
Screen Shot 2021-06-07 at 1.36.56 PM.png

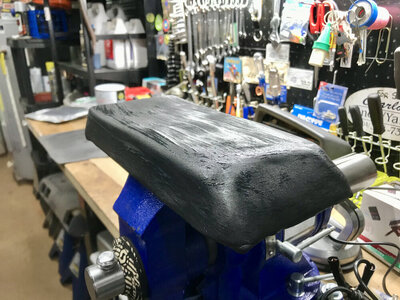
I removed the inner plastic and ran a tap through the screw holes. I then placed a small piece of electrical tape over the holes from the side I was gluing. I had some extra underpadding and other collected foam throughout the years and used DAP to glue it down just like turf!

IMG_8084.jpeg

I then used the same "craft foam" to wrap this piece after I was happy with the shape I had created. Again, same method used to turf your ski... I used 2 layers of this foam, 1 over the other. First layer down and glued for 2nd layer...

IMG_8085.jpeg

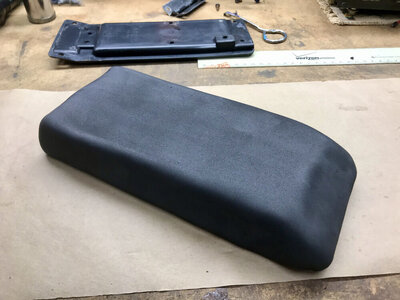
Layer 2 came out perfect!
IMG_8086.jpeg
IMG_8087.jpeg

Of course I painted it to match the interior... :cool:
IMG_8089.jpeg
IMG_8090.jpeg
 
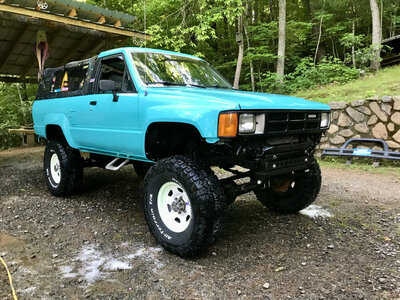
I have 1 picture of mid-engine install. This was taken just after I got the transmission and engine together and off the hoist. I was able to get everything sorted and cleaned up. Lucky for me everything went smoothly and the truck fired up after a bit of cranking! Now that the engine was in, I could go ahead and get the new tires. I had also cleaned up the stock 1985 wheels and prepped them for the new tires. I had those tires installed and brought them home to put on the truck! They looked fantastic. I pulled her out and gave her a bath for the first time in a looong time.
IMG_8030.jpeg
IMG_8059.jpeg

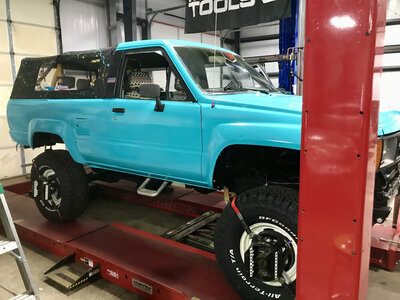
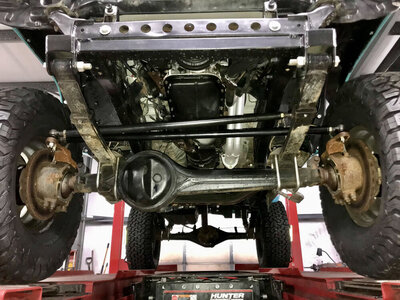
I decided to go with 33x12.50 by 15" for the tires. I am at 5.29 gearing which is proper for 35" tires but I like the added torque of the smaller tire size and aesthetically prefer the 33" tire. After the bath, I drove the truck on its maiden voyage down to a friends shop. I needed to align this beast and with a proper rack it was easy. KEEP IN MIND, because of the SAS and U-bolt flip kit, I have no shocks! Driving the 1.5 miles down to the shop at 20mph was the most wobbly and bouncy ride ever haha high lift leaf springs and no shocks is downright DANGEROUS!!!

IMG_8077.jpeg
IMG_8081.jpeg


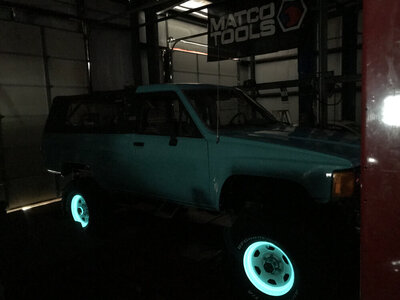
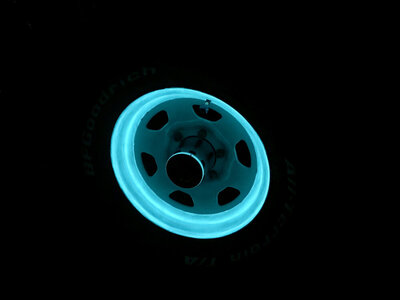
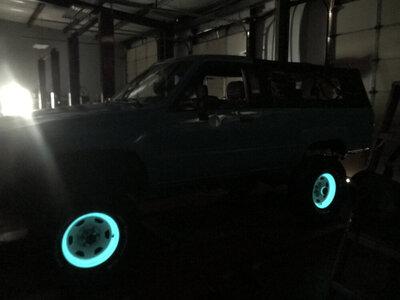
I had a unique Idea for these wheels. Some special paint. I did a lot of research and testing before deciding to try and pull this off. I painted the wheels White and then taped off the inside area. I then applied 5 coats of exterior glow in the dark paint. After curing I clear coated the wheels. The result? Next level chit.
Everybody at the shop wanted to see the wheels glow... So they shut the lights off and everybody let out a nice "WOAHHHHAA". I thought people might not get it, but the good ol' boys at the shop were all over it! I was happy to get that reaction.

IMG_8072.jpeg
IMG_8073.jpeg
IMG_8074.jpeg

I said it before, and i'll say it again... I'M FROM ANOTHER PLANET YO
IMG_5390.GIF
 
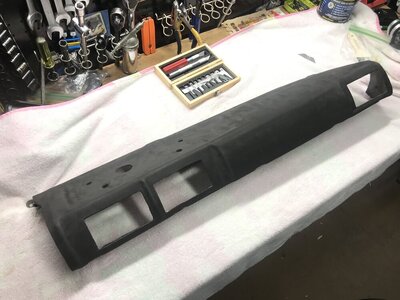
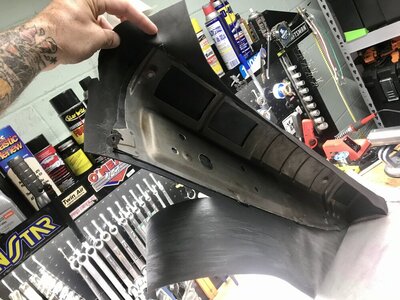
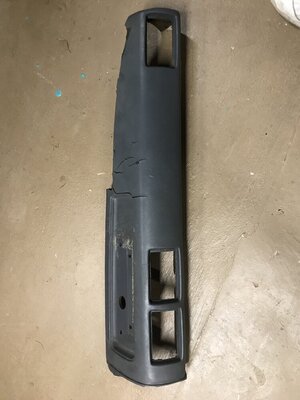
My dash was cracked like every other Toyota dash from that era. There are a few options but in the end I decided to go for it and do a custom dash. I’m fairly proud of how this came out, considering the methods people are currently using to repair their dash. I haven’t seen anyone do this but it seemed to come out well! The first thing I did was strip the old dash down to the bare base plate. There were stamped grooves and areas I wanted to fill so I opted to use regular old bondo to fill the gaps. I didn’t get many pictures of this process but it was a major pain!
D844A538-D507-4004-A892-2B0EDED2F450.jpeg8875090B-9054-498C-8436-B28235F355BC.jpegDCC06A02-9DC6-47C7-9D5E-629D7B75DB13.jpeg

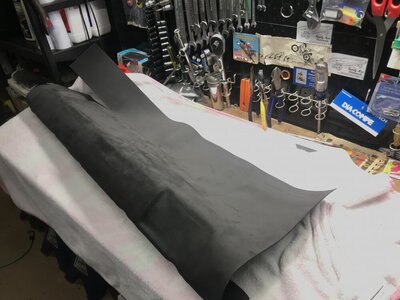
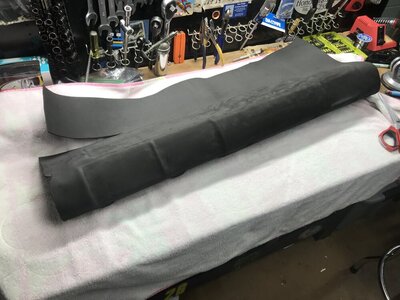
After the bondo was cured and sanded, I began to “turf” my dashboard. This craft foam is very thin and therefore stretches easily to work and conform in tight areas. Because of that, I used 2 layers.

9866534E-523E-4026-BCB0-7286FC8DD914.jpeg
9ED972D5-8F32-4D54-BD0D-4B897BBC14BD.jpeg

Layer 1 complete! Let’s go for 2...

0AEFA062-D4F1-4684-8C0F-9E27443922DB.jpegD2A80ECF-1338-476D-8B1B-A870138BB461.jpeg02F73B6F-7DCC-4D53-97B7-5829575B7E60.jpeg

When the 2nd layer was down, I grabbed my exacto knife and opened up the vents and mounting holes for the inclinometer!

0A5AD8B2-9C56-4FF9-82CA-159025918543.jpeg
 
Last edited:
GRAVITRON

IMG_8145.jpeg
IMG_8142.jpegIMG_8144.jpegIMG_8146.jpegIMG_8147.jpegIMG_8149.jpeg

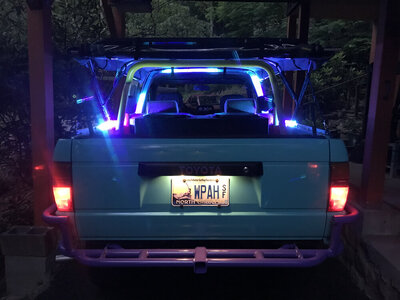
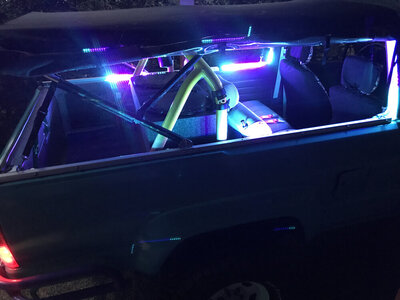
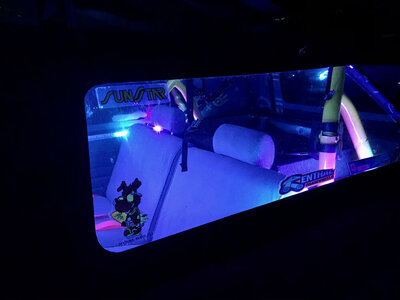
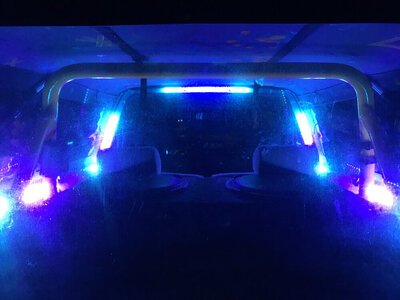
More updates and changes to come... Still have a handful of surprises left! I'll upload some video of the chaser lights later...
@smokeysevin I usually keep secrets but I have tested this type of paint on MANY projects throughout the years and found it to be nearly indestructible on any surface. It works especially well in areas that are soft or stretchy. Any name brand HIGH QUALITY exterior grade latex paint. Not the cheap stuff. I'll be honest, the technique for splatter has taken me many years to perfect. Lots of ways to get the paint manipulated the way you want. Also, different types of paint act differently for splatter. I usually use Rust-Oleum for metal or anything I want "low profile". VERY easy to F this up, you only get 1 shot so practice a bunch before unloading on something that's hard to replace.
 
I admit, I have put my old yellow truck through some steps. But I have since become a much more “loving” Toyota owner. I had my fun on the trails, then it dawned on me one day. If these trucks will take such a beating and still keep running, imagine how long it will last if I take care of it! These trucks will probably last the rest of my life haha.
 
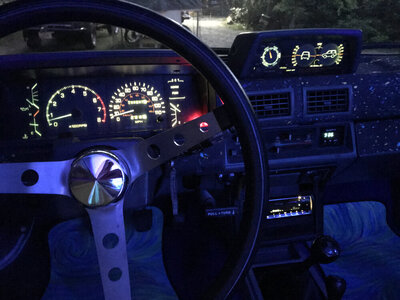
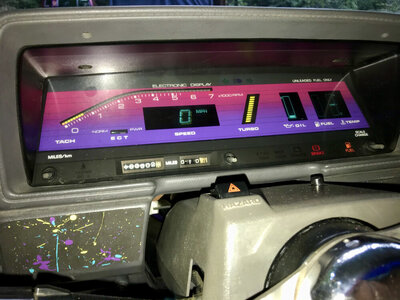
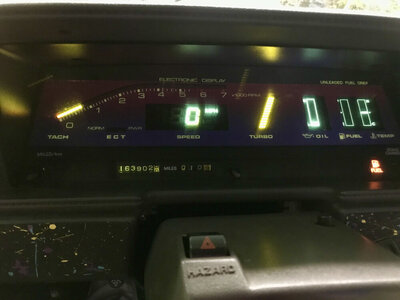
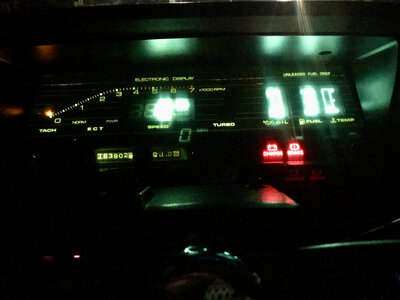
So, one of the last major upgrades I was hiding was the elusive Toyota DIGITA instrument cluster. Wait, what? Yeah, most people don't know this was ever available and it is pretty dang rare. Toyota had a limited production of 2wd turbo 4Runners, I believe 1987 was the only year these were made. They had a very special digital instrument cluster. You might assume that the dash is a plug and play... its not. This cluster requires not only the wiring harness from the donor vehicle, but also a lot of re-pinning and soldering. Ive only seen this done once before and it was not a "permanent" install. I knew from the very beginning I was going to do whatever it takes to install this instrument cluster into my truck. I personally decided that I was going to do a permanent install on my truck because I have no intention of going back to an analog cluster. Ironically, I have 2 of these clusters but only 1 harness. So I do have a spare just in case I need it in the future.

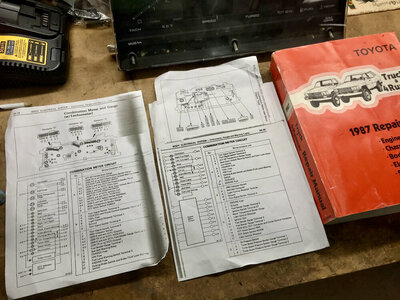
Anyways, I made a "cheat sheet" from scanning pages out of the service manual and started to work.

IMG_8165.jpeg
IMG_8164.jpeg

I hope you like fireworks...

IMG_8154.jpeg

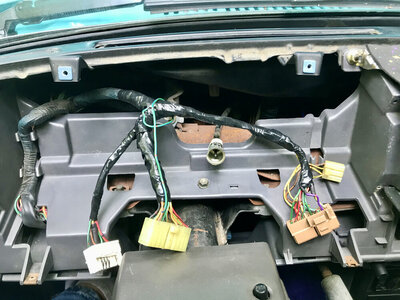
When I get to work, I GET TO WORK. I skipped taking photos as usual to crush through. after the soldering and a quick check to verify the dash worked, I began to separate the wires and tape them correctly. I un-pinned a few of the wires to untangle them and get a clean looking factory layout.

IMG_8167.jpeg

The result...

IMG_8168.jpeg

You might be wondering what the extra green wire is for... This dash has a really neat function called "fuel scaling" it allows the driver to change the sale of fuel on the meter. Basically you can make the whole gauge show what is in 1/8 of the tank, so you can know almost exactly how much fuel is left not just 1/8 of a tank now you can see that 1/8 spread over the entire gauge. Kinda useless but cool. Anyways you need the fuel sending unit from the digital donor vehicle also. This gauge will not work unless you use the corresponding fuel sending unit. The green wire is for the 3rd fuel sending unit wire that lets you operate the scaling. I have not installed this fuel sending unit yet because the windings are shot and I will eventually "rewind" the rheostat for the gauge and hopefully it will work. But for now I have no problem using the odometer counting miles on my trip reset to know when to refuel. Besides, I don't drive very far most of the time.

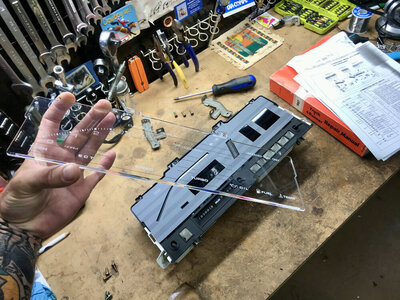
While cleaning the cluster I noticed the display came apart in 3 pieces... You know what that means :p

IMG_8166.jpeg

COME GET SOME!!!

IMG_8172.jpeg
IMG_8169.jpeg
IMG_8174.jpeg
 
Top Bottom