Super Jet 96 Superjet rebuild from the ground up

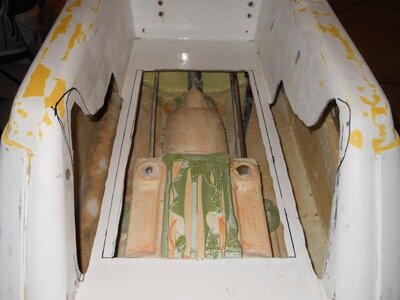
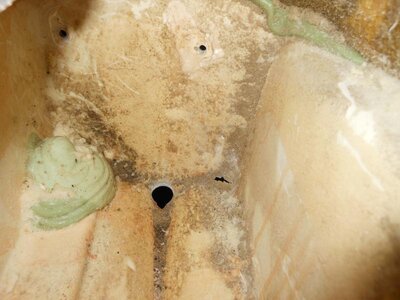
I have finally finished defoaming... mostly. I still want to get in there with some 80 grit to finish removing the remains. It took me longer than I expected mostly because I have a 7 month old at home and I have to fit garage time in when I can!

Pirate- it wasn't too bad. It deffinitely would have been easier removing the whole tray- but if I had to do it again, I would do it the same way. The best tools for the job as others have said are a wire wheel on an extension, a hacksaw blade, and a chisel. Really, it was a piece of cake- just takes time.

JJC- I dig that tray! That's pretty sweet! I am still fiting my footholds in, so I'll have to trim the tray either way.

Here's what I've got so far.
DSCN0504.jpgDSCN0505.jpgDSCN0506.jpg

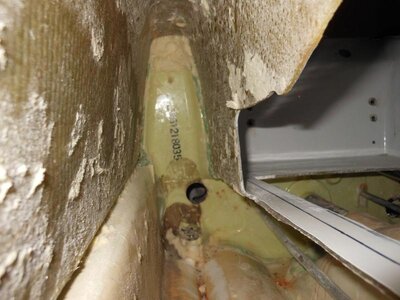
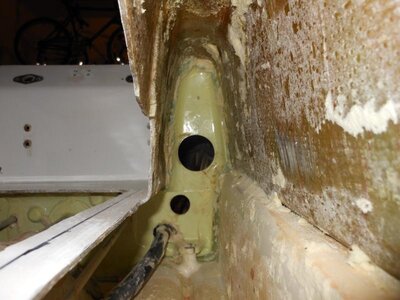
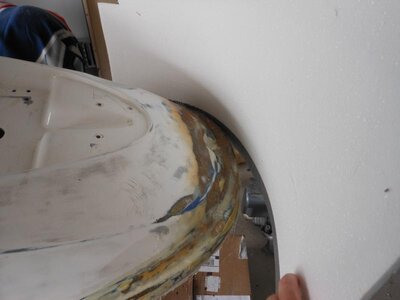
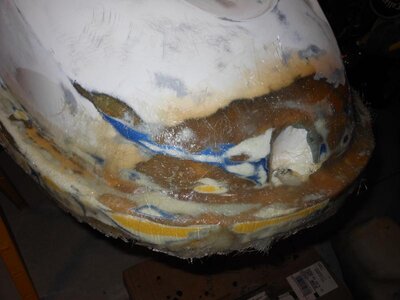
The next step after cleaning it up is to fix the holes in the bottom corners of the hull. The chines were damaged, so I ground out the bad stuff. This is what it looks like from the inside. I still have to bevel the edges for the two-sided repair, but that's for tomorrow!
DSCN0508.jpgDSCN0510.jpg
 
I have finally finished defoaming... mostly. I still want to get in there with some 80 grit to finish removing the remains. It took me longer than I expected mostly because I have a 7 month old at home and I have to fit garage time in when I can!

Pirate- it wasn't too bad. It deffinitely would have been easier removing the whole tray- but if I had to do it again, I would do it the same way. The best tools for the job as others have said are a wire wheel on an extension, a hacksaw blade, and a chisel. Really, it was a piece of cake- just takes time.

JJC- I dig that tray! That's pretty sweet! I am still fiting my footholds in, so I'll have to trim the tray either way.

Here's what I've got so far.
View attachment 160750View attachment 160751View attachment 160752

The next step after cleaning it up is to fix the holes in the bottom corners of the hull. The chines were damaged, so I ground out the bad stuff. This is what it looks like from the inside. I still have to bevel the edges for the two-sided repair, but that's for tomorrow!
View attachment 160753View attachment 160754
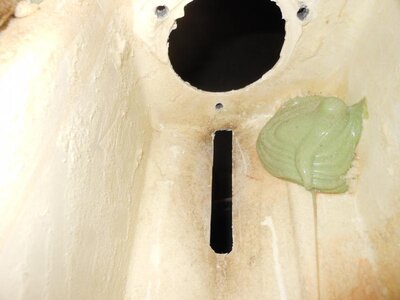
Thats crazy big arse glob of glue from the factory that was just left in there
 
Sanding, cleaning, and prepping for more glass. I glassed in a few layers on the inside of the hull to repair the damages in the chines. I fit the footholds in and trimmed them a little at a time. This is where I'm at!
DSCN0516.jpg

Meanwhile... I'm working on the nose an re-fixing the top side repairs. For good adhesion on the bondline, I tied some duct tape covered foam around the curve. ame out pretty good, even though it looks messy.
DSCN0511.jpgDSCN0515.jpg
 

icecoled007

Captain of this ship
Location
Colorado
Are you sure this is your first build.... looks good!

Dont forget to reinforce the inside and especially under the pole.

If the motor had an oil injection that probably means it was out of a sitdown. Might want to consider a porting job to get the full potential out of that motor, its going to have more top ene then bottom.
 

N3vrSat1sfied

Military Member
Location
Fort Worth, TX
Are you sure this is your first build.... looks good!

Dont forget to reinforce the inside and especially under the pole.

If the motor had an oil injection that probably means it was out of a sitdown. Might want to consider a porting job to get the full potential out of that motor, its going to have more top ene then bottom.

judging from the pic it looks like a 61x motor. So either way sit down or stand up it has the 61x cylinder.
 
Thanks guys! I've been away from the garage for a bit. I'll try to get some done soon!

Thanks for the compliments! It is my first build- for jetskis anyhow. My first real build was an '83 Jep CJ7. That one had a 350 chevy and 36"ers underneath it. It was fun, but I'd rather be on the water!
 
Top Bottom