Super Jet 96 Superjet rebuild from the ground up

Hello X-h20!

I have been lurking on the site grabbing ideas from others' builds and decided to add my own. Last summer I picked up a near perfect SN, and only rode it (in the background). This Summer, I grabbed a RN that looked like it might need some finish work, but I ended up getting in deeper than I thought. I have never done any fiberglass work, or worked with 2 stroke engines. So, please comment and recommend- I need all the help I can get!

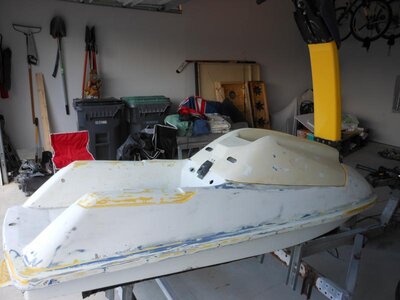
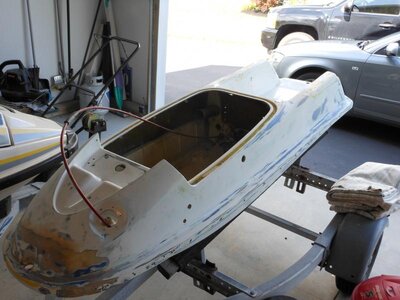
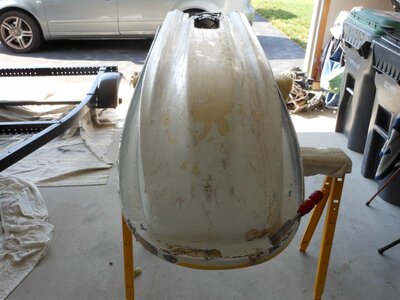
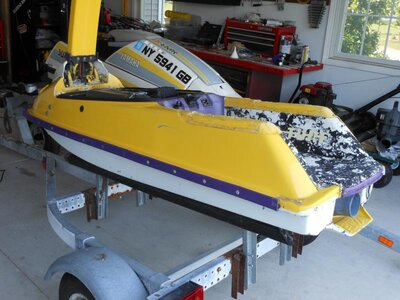
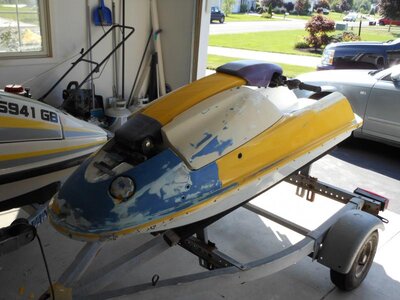
These are the obligatory start pics. Yep, like most others, i peeled a sticker and a huge sheet of paint ripped off the hood. So, I didn't stop there, just kept on going...

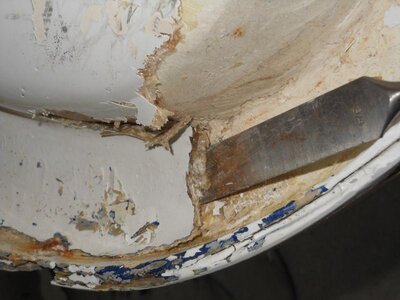
It's amazing how fast 3 layers of paint will come off with a heat gun and a razor blade. The boat was originally white, then painted blue, then painted yellow!
DSCN0328.jpgDSCN0388.jpgDSCN0427.jpgDSCN0439.jpgDSCN0446.jpg
 
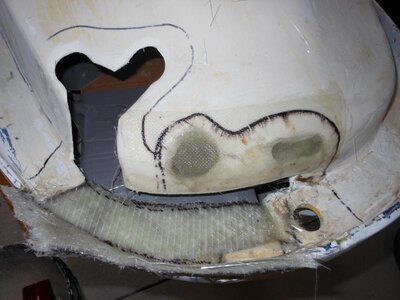
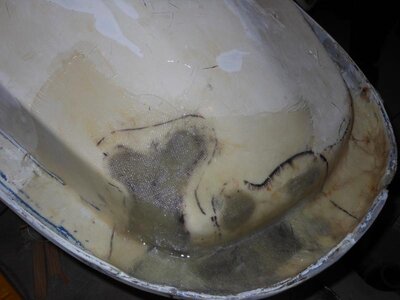
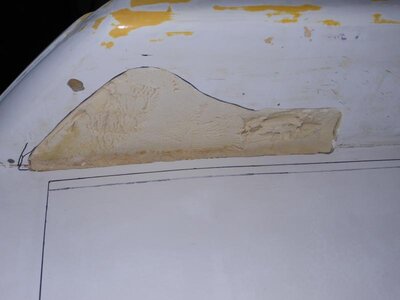
In the front, I found some damage concealed by what I believe to be a polyester repair. Once it was exposed, it chipped off really easily. I am assuming an epoxy repair would be more durable. I should note that the nose repairs on top did "stick," but on the SMC bottom, they need re-doing.

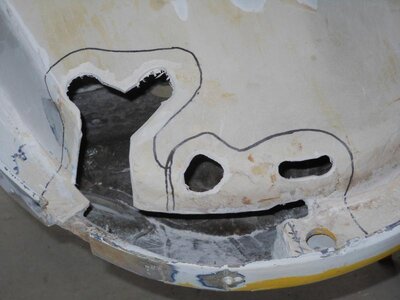
I have never done any fiberglassing, so I ground the damaged areas while trying to leave as much as I could so I can later follow the contours of the hull when re-glassing. Does this make sense, or am I just wasting my time with more repair areas than necessary?
DSCN0430.jpgDSCN0441.jpgDSCN0450.jpg
 
I received my order today from US composites! The first thing I did was start cuting pieces to start layering in each void, except for the one that's Y shaped.

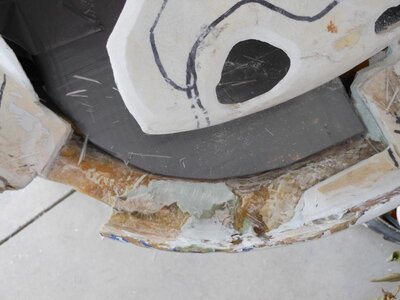
I didn't do the 12:1 feathering ratio as recommended by "Google-ing," but I did sand it out to allow for patches to be stacked. I have four layers of mat in each of the two small holes. I read that more than four can cause the epoxy to "cook itself." I also made a template from cardboard, covered in duct tape to give the bondline area something to rest on, before I go for the upward curve. The bondline area has one layer of 1708 biax under a layer of mat. I thought I would build this area up, first, and then come out to the surrounding areas.

I have no idea if any of this is correct. I was going to just post single questions, but also wanted to share the other steps along the way. Hopefully since I'm so new at this, my trials will help others!

The resin I'm using is 3:1, medium set. I did this just today, so I will add a few layers to keep building before the whole thing sets, as I'd rather not have to sand each layer. Recommendations welcome!

DSCN0461.jpgDSCN0463.jpg
 
I added another 2 layers of 1708 biax to build the nose area back up. I think I'll be able to expand outward and upward from here. That way I'll be able to start making the curve as well as adding more surface area to bond to.

I covered both of the smaller holes with fiberglass tape. i added cabosil to the leftover epoxy (until it was a mashed-potatoes consistency) and started to fill the small divots and scratches on the bottom of the hull.

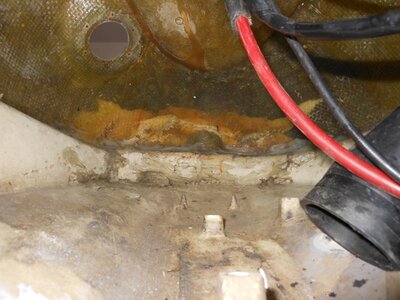
I have not done any repair on the inside of the hull... yet. Any recommendations as to what would be a good approach?

DSCN0464.jpg

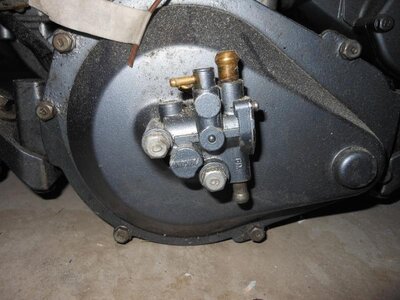
Also, when I got my ski, this was on the front of the motor. Any ideas what it is? I haven't taken the flywheel cover off yet.
DSCN0465.jpg
 

smoofers

Rockin' the SQUARE!!!!
Site Supporter
Location
Granbury, TX
Looking just fine so far. As for the 3:1 US Composites resin, I use the same stuff down in TX and it still gives you plenty of time to lay. I also haven't had any problems with multiple layers heating up too much. As long as the resin isn't 90F when you mix it you should be fine.

After you finish the outer layers, I would sand the inside area behind the repairs and glass a layer or two in one piece to reinforce it.

Also, don't be afraid to use lighter cloth like 8oz. It lays down easier on contours and isn't big of a pain to sand afterwards.

Good work, keep it up!
 
Sanding... sanding... sanding... As I was laying in the glass, I was mixed cabosil in my leftover batches to fill in some gouges on the bottom of the hull. The palm sander came in useful and flattened it out. Had some low spots, and filled those in. Hopefully tomorrow I'll be done with that!

Glassed in 2 pieces of mat in the Y shaped area. The shape was weird so I'm hoping the 2 layers hold until I can reinforce both the front and back at the same time. Thats for tomorrow.

Didn't get much done in the past few days- its a wedding weekend. Any of you who have been in a wedding know that doesn't leave much time left for the garage!
 
Bottom of the hull is smooth! One victory down. Can't wait to see it painted.

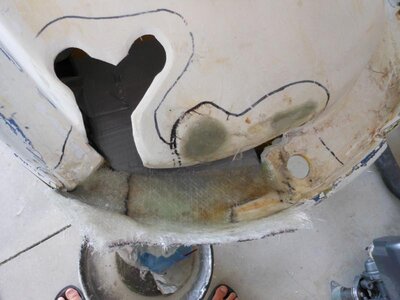
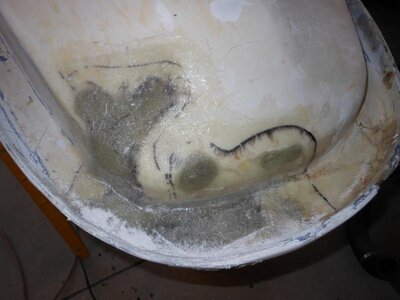
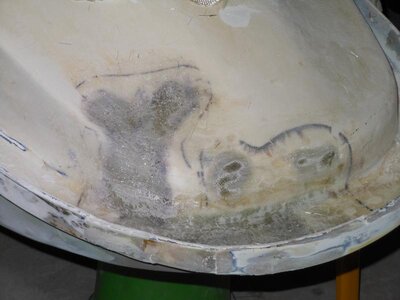
I got to get back into the garage today to start filing gaps. In the first picture, there are a few layers of mat on the outside being supported by duct tape from inside the hull. Whoever figured out that epoxy doesn't stick to the silver side of duct tape... I'd like to shake their hand. I also added some cloth on the inside of the hull.

The second picture shows everything sanded down. It was actually my second round of sanding because I really wasn't sure what needed more layers, and what was good. I ended up filling in some small bubbles with epoxy resin & cabosil, adding some layers, and letting it dry. The drying time is what kills me.

In the third picture, I have a few layers of cloth that cover all of my repairs. Hopefully, everything smooths out enough where I can sand & be done with the bottom. It doesn't have to be perfect, but I like to be close. For my first time with fiberglass, I think its turning out good. The cool thing is that as long as you properly lay solid layers, everything can be sanded back down... cool stuff to work with!
DSCN0477.jpgDSCN0483.jpgDSCN0484.jpg
 
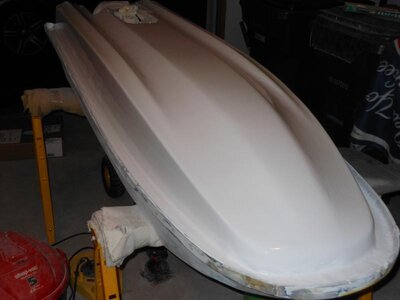
So I finished sanding and threw two coats of white appliance epoxy on it. I have used this paint before on the bottom of 550 hulls and really liked the results. A tip I learned from another forum was to wash with Dawn dish detergent and rinse really well (helps to avoid fisheyes). The one I bought has a picture of a seal on it and says something about washing the residue off of animals in oil spills. Turns out it's good for SMC hulls as well!

As for the 'glassing... it didn't turn out as well as I hoped it would. It was difficult to bring it back to its original shape since there had already been previous repairs in the area. However, it was my first time working with these materials, and its the bottom of the hull. I'm moving on. The plan for tomorrow is cutting out for the footholds/ tray refoaming.
DSCN0488.jpg
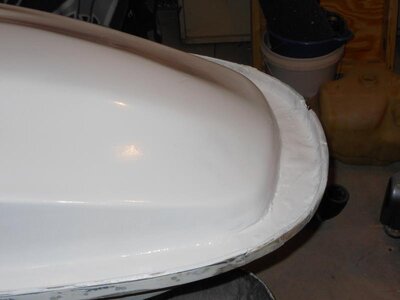
In the second pic, its easy to see the bumpiness from multiple repairs. I also have to redrill the hole for the bow eye.
DSCN0487.jpg
 
Thanks for the input, fellas. I certainly appreciate the encouragement! Tx, glassing really isn't that bad, and by reading other people's builds, there are a lot of creative solutions other members have come up with to make things easier. It seems like many people are on a budget, so if you don't mind getting your hands dirty, go for it! I'm certainly in that category.

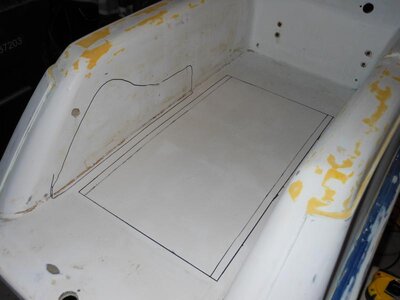
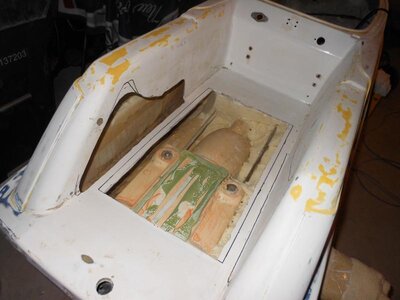
Tonight I started cutting for footholds and defoaming. I used the rotozip bits because I could cut shallow in the pump area, as well as nice curves where the footholds are going in. My second choice was a jigsaw, but I was concerned about cutting too deep. The rotozip bit isn't as fast, but did just fine. I just put it in my DeWalt drill and went to work!
Here is my first foothold. I'll deffinitely have to cut more out- and will be expanding towards the back. I wanted to start small and hoping for something that resembles the "Slutty tray mod!"
DSCN0492.jpgDSCN0494.jpg
As you can see, I outlined where I will be cutting. I tried to cut the curved section out of the tray where the bottom of the footholds are so they'll lay nice and flat. I also am keeping part of the tray in tact so when I refoam it will be easier to level the foam and re-glass. I'm not sure if this is a good idea, or I am just wasting time and making defoaming more difficult. Input from those that have dont this would be great. I saw a few builds that just removed the entire tray.

The good thing about rebuilding is you get to know your ski really well! Mine, as I suspected had VERY wet foam. It was soaked to the point that the wire wheel on the drill was flinging water off of it! This thing hasn't been in the water since last summer. Also, if you look close, I'm missing a pump bolt! The pump was the only part I didn't disassemble because I didn't want to have to press the shaft.

DSCN0499.jpg

Next on the schedule...fitting the left foothold and more defoaming!
 
Last edited:
I bought some REVs to put in it. Tonight I removed the stock ehaust to refoam. I'll be relocating it so I don't have to dent the pipe or refit the footholds. I believe I can just rotate the pipe to get a flush fit for the flange that attaches on the outside of the hull!

Defoaming take so much longer than I thought...
 
Top Bottom