Hfurll
Henry
- Location
- Breckenridge Colorado
Started this about a week ago.....
I have everything i need with exception of a 750 Limited factory pipe ( FOUND ONE))
The plan is to
HULL
I have everything i need with exception of a 750 Limited factory pipe ( FOUND ONE))
The plan is to
HULL
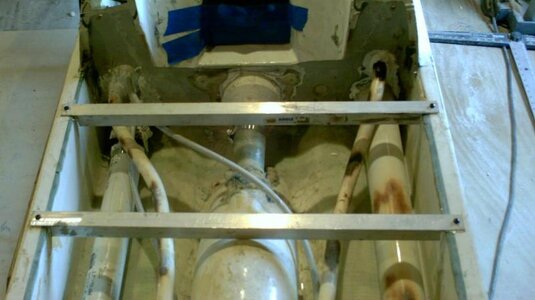
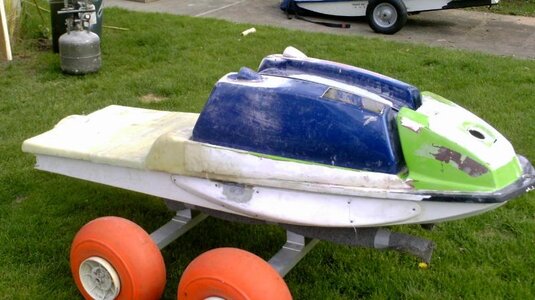
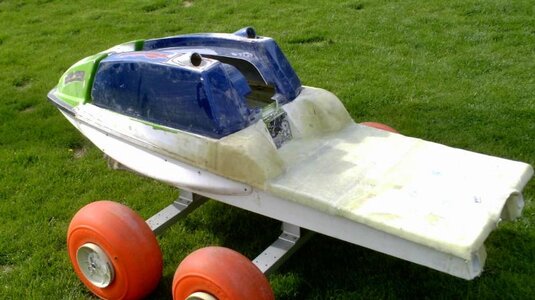
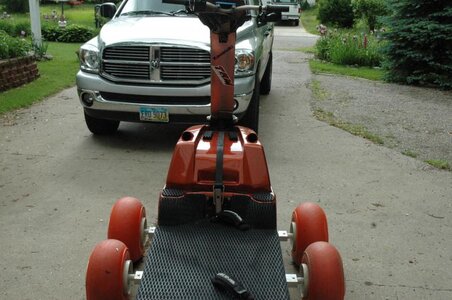
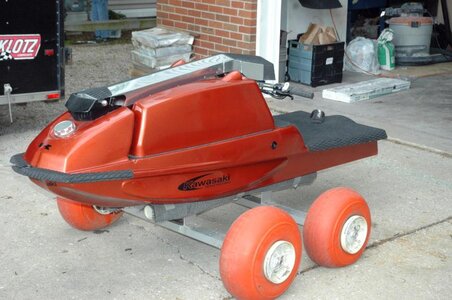
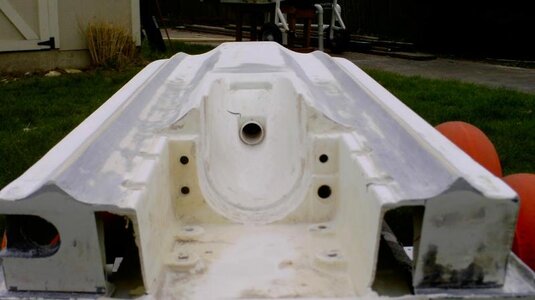
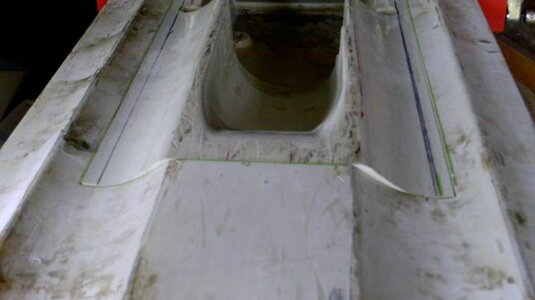
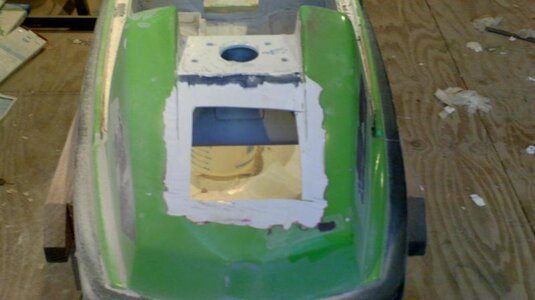
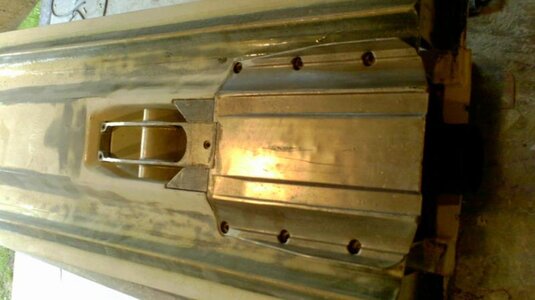
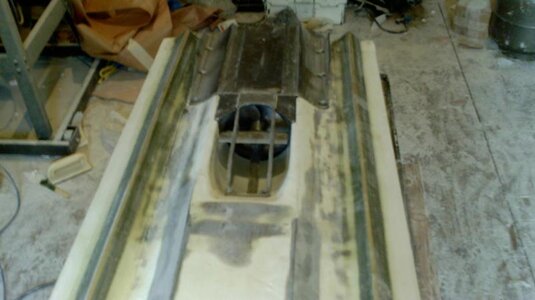
- Flat Deck a Js hull, getting rid of the silly small tray
- Cut out the bottom of a 650SX and Marry it to the Js Hull
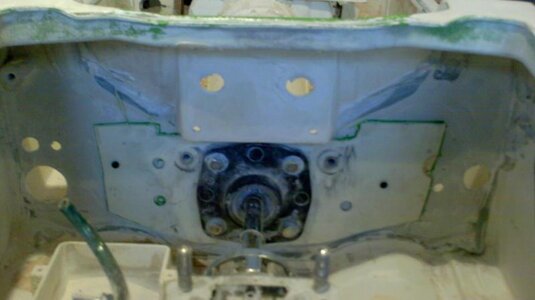
- Alter Bulkhead for sx style bearing
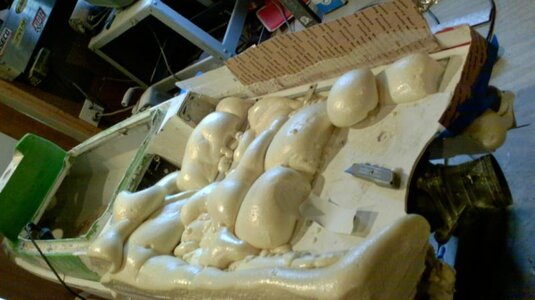
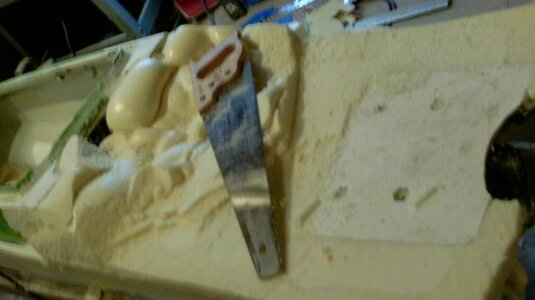
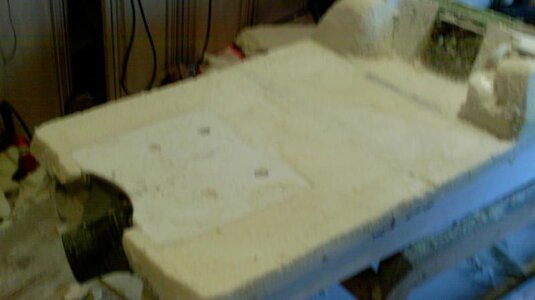
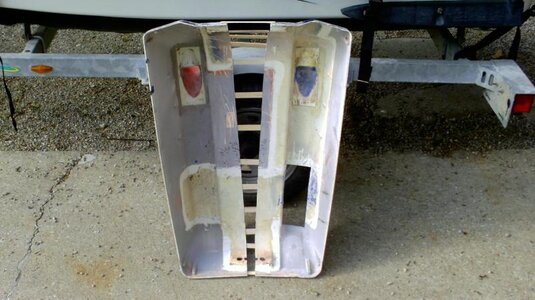
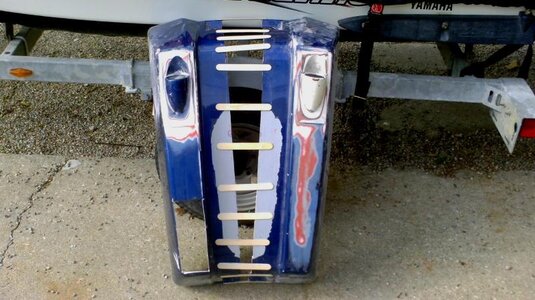
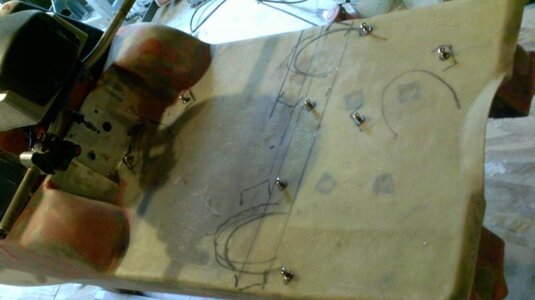
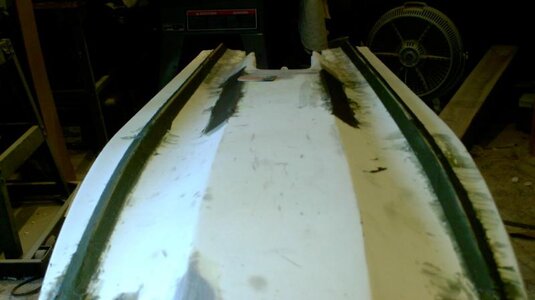
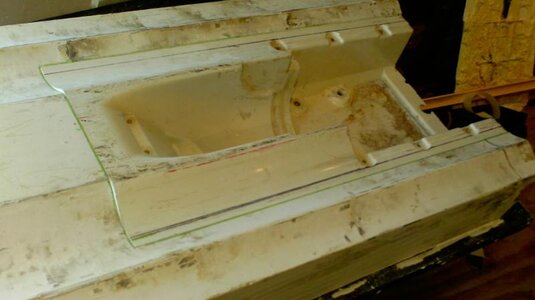
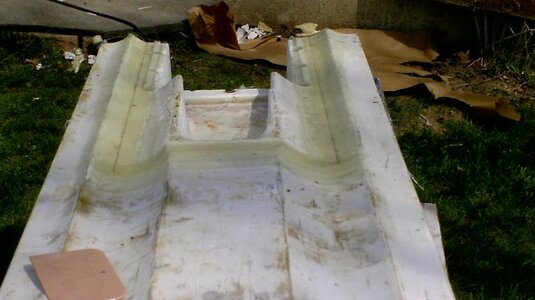
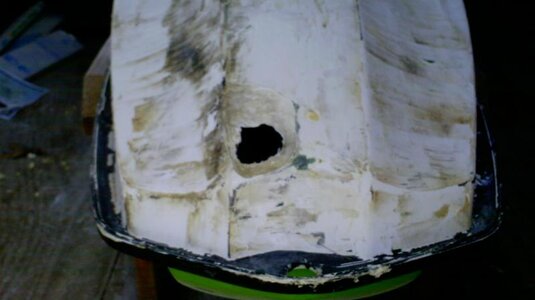
- Enlarge the strakes to a more modern design
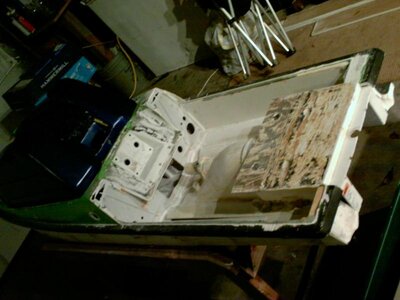
- Fix existing holes in hull
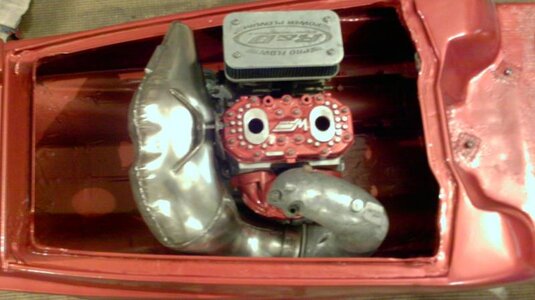
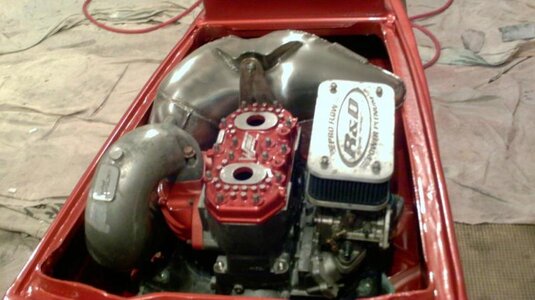
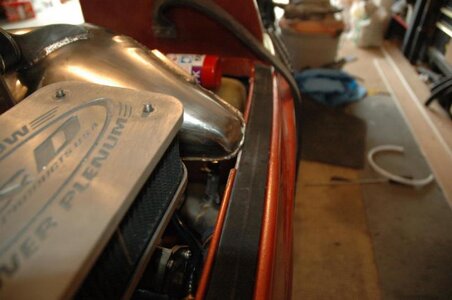
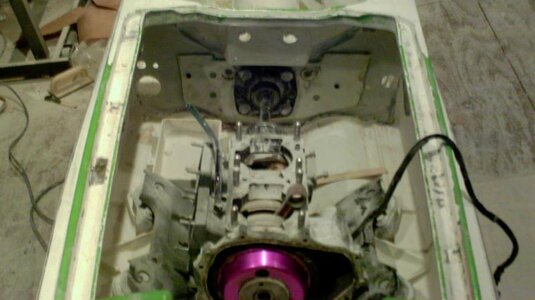
- Alter engine compartment to accept a 750 Limited pipe
- Install a set of Tubbies ( surfjetlouie's) rip
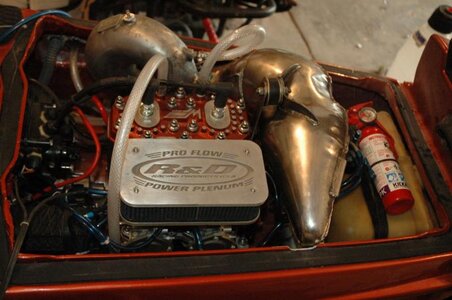
- 92 750 SX ---stock bore
- port and intake work
- 650 Jetnetics Aluminum Flywheel with 650 reg in 550 E-Box
- WestcoastHead 28 domes
- Dual SBn 44's
- FACTORY PIE ( LOOKING)
- Mariner 550 waterbox altered with larger in and outlets
- Fueltank----not there yet
- 550sx Driveshaft
- 650 blueprinted pump
- TBM stuffer
- Prop debateable----12-17 Large hub or a tad taller?
- C.A.T.S--- X2 noz
Attachments
-
 build 2.jpg43.5 KB · Views: 79
 -
 build 1 .jpg70.9 KB · Views: 121
 -
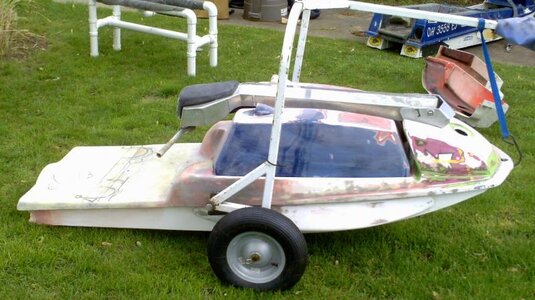
 bondoed strakes.jpg36.6 KB · Views: 92
 -
 strakes.jpg32.1 KB · Views: 63
 -
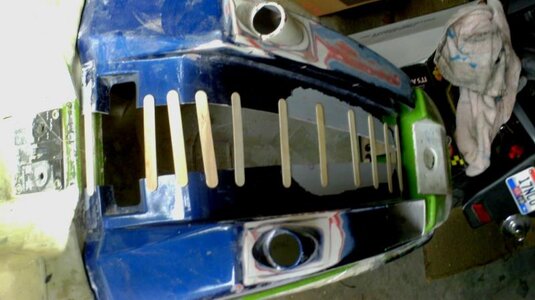
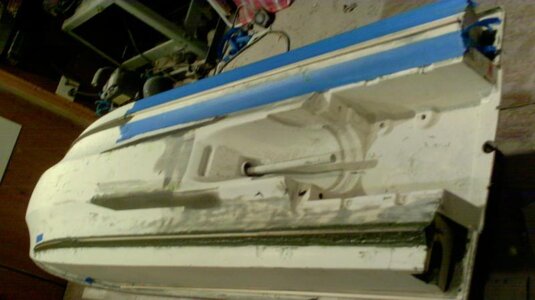 first coat on dowels.jpg39.3 KB · Views: 67
 -
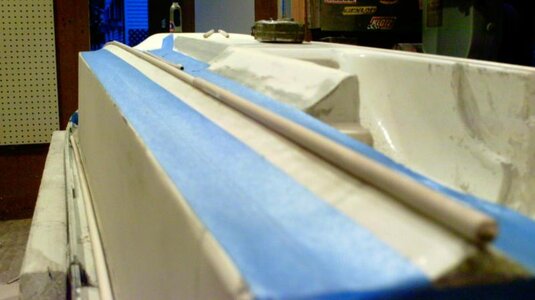 dowled 2.jpg37.7 KB · Views: 78
 -
 fitment.jpg31.4 KB · Views: 54
 -
 build 4.jpg52.1 KB · Views: 81
 -
 build 3.jpg37.7 KB · Views: 83
 -
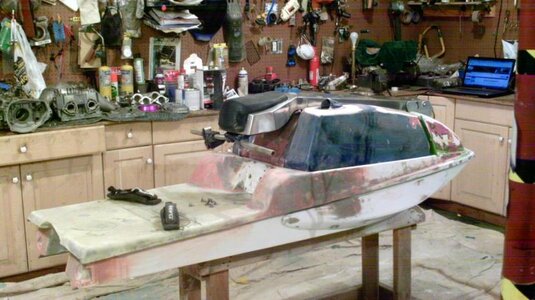
 glassed in.jpg46.2 KB · Views: 58
Last edited:

 ffice
ffice