Ryan's 2001 Round Nose Build (Warning lots of pics)

Ryan_G

Yamaha
Location
Fresno, CA
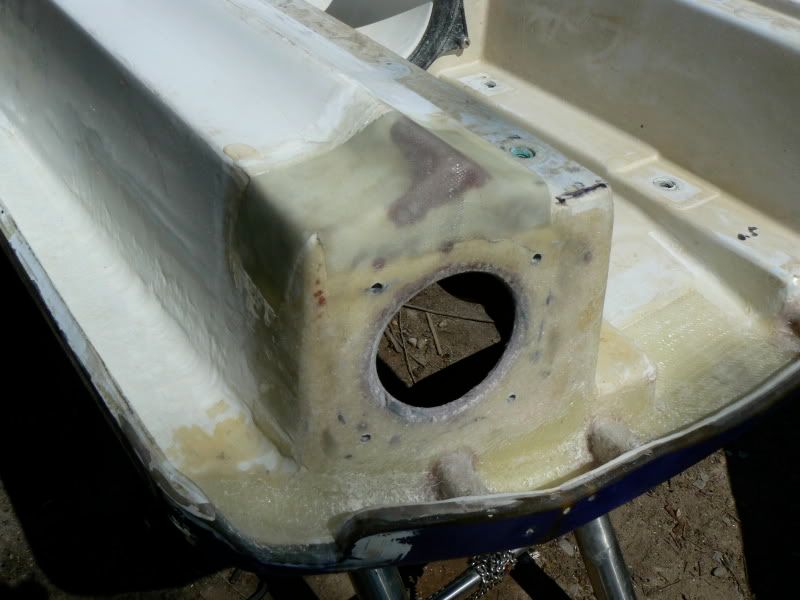
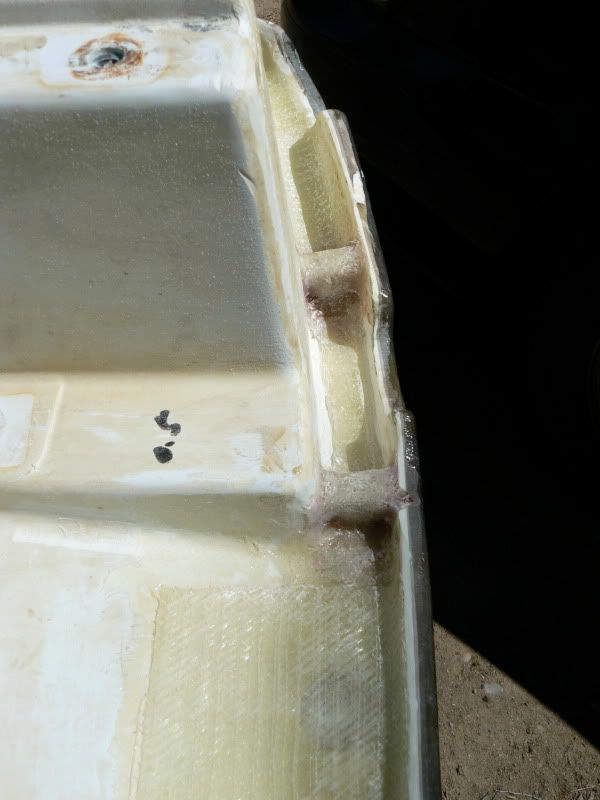
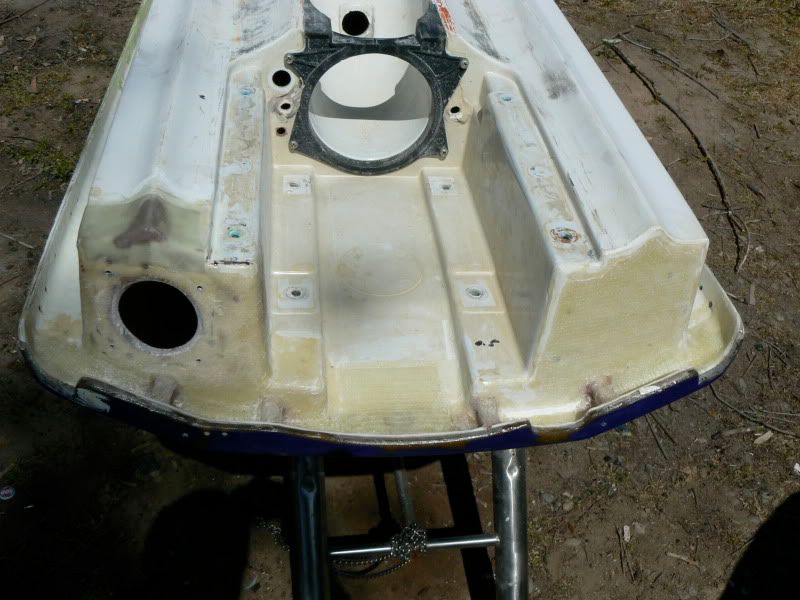
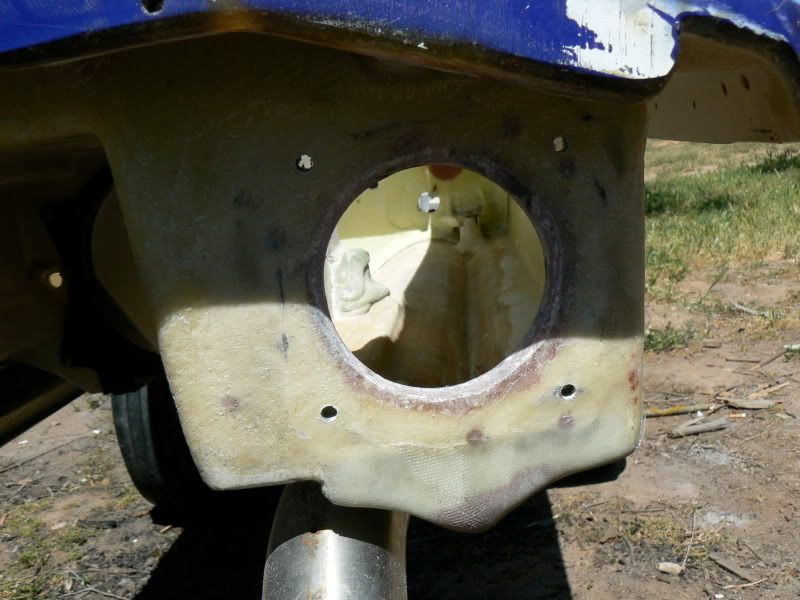
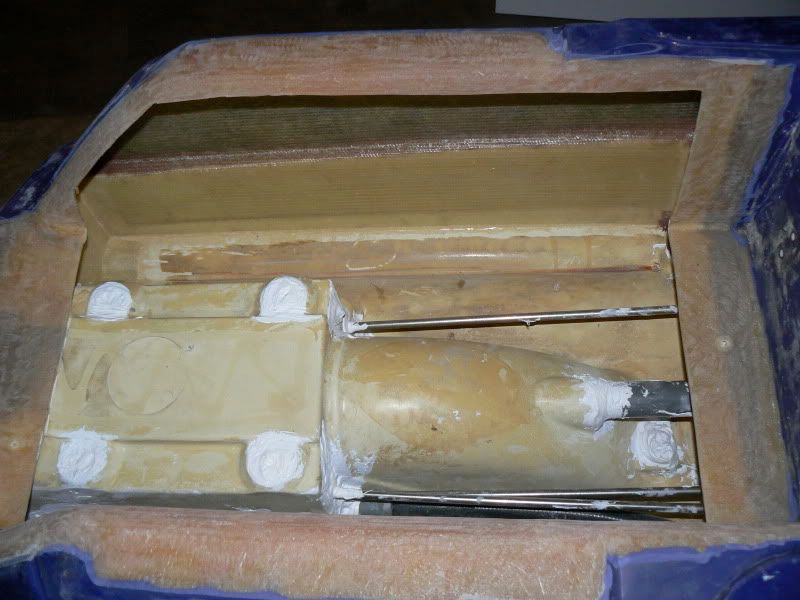
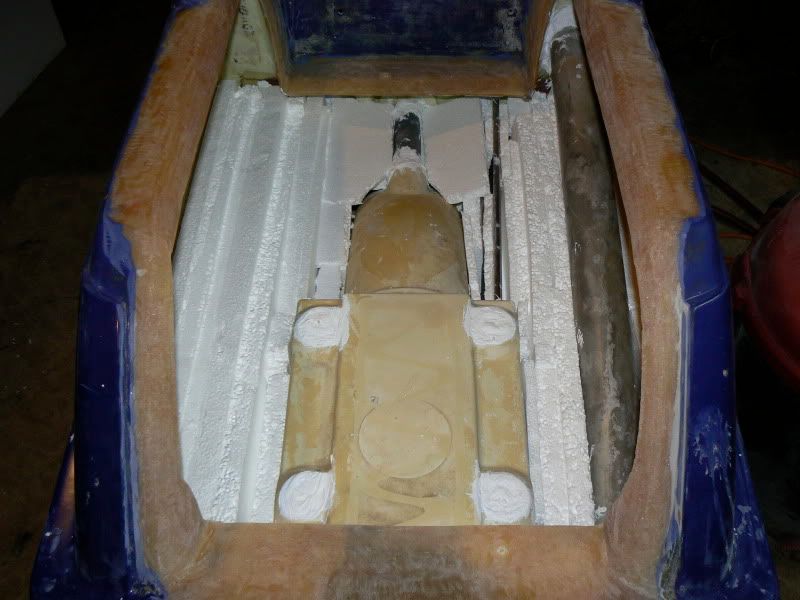
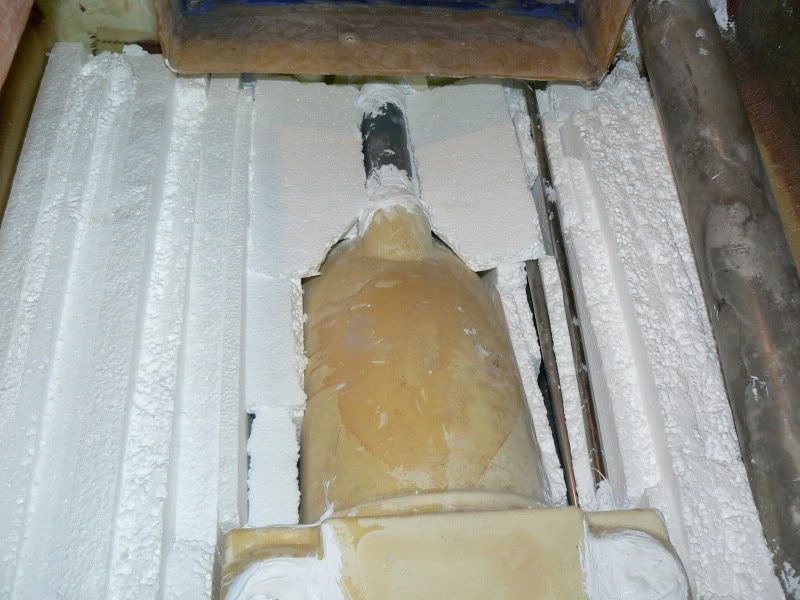
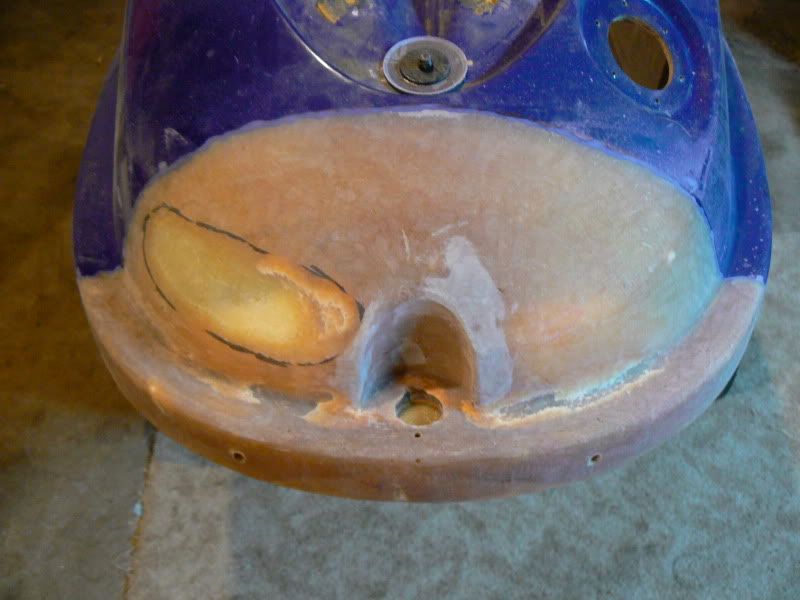
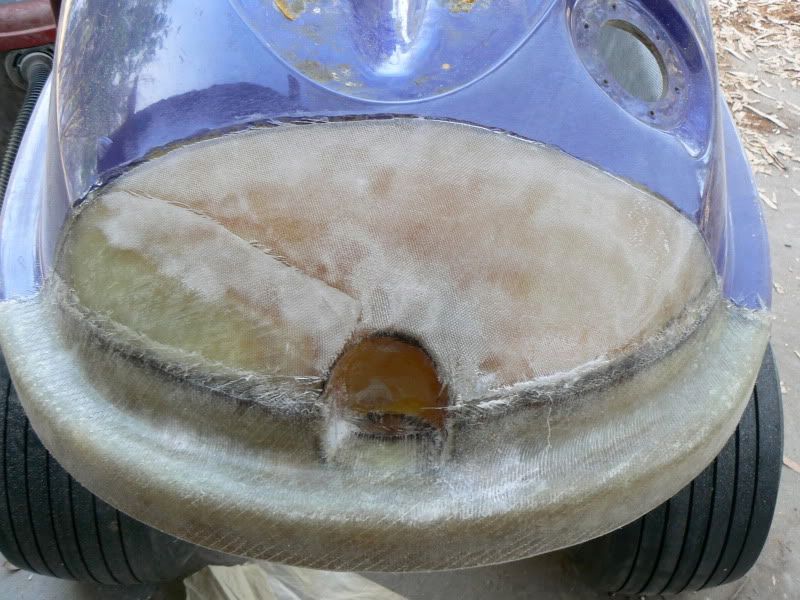
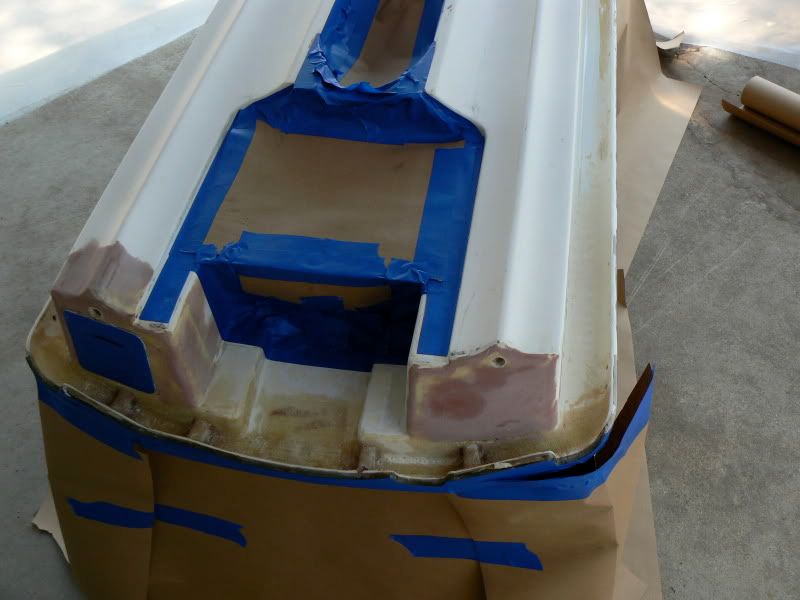
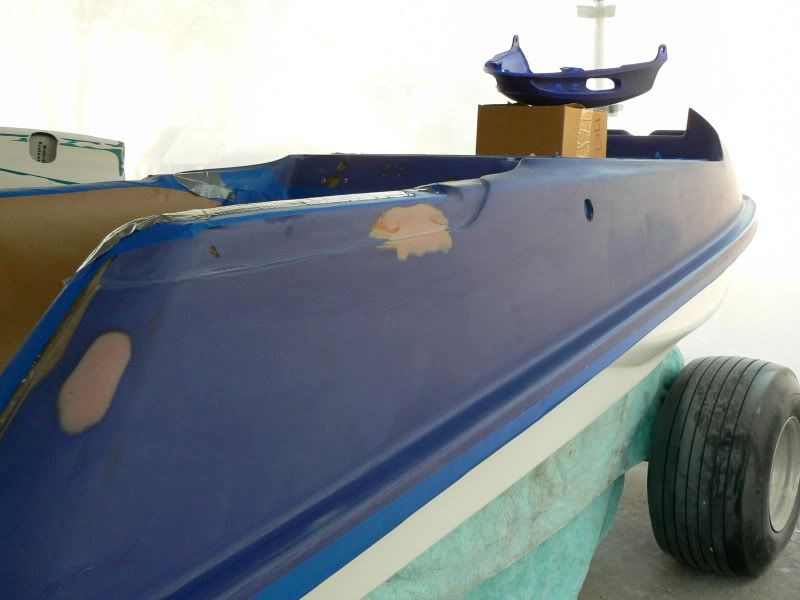
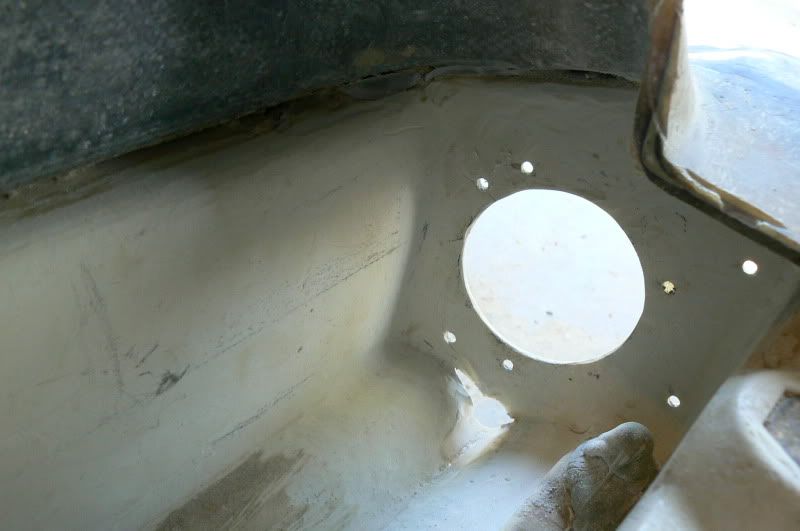
The next step was to get the area under the tray ready for glass.

P1060538.jpg

P1060539.jpg

P1060540.jpg


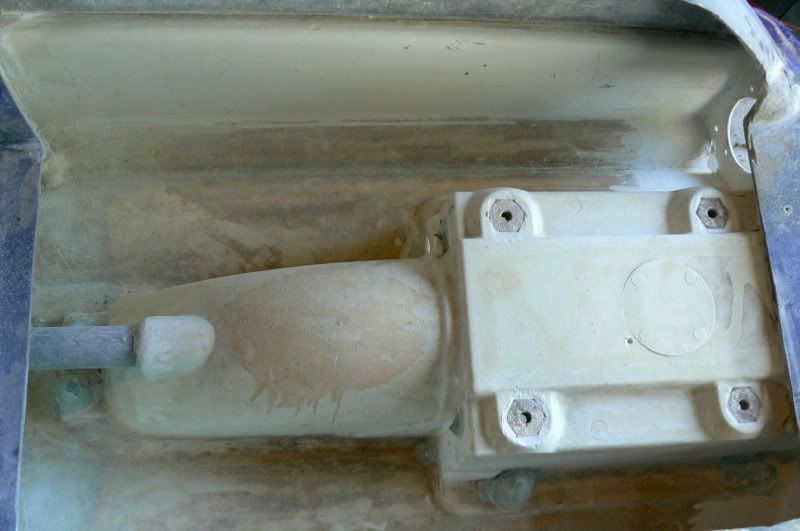
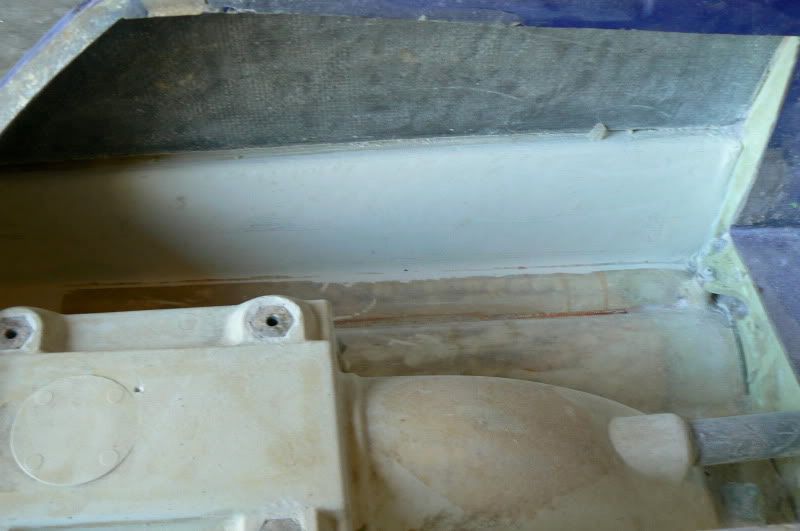
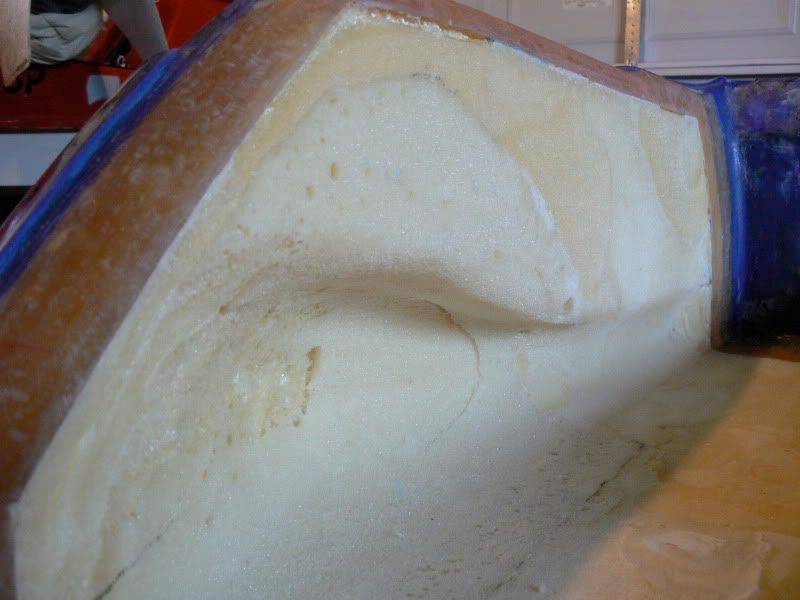
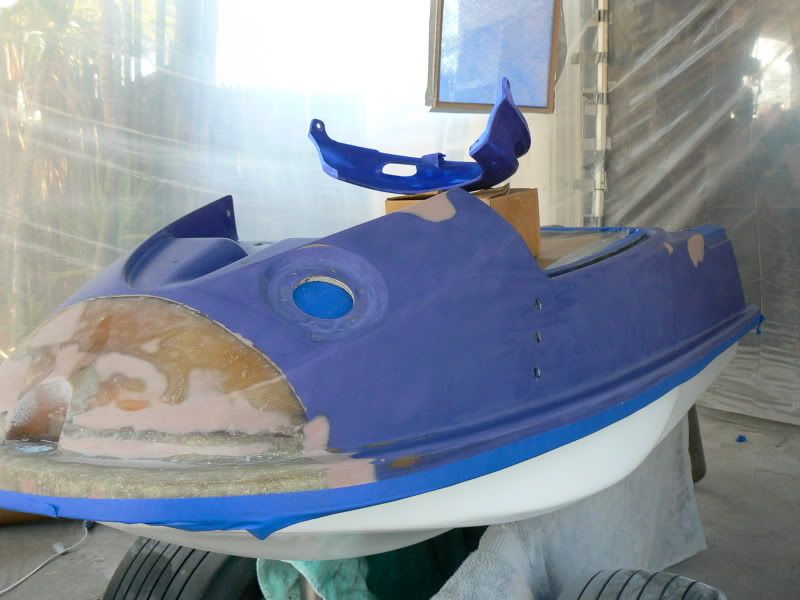
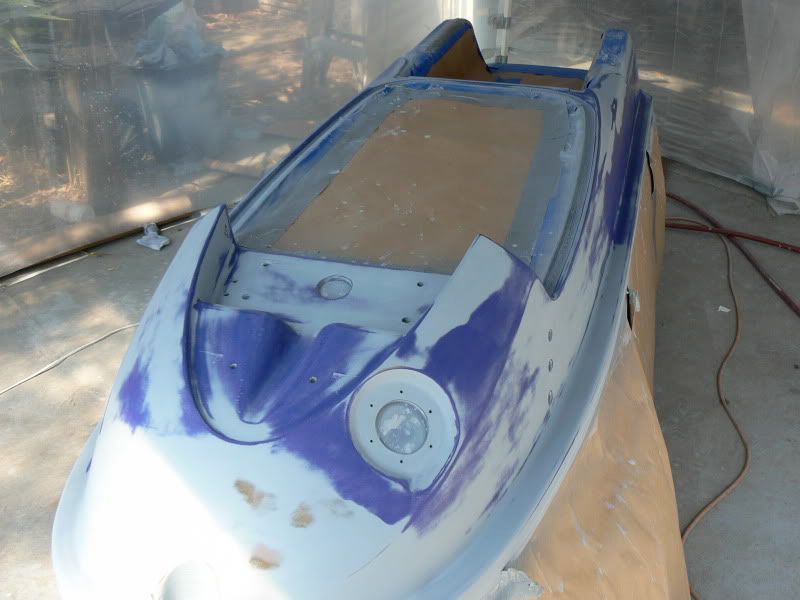
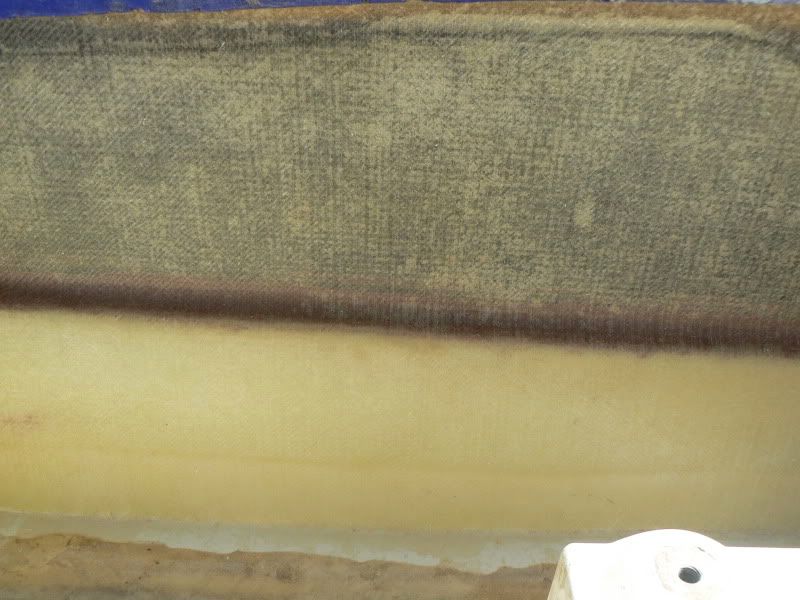
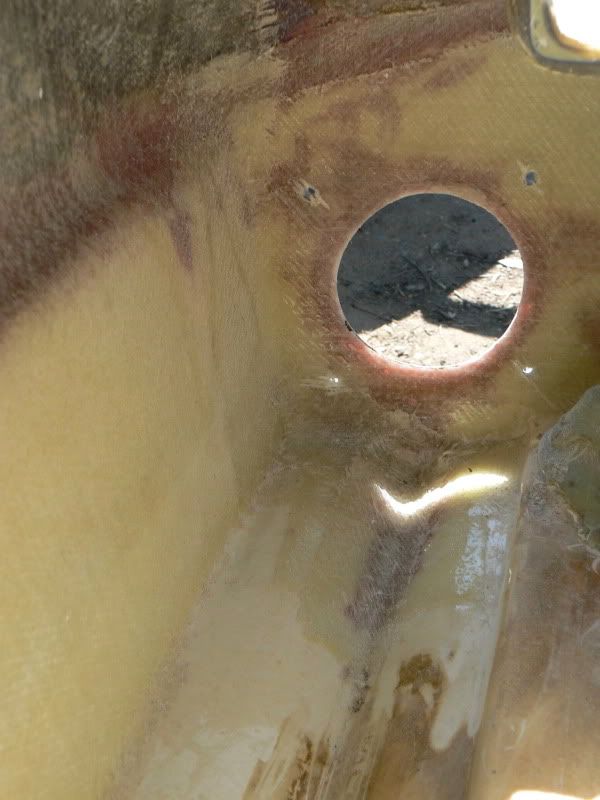
Then, I laid 2 layers of 12 oz, on the sides. I also laid multiple layers at the hole under the exhaust outlet. I used pealply and duct tape to form it from the outside.

P1060661.jpg

P1060662.jpg
 

Ryan_G

Yamaha
Location
Fresno, CA
Once that dried, I flipped the ski over. I laid glass over the rear chine to finish the rear reinforcement. I went ahead and put a layer of 12 oz on the back of the other side of the hull. I also cut some small pieces of wood to fit in between the bond and the hull. I laid some glass over them to strengthen the rear. I am going to fill the stern eye so I will need some extra strength for the tow loop I plan to install. I was tired of landing on the metal eyelet with my heel. I channeled the back so that water could flow through easier.(will probably not make a difference) Next, I cut a hole for the exhaust tube.

P1060665.jpg

P1060666.jpg

P1060667.jpg

P1060664.jpg
 

Ryan_G

Yamaha
Location
Fresno, CA
So I finished the tray. I used a tube of 5200 fast cure to seal up the area under the tray. I replaced the water lines with stainless tube. My exhaust tube was glued to the hull with no flange when I got the ski. I did not like the idea of glassing the aluminum tube to the smc hull. So, I had a friend weld a flange onto the exhaust tube. This made it much easier for me to seal it on. I also got the edges of the trey all sanded and ready for glass work.

P1060719.jpg

P1060720.jpg


Next, I used Matt_E Idea of using extruded polystyrene to fill the bottom area of the tray. I found this information on his build thread (http://www.x-h2o.com/threads/24196). After cramming the polystyrene in the bottom, I pured 2 lb. foam over it. I also filled the rails with the 2 part foam. After the foam dried I sanded it down to get my desired tray shape. I then laid layers of 17 oz biax over the foam to create my tray. I ended up doing between 2-4 layers in different areas of the tray.I used a mixture of microbaloons and epoxy to fill some of the voids in the foam before I laid down the glass.I thought I took pictures of the finished tray, but I guess not. Ill try to get some pics of it soon.

P1060727.jpg

P1060728.jpg

P1060916.jpg
 

Ryan_G

Yamaha
Location
Fresno, CA
I got the nose all sanded down and ready for reinforcement. I had to grind it pretty thin in the damaged area to get all the bad stuff out. I then laid a big piece of cloth over the whole area. After that, I laid a layer of 12 oz. biax over the damaged area fallowed by another piece of cloth over the damaged area to clean it up. Then, I laid 2 layers of 17 oz. biax over the nose lip and about an inch up the nose.

P1060917.jpg

P1060941.jpg
 

Ryan_G

Yamaha
Location
Fresno, CA
I flipped the ski over and started the body work. I used epoxy resin and a fairing compound as a body filler. I got it all smooth to the touch. I then masked it off and painted the bottom white.

P1060924.jpg

P1060943.jpg

P1060945.jpg


As you can see from the pics below the paint came out horrible. I later found out that I was using a fast cure clear coat and was waiting too long between coats.

P1060955.jpg

P1060956.jpg


So I sanded it down and tried again. I was quite happy with how it turned out the second time.
 

Ryan_G

Yamaha
Location
Fresno, CA
I also got the body work finished on the top half.

P1060971.jpg

P1060972.jpg

P1060970.jpg


Then, I primed and sanded.

P1060974.jpg

P1060975.jpg


Next I laid color and clear. I am not too happy with my top half paint job. I tried to lay on the clear too thick and ended up with many runs. But I decided to just go ahead and leave it. It is just going to get beat up and scratched anyway. Here is a pic of the bottom half all cut and polished.

P1060973.jpg

P1070053.jpg
 

Ryan_G

Yamaha
Location
Fresno, CA
Now I am off to Europe for a month of backpacking. I was hoping to have it finished by the time I left, but that is not going to happen. So the ski is going to have to wait for now.:grumble:
 

ksmith83

( o Y o )
damn that came out good. ill have to check it out when you get back. if you need someone to help with the motor swap let me know, ill bring some beer...but i might need a ride over to your place...
 

Ryan_G

Yamaha
Location
Fresno, CA
have you seen the movie "hostile"?

ski looks great!!!

I have not. I am now glad i missed out on that movie. People keep telling me to stay away from hostiles because of it. :scared: I plan on using hostiles most of the trip. I am not worried, but I am not planning on watching that movie before i leave.
 

OCD Solutions

Original, Clean and Dependable Solutions
Location
Rentz, GA
This thread needs to be put in the tech section for "how to rebuild a ski", incredibly clean work and attention to detail. Can't wait to see the finished ski.
 

Ryan_G

Yamaha
Location
Fresno, CA
I completely forgot about this build thread. I never took the finished pictures of the ski. I was able to find a couple of pics of the ski from a recent day at the beach. One day I will remember to get a picture of the turf and the motor area.

ski1.jpg


ski2.jpg
 

Ryan_G

Yamaha
Location
Fresno, CA
Wow... great build thread! It's like taking a car - frame off - but more fun! When you get 'er done, come down to Socal and surf ride with us!

One of these days I will make it down there. I love road trips. I will be sure to hit you up when I do.
 
Top Bottom