You are using an out of date browser. It may not display this or other websites correctly.
You should upgrade or use an alternative browser.
You should upgrade or use an alternative browser.
RN Winter build gonna need some advice
- Thread starter grezzmky
- Start date
grezzmky
Suckin paint fumes
- Location
- Saint Louis MO
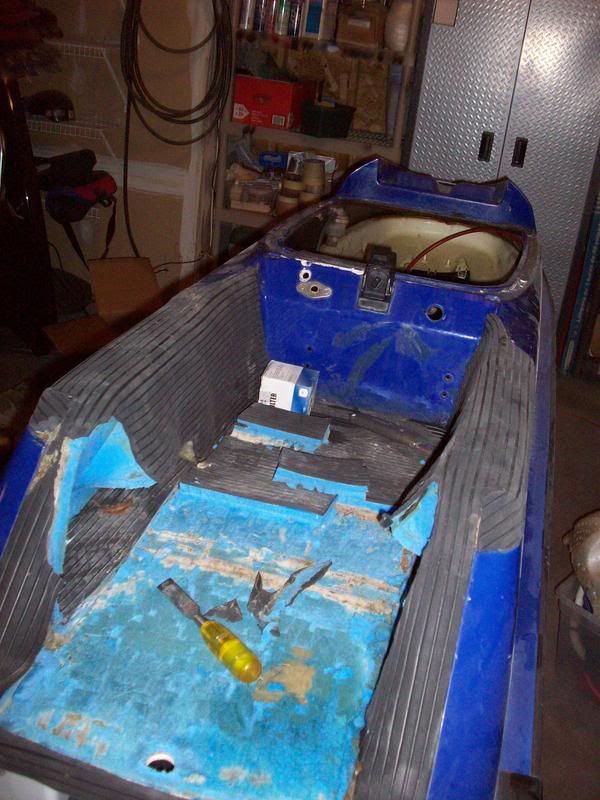
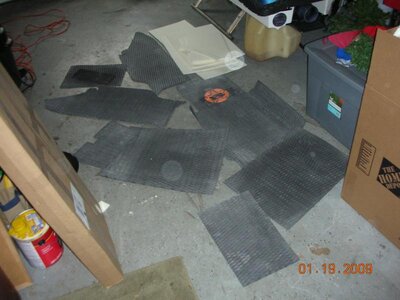
I never thought removing turf was bad but ive never returfed a ski that I had turfed before. this sucks.
AND this thing HAS to be full of water cause its all tore down and the back of it weighs a ton!
AND this thing HAS to be full of water cause its all tore down and the back of it weighs a ton!
grezzmky
Suckin paint fumes
- Location
- Saint Louis MO
I guess in gonna buy two pieces of 8mm plush underpad from HT unless somebody else has any input
- Location
- Mount Albert, Ontario
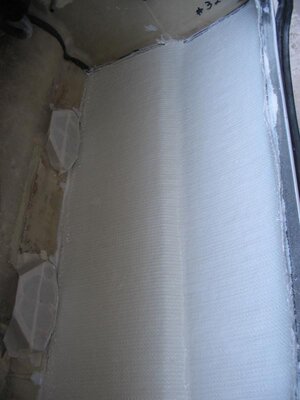
For my underpadding, I also added a layer of 5mm underpad at the back of the tray to help make a very slight ramp up the back. I forgot all about it, but you can see where it starts part way into the heel of the cutouts for the footholds. I put it in between the two layers of 8mm.... so it was a full layer of 8mm, the 5mm kick tail at the back, and then a layer of 8mm with the cutouts for the feet. I'm quite pleased with the results, although the 5mm kick tale isn't all that noticeable.
A lot of guys really like the single layer of 25mm, but that seemed a bit much for me. That's a whole inch of underpad without the actual turf on it. I definitely wouldn't have enough room to put the 25 into my WCF footholds because I wear wake skate shoes when I ride.
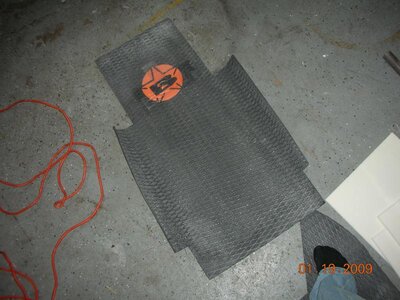
If you do two layers of 8mm or the single 25mm layer, make sure you cut out the area around the stern eye a little. Most of the eyes don't have a long enough section of threads to go through all that turf, underpadding and the rear of the ski. As you can see in my picture, I only had the single layer of 8mm padding around the eye.
A lot of guys really like the single layer of 25mm, but that seemed a bit much for me. That's a whole inch of underpad without the actual turf on it. I definitely wouldn't have enough room to put the 25 into my WCF footholds because I wear wake skate shoes when I ride.
If you do two layers of 8mm or the single 25mm layer, make sure you cut out the area around the stern eye a little. Most of the eyes don't have a long enough section of threads to go through all that turf, underpadding and the rear of the ski. As you can see in my picture, I only had the single layer of 8mm padding around the eye.
Last edited:
grezzmky
Suckin paint fumes
- Location
- Saint Louis MO
does heat do anything to soften the contact cement?
grezzmky
Suckin paint fumes
- Location
- Saint Louis MO
ok so Ive started grinding the ribs down as will as the tray and the whole engine compartment. My questions now are what is the best way to cut the tray? one piece? 3 pieces removing the whole tray? cut some big holes and leave the holds in? take the holds out and a piece ot the tray??
Also, My plan is to to 2 layers of 12oz biax on the sides and in the nose and then a layer of 7.5oz with sone black die over the sides and bottom of the engine compartment, What do you think?
In the back I an using pink DOW foam in the lower 2/3 and some 3lb on the top and in the holds. Should I pit some glass in the bottom back there or just on the sides?And what about the top of the tray?
grezzmky
Suckin paint fumes
- Location
- Saint Louis MO
What about the water trap and the things rivited to the bottom of the hood seal area for hoses and things to zip tie too. Do people leave these or do something else.
Also there is one 'rib' thats not really a rib its twice the size and something screws to the top of it i think. I cant remember. its by the battery. Do i grind this one too?
Also there is one 'rib' thats not really a rib its twice the size and something screws to the top of it i think. I cant remember. its by the battery. Do i grind this one too?
- Location
- Altoona Pa
I guess in gonna buy two pieces of 8mm plush underpad from HT unless somebody else has any input
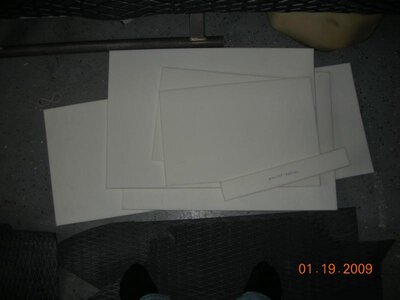
ive got a full turf kit from blowsion for 100+ shipping
precut with underpadding and side rail turf
molded diamond(black with a red or orange blowsion B in the upper center)
Last edited:
grezzmky
Suckin paint fumes
- Location
- Saint Louis MO
ive got a full turf kit from blowsion for 100+ shipping
precut with underpadding and side rail turf
molded diamond(black with a red or orange blowsion B in the upper center)
Ive got Revs...?
grezzmky
Suckin paint fumes
- Location
- Saint Louis MO
Ive almost got the tray out as one piece! I hung the back of the ski 1/4 off the saw horses by the inserts for the footstarps cause I couldnt get a prybar in the front. about 2 min later POP and the front released
- Location
- Altoona Pa
Ive got Revs...?
im sure you could work with this kit, the precut im pretty sure it to the outter edges of where you turf. It comes with plenty of extra sheets for rails, footholds, dash and pole pad. It isnt cut specifically for any type of hold
i got pics but gotta upload them. ill do it soon
thanks
showmepro1200
ISJWTA Member #007
- Location
- Jefferson City, Missouri
Jared - put some pics of your job on here - Im sure I'm not the only one who wants to see what you are working with.
And hopefully you'll get it all done for the Invasion")
And hopefully you'll get it all done for the Invasion
- Location
- Altoona Pa
- Location
- Mount Albert, Ontario
I would definitely remove the riveted components from the hood lip area. When you reinforce, fill the bond line and the under side of the hood lip on the hull, and then put one piece of mat covering the whole side and wrap it up under the lip of the hood seal area as well. That will give you a lot of strength to the hood seal area as well.
As for how many layers of reinforcement you do... there a lot of different opinions on how much to use. A lot will depend on how much abuse you put your ski through and the type of riding you do. Keep in mind, the more layers you use, the more it's going to weigh. I gave this thread a LOT of credit when I went through with my reinforcement on my Square:
http://www.x-h2o.com/threads/18303
I think a lot of people go overkill on the reinforcement. On mine I ended up with a single layer of 12oz. biaxial mat on the side of the engine bay. I wished I had taken the time to add another light layer of something like the 7.5 oz weave you mentioned. Whether or not it's necessary, I don't know. In the end the single layer of 12 oz ended up adding a considerable amount of strength to the sides and hood lip area. I can notice far less flex in the hood lip area. It went from very flimsy to only a tiny bit of flex when I push on it pretty hard. I don't think I need much more reinforcement for now for the average lake riding I do.
Attachments
grezzmky
Suckin paint fumes
- Location
- Saint Louis MO
Removing stickers
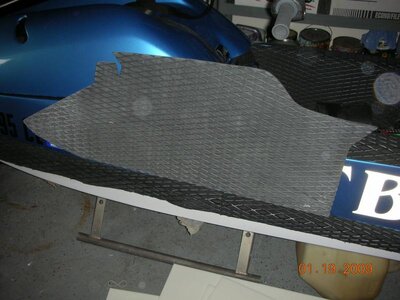
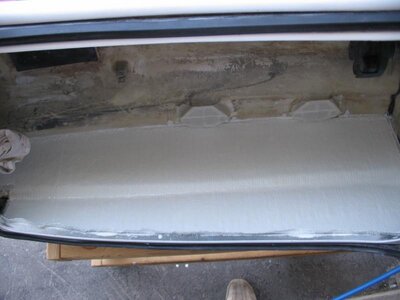
This is the raised area I had to put in my right hold for the exaust
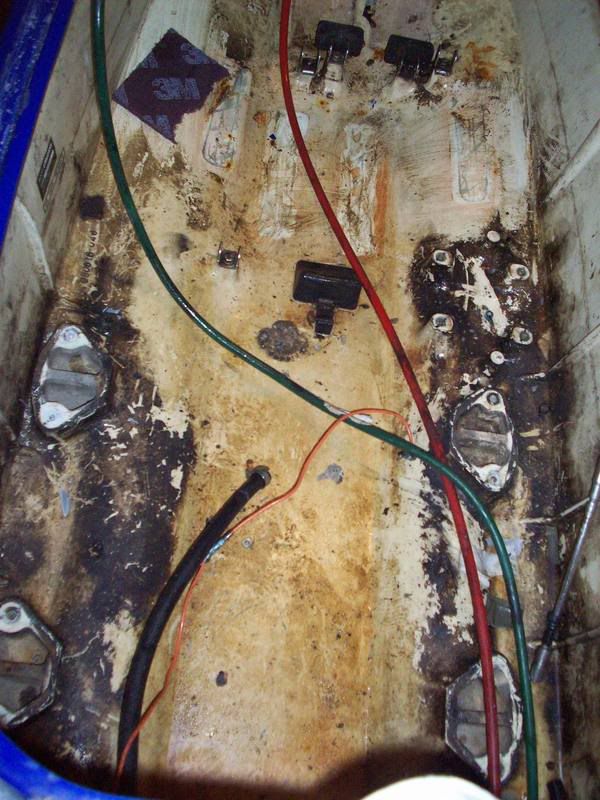
engine campartment before
Tray before
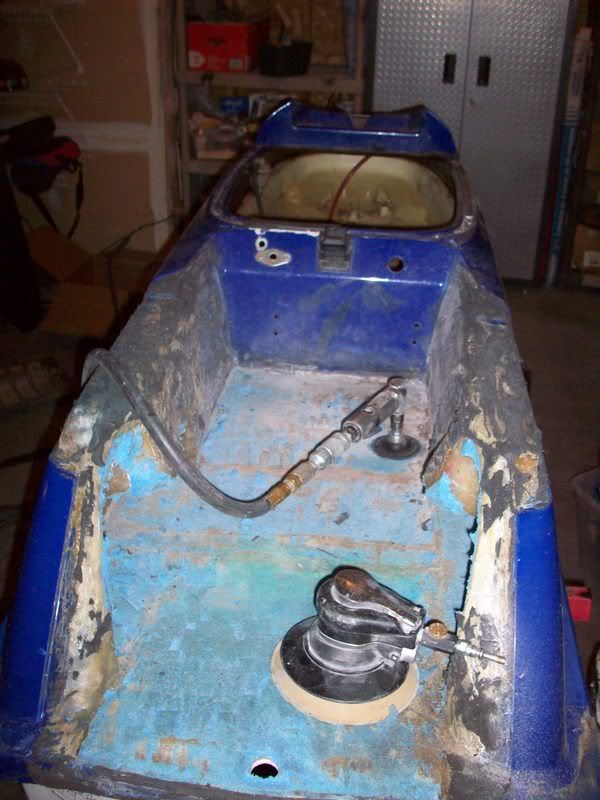
Cleaning with some OLD powdered bleach and a red scotch brite
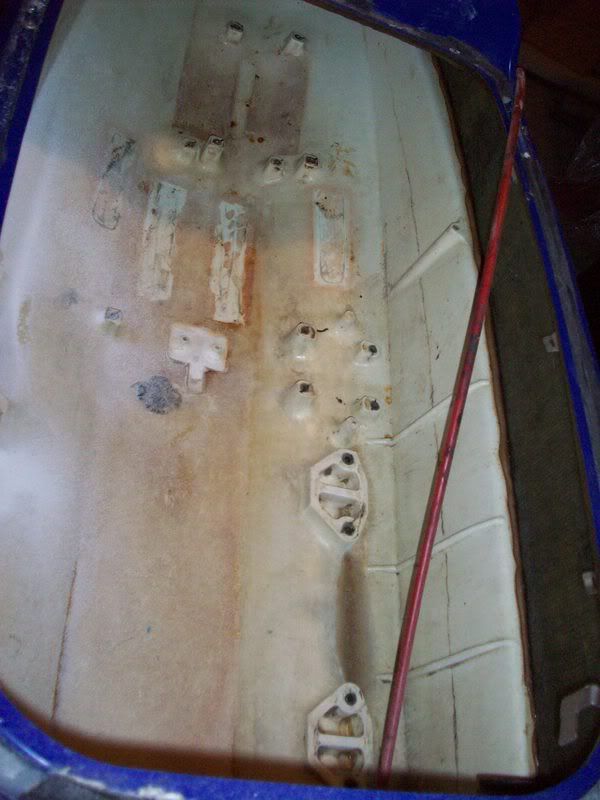
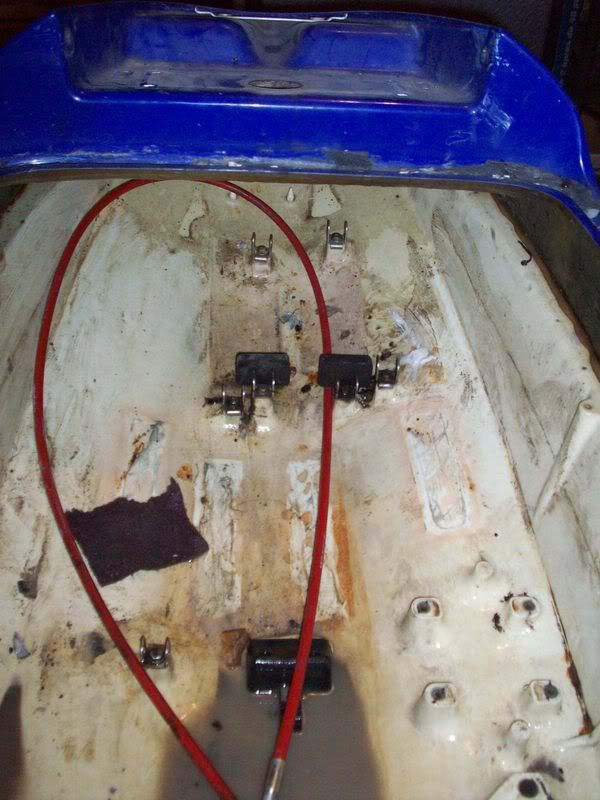
All cleaned up
grezzmky
Suckin paint fumes
- Location
- Saint Louis MO
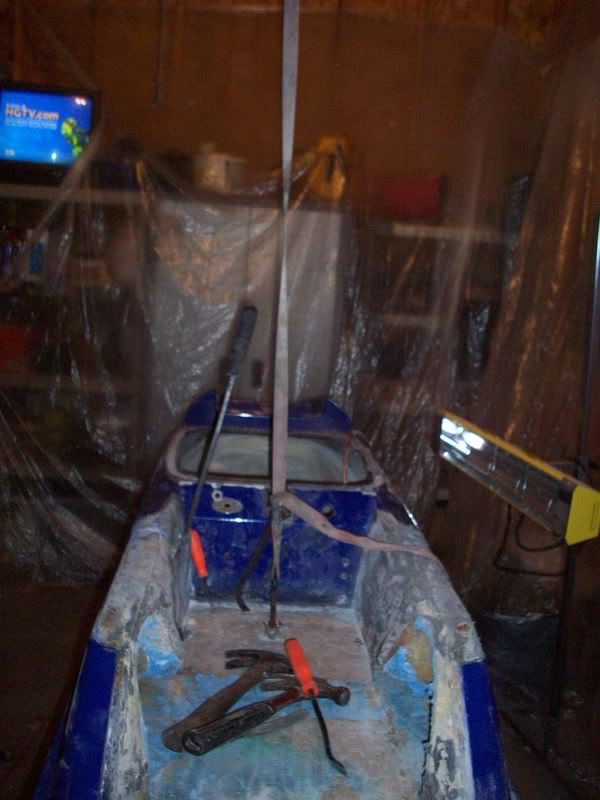
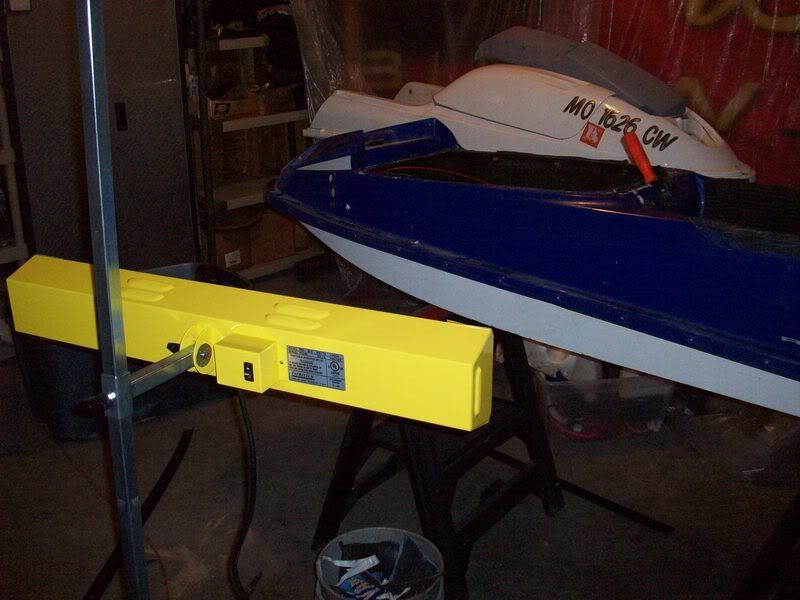
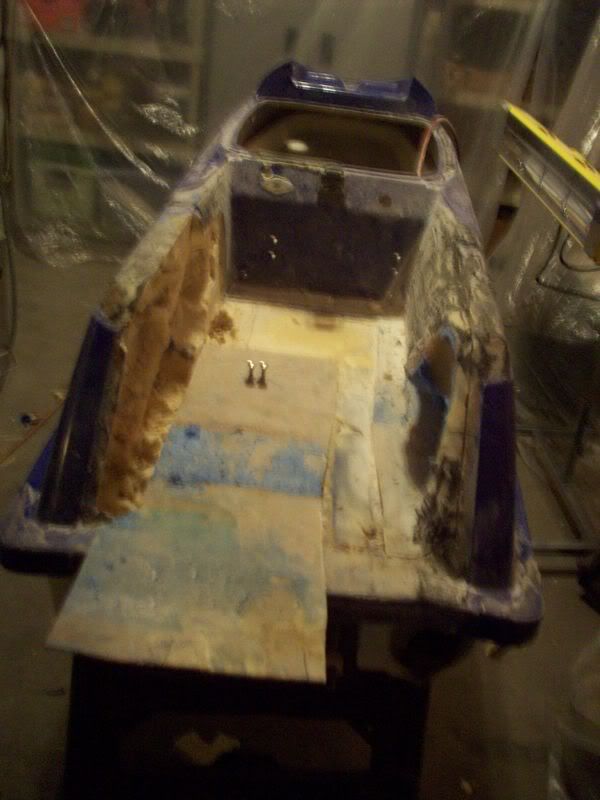
Pulling the tray out after cutting it as all one piece notice the stap going from the foot strap inserts to the garage door to break the seal in the front cause a prybar wont fit. I think if i would have cut in an inch back this would not have been a problem

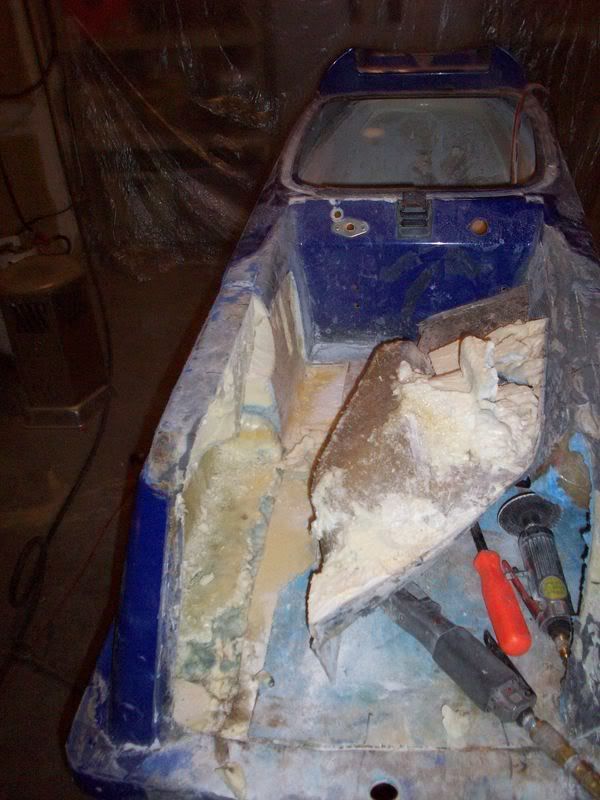
Ok, I gave up and pulled it in 3 pieces. I think without holds I could have done it in one
grezzmky
Suckin paint fumes
- Location
- Saint Louis MO
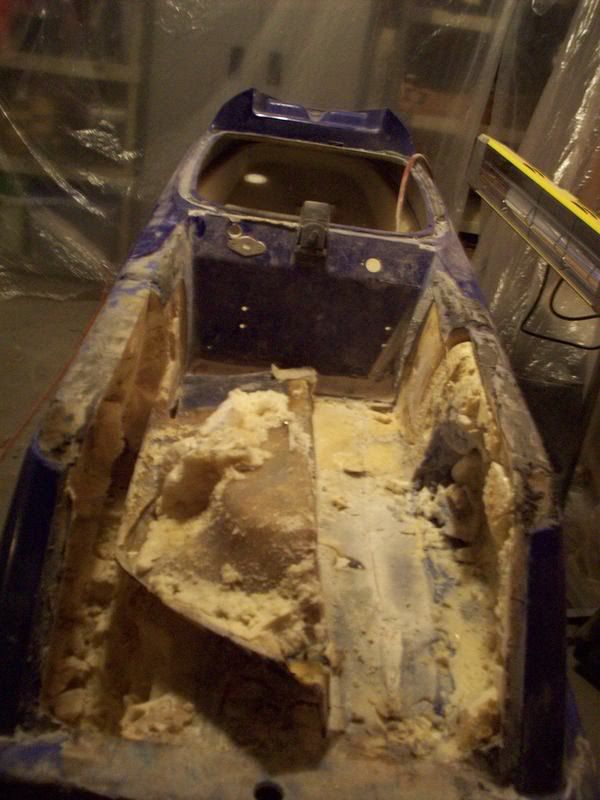
What do I need to do for reinforcement in the back vause im not using expanding foam on the bottom half???
grezzmky
Suckin paint fumes
- Location
- Saint Louis MO
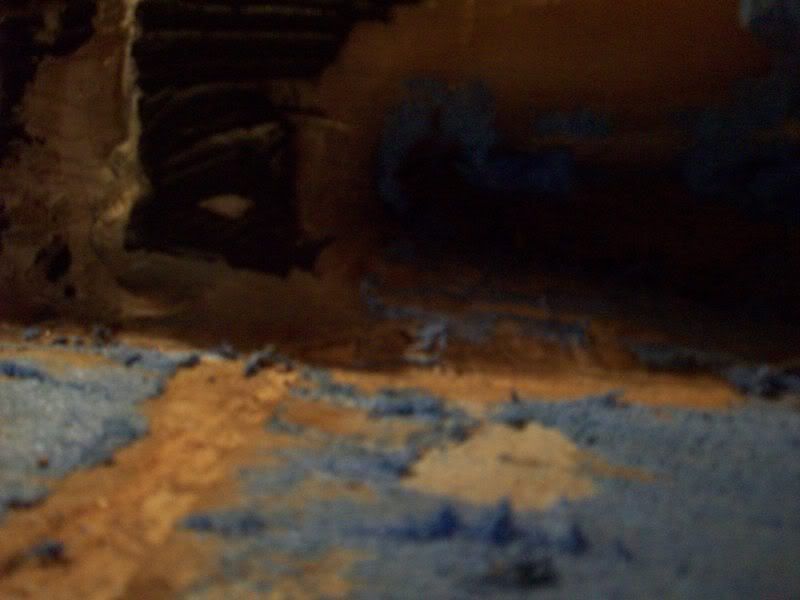
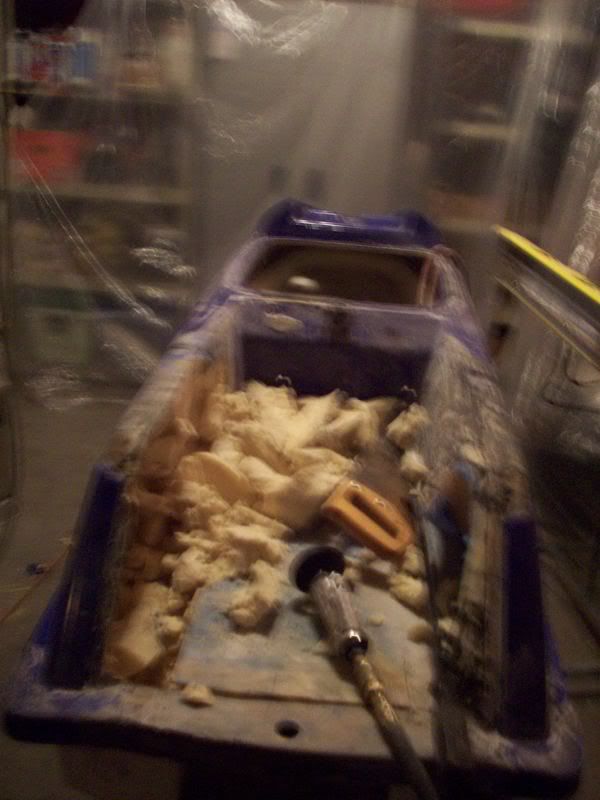
oh and by the way... after all this work the fuccking foam is/was DRY....!
grezzmky
Suckin paint fumes
- Location
- Saint Louis MO
What are these 3/16" ball bearing things I keep finding in the engine compartment?