Bedpost's Square

Bedpost

I reek of neoprene
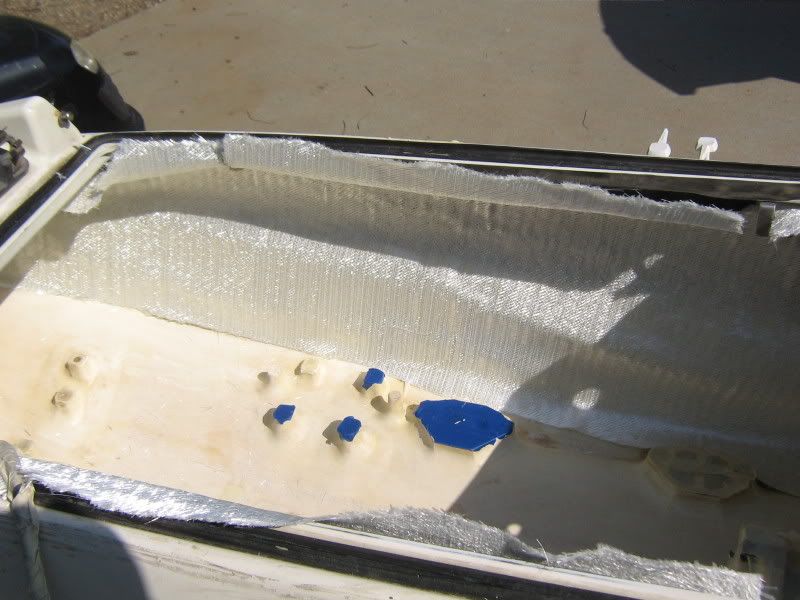
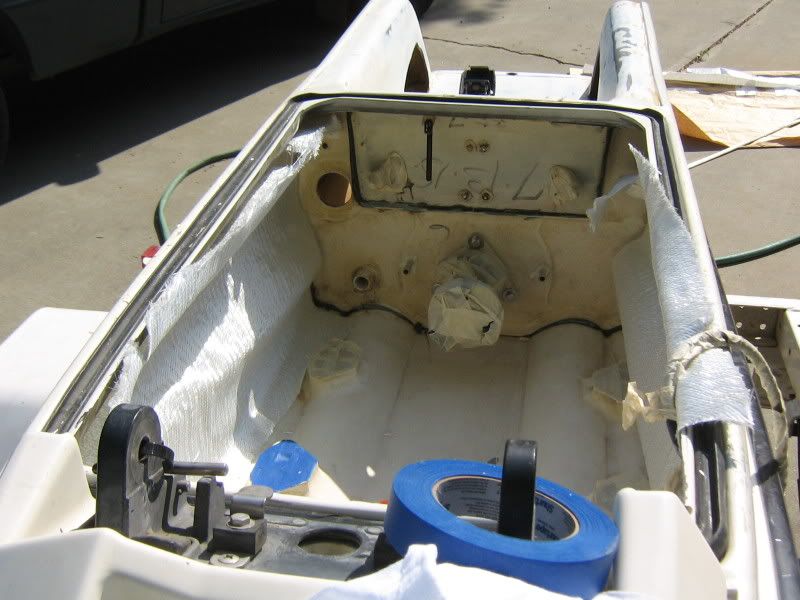
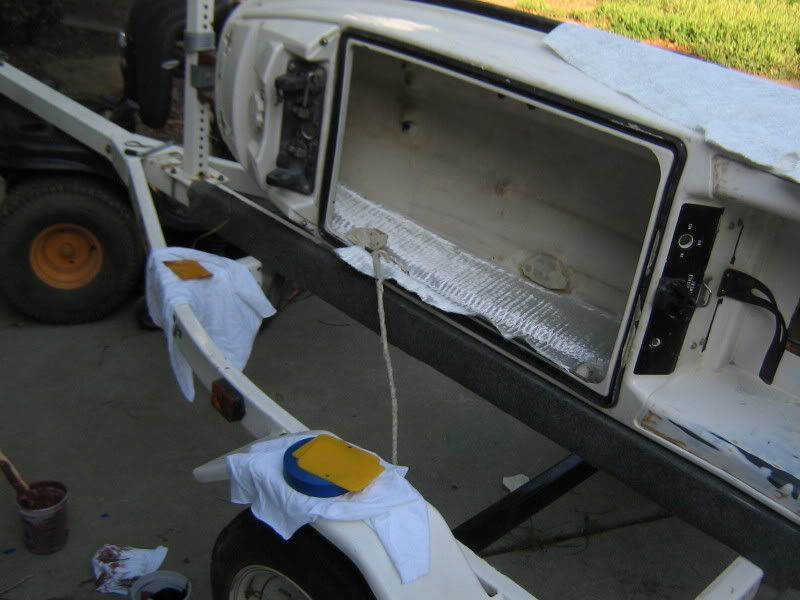
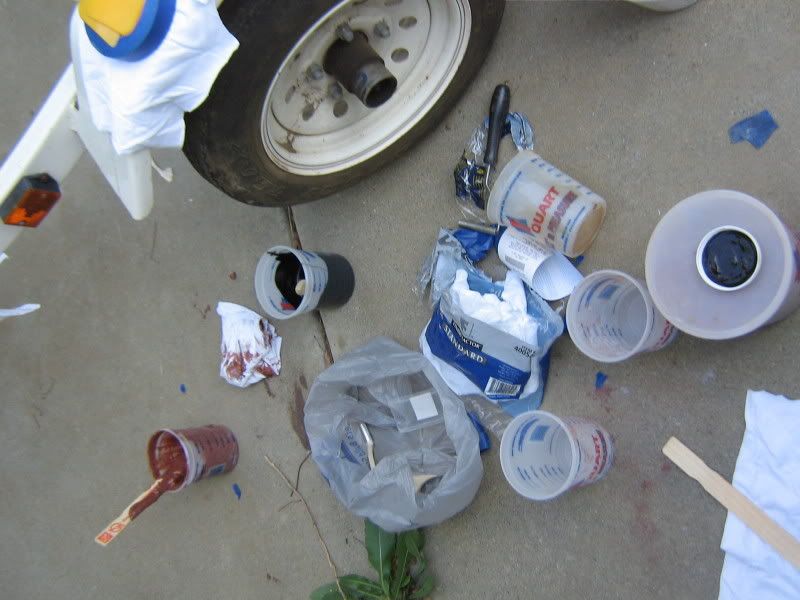
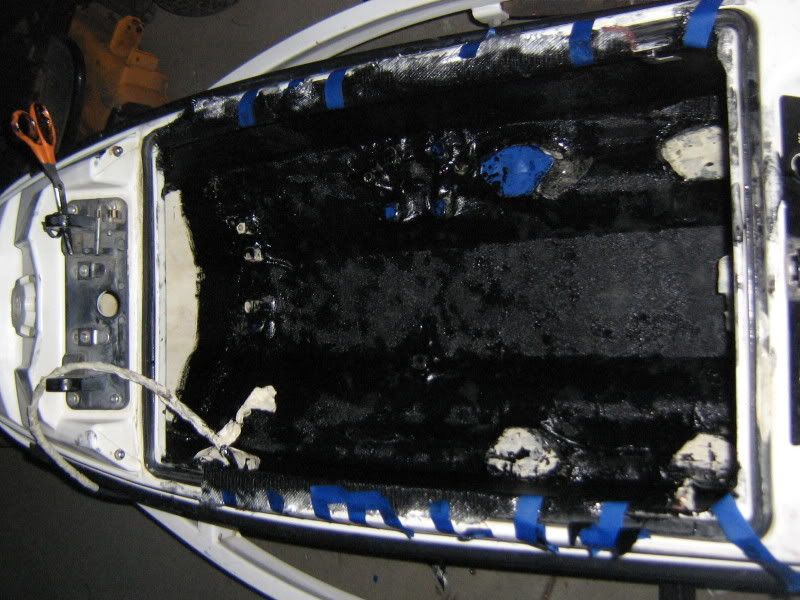
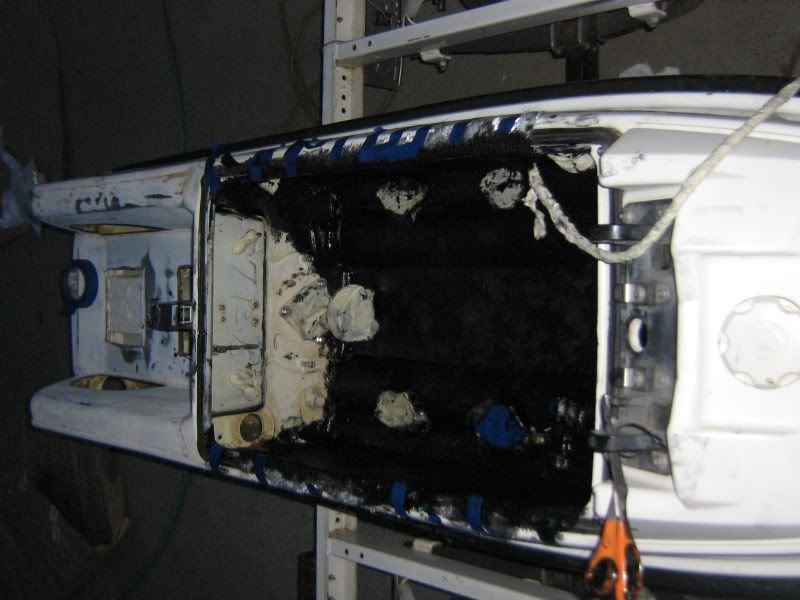
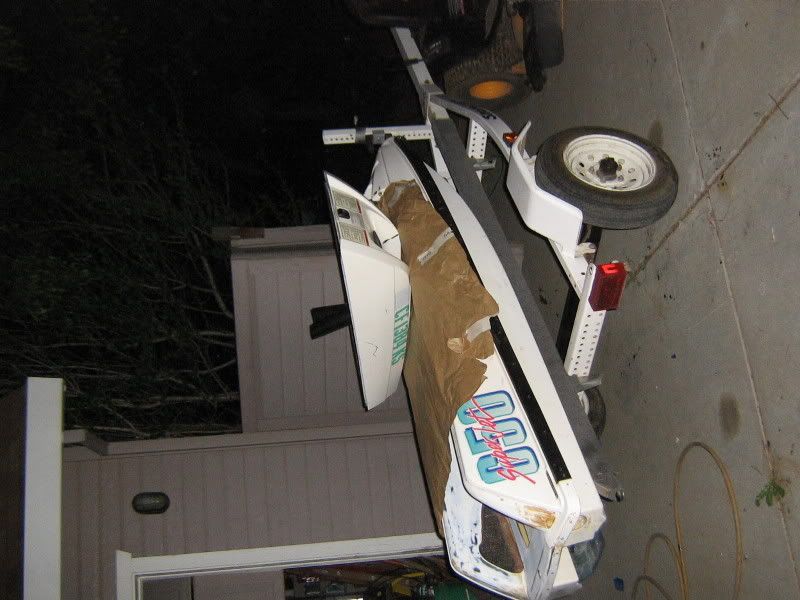
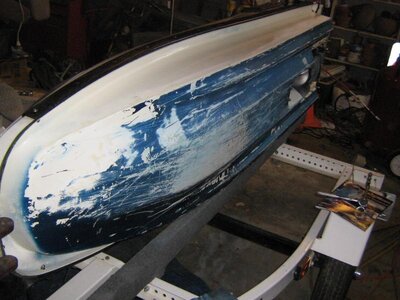
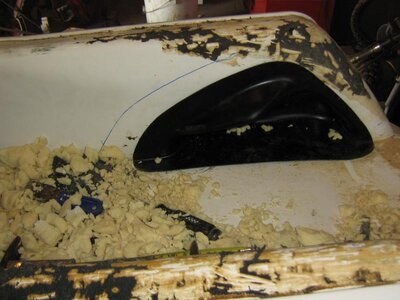
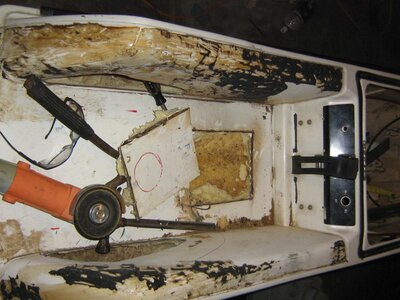
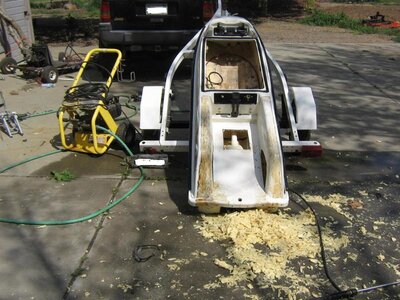
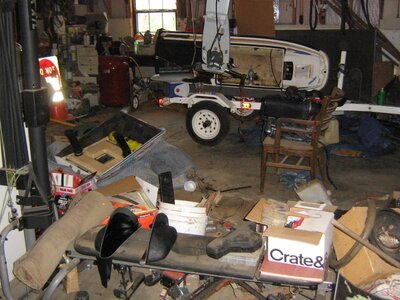
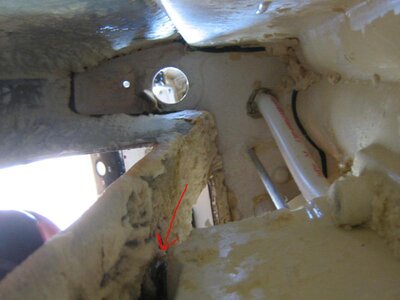
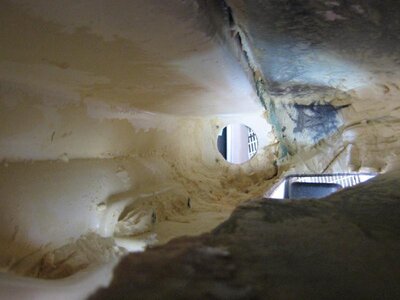
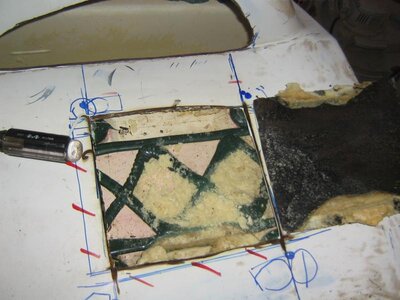
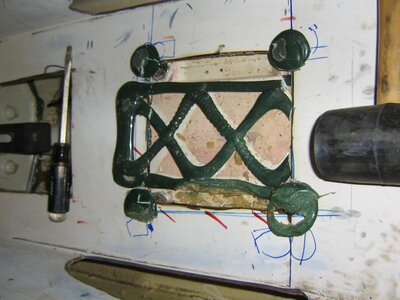
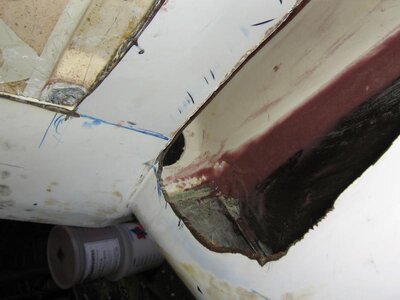
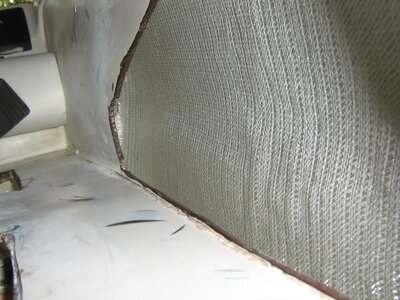
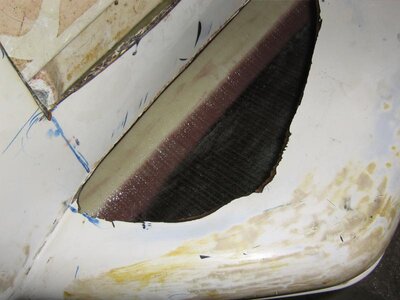
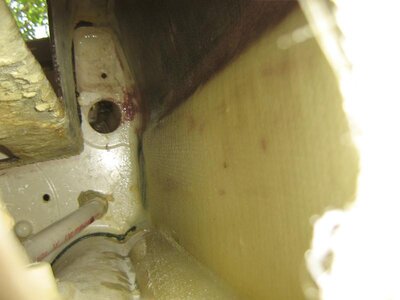
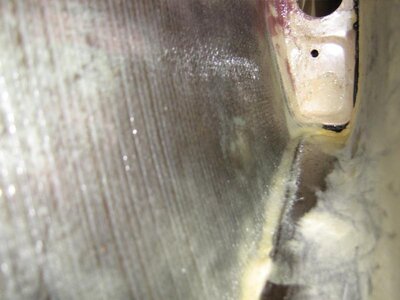
Well, I'm in the midst of De/Re-Foaming my Super Jet, so i figured i would start a thread for it:Banane37:

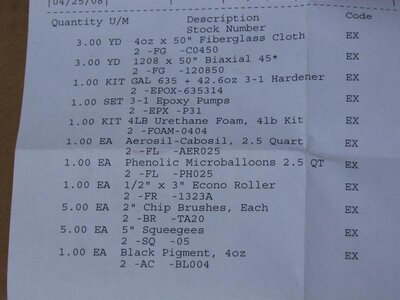
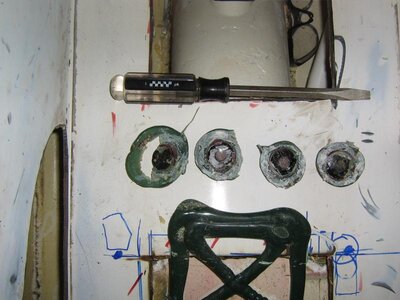
Its a stock 91 square thats getting the following:


  • WCF footholds (hence the De/Re-foam)
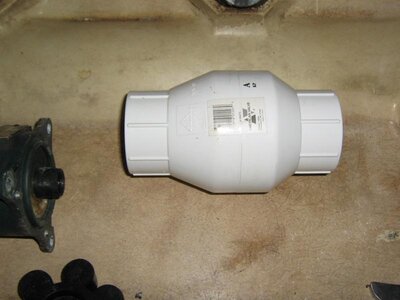
    Home depot one-way

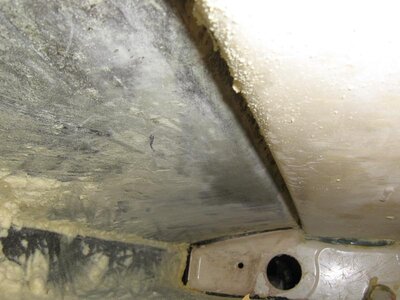
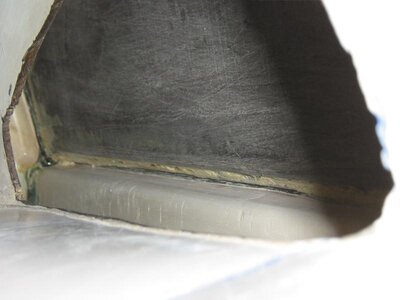
    Re-enforce rear bond line, and seal everything under the tray with 5200

    Re-enforce sides/pole bracket

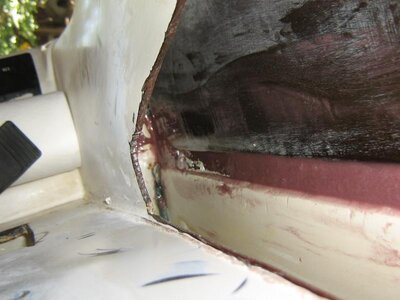
    Re-Glue the tray back on the top of the pump where it pulled up

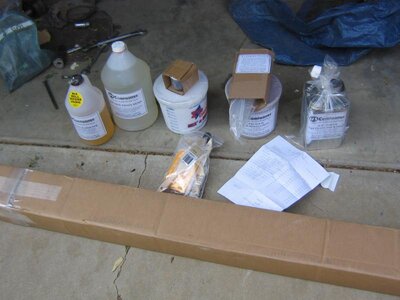
    Appliance Epoxy paint on the bottom to replace the last owners ugly ass paint job

    And I'm Considering using Polystyrene foam on the bottom with drain plugs and PVC channels and 2 part foam on the top

Anyways, I'm probably forgetting something.. but thats all for now :highhorse:
 

Attachments

  • IMG_1393.jpg
    IMG_1393.jpg
    69.3 KB · Views: 106
  • IMG_1463.jpg
    IMG_1463.jpg
    61.4 KB · Views: 116
  • IMG_1471.jpg
    IMG_1471.jpg
    74.9 KB · Views: 124
  • IMG_1503.jpg
    IMG_1503.jpg
    94.4 KB · Views: 205
  • IMG_1392.jpg
    IMG_1392.jpg
    84.8 KB · Views: 125
Looks like a good project. I'm in the middle of an almost identical project myself with my '95 SJ. Only thing I'm not doing is the one-way valve.

You might want to cut more of the tray out. It will definitely make de-foaming a lot easier, as well as the bondline reinforcement. I'm interested to see how you're going to do the foaming in the back. I'm still trying to decide how to work the polystyrene, 2 part foam, and drain plugs into an efficient system.

Your progress looks great.
 

Bedpost

I reek of neoprene
Ya, I'm almost certainly going to have to cut the tray a little more over the pump to get at that last bit of water logged foam, I'm just not quite sure yet how I'm going to go about this since the tray is so warped in this area, its kinda hard to see in the picture. but where the red arrow is there is probably 1/2-1/4'' between the top deck and the glue on the pump.. in any event, i got probably a good 90% of the foam out with the pressure washer :woot:

as for re-foaming, i was thinking of running some 1/2'' or so pvc the length of the tray and then packing as much polystyrene as i can over it and around the exhaust tube and one way, and then drilling several holes on the top of the gunwales and pouring 2 part down to help pack it down/ hold it all together. still not sure though.. theres always the third option of going no foam like FL-Cracker :bigeyes:
 

Attachments

  • IMG_1514.jpg
    IMG_1514.jpg
    44.5 KB · Views: 126
  • IMG_1511.jpg
    IMG_1511.jpg
    45.7 KB · Views: 104

wayne

wannaroll
Location
Mesquite, Texas
you also want to get to your pump bolt nuts. they all leak there. i pulled all the tubes except the drive shaft tub. then cleaned them up and resealed every thing including the inserts for the pump, intake grate, and ride plate.
 

Bedpost

I reek of neoprene
ya, I can actually probably get to thoes through the exhaust tube without cuting the tray up more, but it would be a major PITA.. also, does everyone use 5200 to seal the bondline back there, or should i fill it with thickened epoxy and lay some glass over it? Its not a surf ski, but the cabin cruiser wakes in the delta can be huge.. and my parents honda has spider cracks all over the place...:ugh2:
 

Bedpost

I reek of neoprene
I made another cut above the pump to replace the glue over the pump inserts, and to actually glue the tray down flush like it was supposed to be from the factory:bigeyes:

Other than that, all I've done is remove more foam, and start sanding/cleaning up the sides for a layer of fiberglass, still not sure to go with 12 or 17 biax.. or if it even matters:wiggle:
 

Attachments

  • IMG_1532.jpg
    IMG_1532.jpg
    61.4 KB · Views: 75
  • IMG_1533.jpg
    IMG_1533.jpg
    59.6 KB · Views: 73
  • IMG_1536.jpg
    IMG_1536.jpg
    63 KB · Views: 74
  • IMG_1543.jpg
    IMG_1543.jpg
    61.7 KB · Views: 57
Last edited:

Matt_E

steals hub caps from cars
Site Supporter
Location
at peace
FWIW, I cut polystyrene into long pieces, fit them as tightly as possible on the bottom half, poured 2-part foam over the top of it. Then I sanded that to obtain a smooth surface.
Then I glassed the tray in, glassed the footholds in, then poured foam in to fill the rest.
 

McDog

Other Administrator
Staff member
Location
South Florida
oh, and before i glue everything together.. does anyone have an opinion on this one-way valve?

Everyone says they suck. You want a 2 inch Zueller valve. Do a search on one-way valves for more info and pics. You don't want to have to redo the foam and such when the el cheapo valve stops working. The Zueller doesn't cost much more but is much better quality.
 

Bedpost

I reek of neoprene
Everyone says they suck. You want a 2 inch Zueller valve. Do a search on one-way valves for more info and pics. You don't want to have to redo the foam and such when the el cheapo valve stops working. The Zueller doesn't cost much more but is much better quality.

Sweet!, thats what i was looking for, all the threads i could find just talked about how crappy one type or another was, I couldn't actually find one that said "use this valve, its the best"

which one of these would work best do you think? The only reason i ask is i notice the model numbers are different...


http://www.grainger.com/Grainger/items/2P844

http://www.acehardwareoutlet.com/(e...uctdetails.aspx?sku=4114757&source=GoogleBase
 

Bedpost

I reek of neoprene
Well, I finally got all the glass and epoxy i am going to need to finish everything up... Then today i finished sanding the right rear gunwale and filled the bond line with what I eyeballed out as a 50/50 mix of Carbosil and microballons, then once that was tacky i laid a piece of 1208 over the whole side..

So far I'm happy with the results, just a little bit sticky and itchy..
 

Attachments

  • IMG_1571.jpg
    IMG_1571.jpg
    54.7 KB · Views: 74
  • IMG_1573.jpg
    IMG_1573.jpg
    51.1 KB · Views: 91
  • IMG_1578.jpg
    IMG_1578.jpg
    40.9 KB · Views: 70
  • IMG_1580.jpg
    IMG_1580.jpg
    62.5 KB · Views: 60
  • IMG_1585.jpg
    IMG_1585.jpg
    52.6 KB · Views: 88

Bedpost

I reek of neoprene
More pix..:bananalama:
 

Attachments

  • IMG_1586.jpg
    IMG_1586.jpg
    45.1 KB · Views: 62
  • IMG_1590.jpg
    IMG_1590.jpg
    83.4 KB · Views: 79
  • IMG_1594.jpg
    IMG_1594.jpg
    51.4 KB · Views: 58
  • IMG_1595.jpg
    IMG_1595.jpg
    40.4 KB · Views: 82
  • IMG_1600.jpg
    IMG_1600.jpg
    46.2 KB · Views: 76

Bedpost

I reek of neoprene
Made progress yesterday..

IMG_4526.jpg


IMG_4529.jpg


IMG_4532.jpg


IMG_4533.jpg


IMG_4535.jpg


IMG_4537.jpg


IMG_4539.jpg


didn't turn out as well as i had hoped, but it looks alright and should hold up..
 

Bedpost

I reek of neoprene
Ordered a 2'' Zoeller Valve yesterday, and 5200'd the tray flat like it should have been from the factory as well as covering the pump bolts in 5200

Things i have left..
One-Way install
Paint bottom black
Re-Foam with poly styrene
Install WCF footholds
fill remaining parts with 2 part foam
Glass over tray with 1208 biax
Re-turf
Install : Pump, motor, pole, gas tank, battery.. etc
 
Top Bottom