The hull l'm getting ready to redo some different areas on is a predecessor to what ended up being a SF Bad Ass.More Super Jet-ish than a SF.l think Tem was still at Xscream before parting ways and going out on his own.
So this hull is glass,which made it just the right weight in the surf.Other than adding tubbies,l just dropped all my components in it and have run it ever since.Been awesome having a ski that didn't matter if it got a scratch on it.Run it up on the beach,just didn't care.But several things have needed attention.
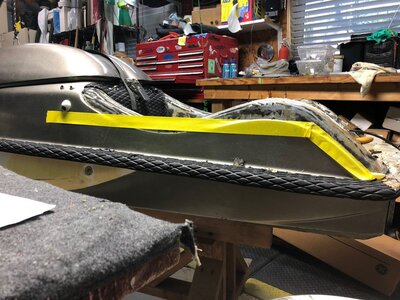
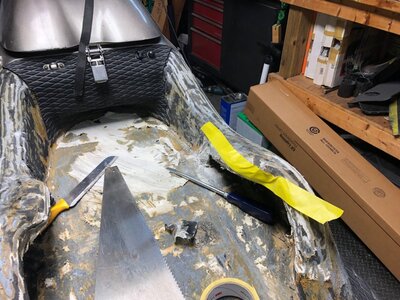
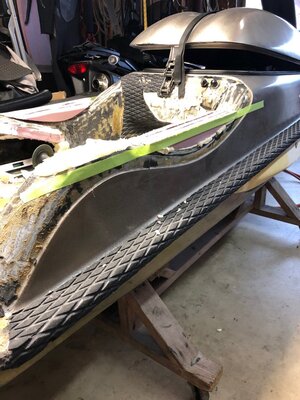
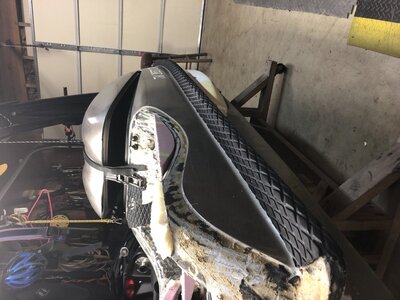
1.The hump at the rear of the gunwales is too high for my elbows and the low part of them made it hard from me to plant my elbows to reach the bars.No short people jokes please! We have feelings too.
2.Tubbies need to be glassed in.
3.The inserts for all the engine components are weak and need some more reinforcement.
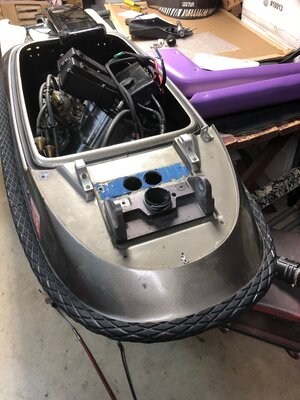
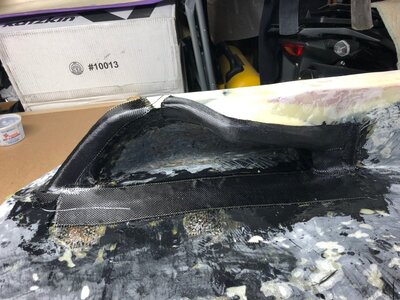
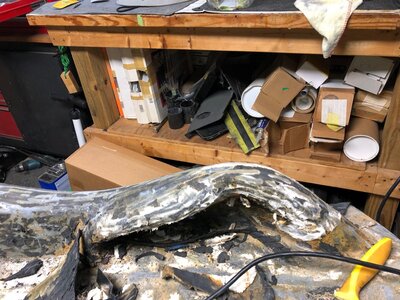
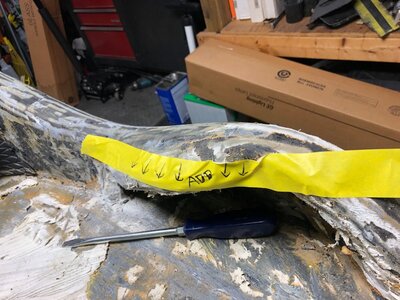
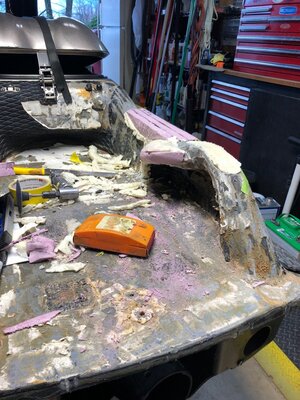
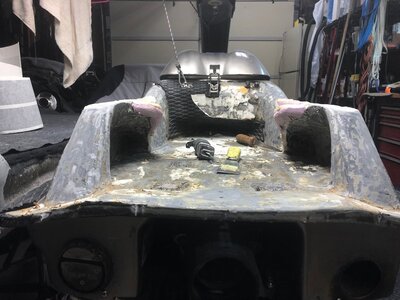
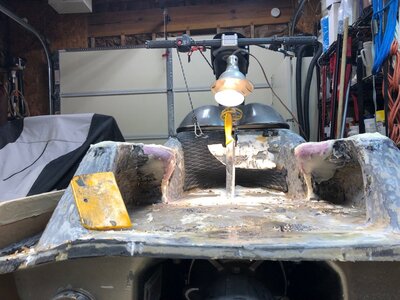
So today l removed the turf from the tray to see what l had.Layed some masking tape down to get some kind of idea where l need to add and cut the gunwales out to make them even.The footholds were also an early design as well as the hull.Thought about buying some TOBY footholds,but after talking with him,decided to cut and reshape the existing ones.Thanks Toby for your advise.This will be my starting point,redesigning the holds to where they will fit better.As you can tell from the pics,l have already started cutting them back somewhat to be flush with the sides.
So this hull is glass,which made it just the right weight in the surf.Other than adding tubbies,l just dropped all my components in it and have run it ever since.Been awesome having a ski that didn't matter if it got a scratch on it.Run it up on the beach,just didn't care.But several things have needed attention.
1.The hump at the rear of the gunwales is too high for my elbows and the low part of them made it hard from me to plant my elbows to reach the bars.No short people jokes please! We have feelings too.
2.Tubbies need to be glassed in.
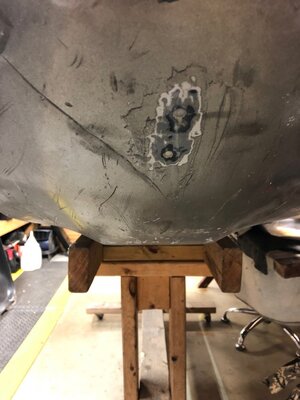
3.The inserts for all the engine components are weak and need some more reinforcement.
So today l removed the turf from the tray to see what l had.Layed some masking tape down to get some kind of idea where l need to add and cut the gunwales out to make them even.The footholds were also an early design as well as the hull.Thought about buying some TOBY footholds,but after talking with him,decided to cut and reshape the existing ones.Thanks Toby for your advise.This will be my starting point,redesigning the holds to where they will fit better.As you can tell from the pics,l have already started cutting them back somewhat to be flush with the sides.


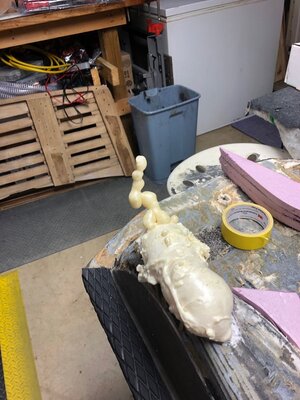


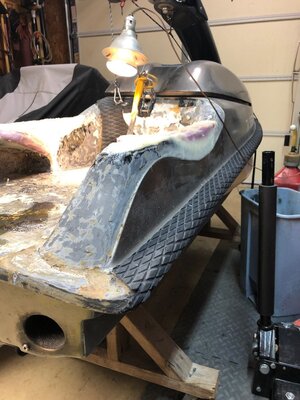
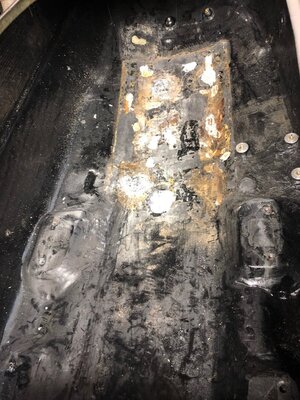
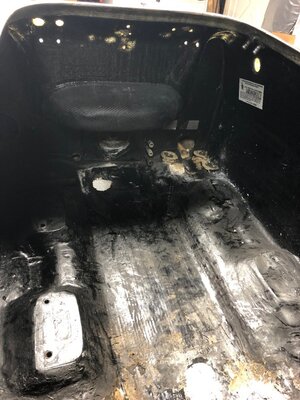
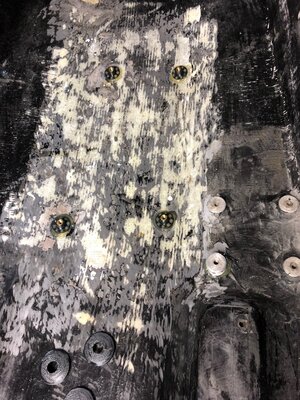
") ). But spent an hour grinding down all the areas affected to prepare for a top coat.l also messed up and got the left foothold too thick,so l had to grind it back down and redo.Added a thin coat of thickened epoxy over every thing.Just need to wrap with cloth now (seems like l said that before) but need to sand a few high spots before.Filled all the holes in the dash to have a clean start.
). But spent an hour grinding down all the areas affected to prepare for a top coat.l also messed up and got the left foothold too thick,so l had to grind it back down and redo.Added a thin coat of thickened epoxy over every thing.Just need to wrap with cloth now (seems like l said that before) but need to sand a few high spots before.Filled all the holes in the dash to have a clean start.