- Location
- 80127
For anyone that has experience -
How prone are the Ocean Pro Vortex mikuni 38 style flame arrestors to absorbing water in the bilge?
 (This is not the exact model, but the same style)
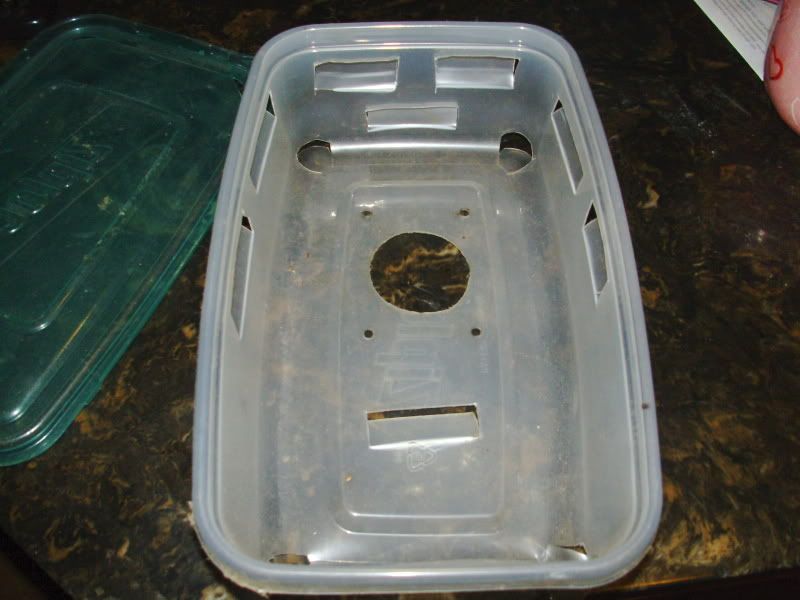
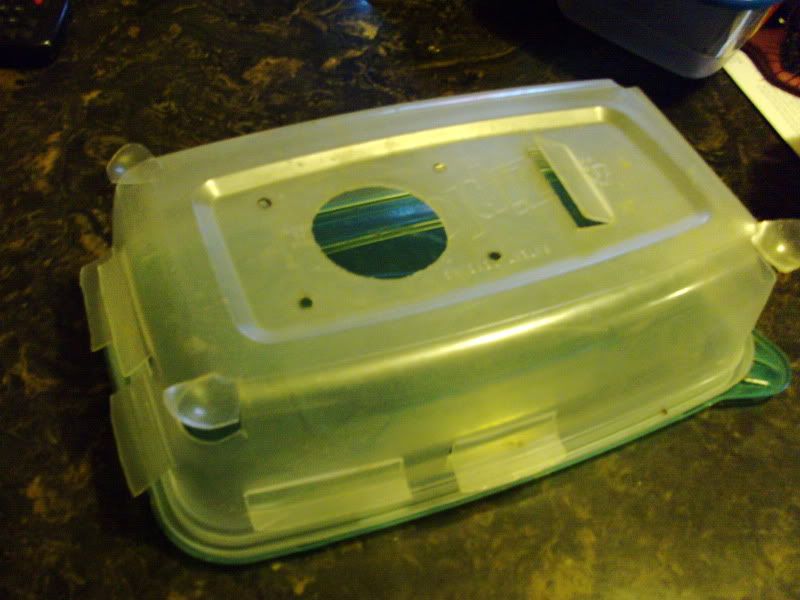
Also I have a chance to get two OEM 550 flame arrestors like this one

How would these fair? I assume the OEM flame arrestor would be a better choice to avoid water ingestion, but how are these particular OEM flame arrestors in terms of air flow?
I'm looking for the best balance of air flow, and ability to resist excessive water ingestion, so I'm looking for peoples opinions!
How prone are the Ocean Pro Vortex mikuni 38 style flame arrestors to absorbing water in the bilge?
(This is not the exact model, but the same style)Also I have a chance to get two OEM 550 flame arrestors like this one
How would these fair? I assume the OEM flame arrestor would be a better choice to avoid water ingestion, but how are these particular OEM flame arrestors in terms of air flow?
I'm looking for the best balance of air flow, and ability to resist excessive water ingestion, so I'm looking for peoples opinions!
")


