First off open up a time slot of about 5 hours. It takes a litte bit of time but if your patient it really isnt that hard.
Tools-
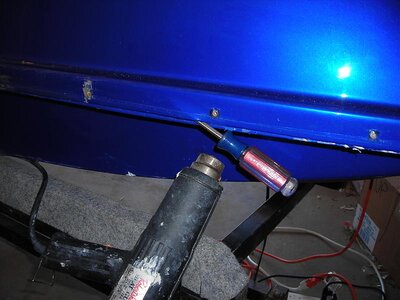
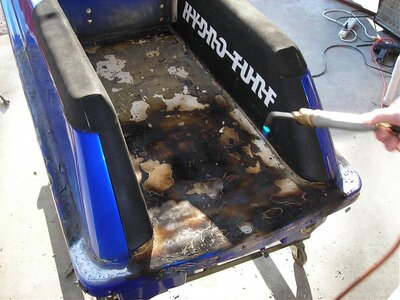
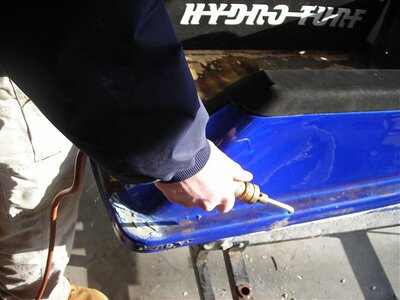
Heat gun
Rubber mallet
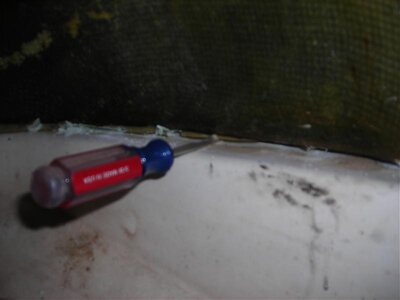
as many flat head screw drivers as you can find
prying tools
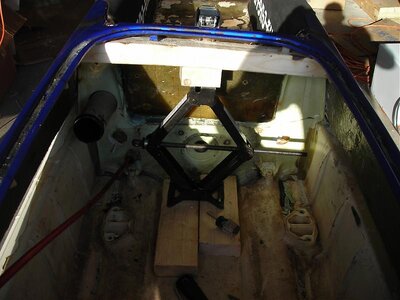
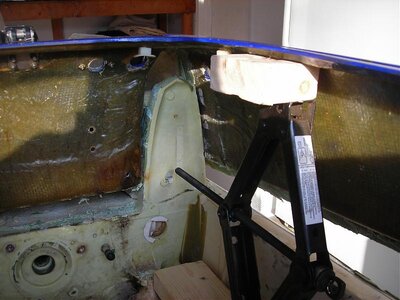
car jack
Tools-
Heat gun
Rubber mallet
as many flat head screw drivers as you can find
prying tools
car jack