Brapp's 1987 Toyota 4Runner Build

Just to share an interesting project I decided to post this thread. I am a huge fan of anything from Japan, especially machines. That being said I have always loved the original Toyota trucks and have had and still have several. My latest build is a 1987 Toyota 4Runner. For those of you who are unaware, the first generation Toyota 4Runner was produced from 1984-1989 and featured a removable fiberglass top. Yes, a convertible SUV that was based completely off of the truck chassis. If that doesn't get you excited, well, we probably won't be friends haha. This is an extremely rare truck nowadays and are nearly impossible to find. Clean examples are selling for over $30k at auction! Check out this article from just last year on Hagerty : https://www.hagerty.com/media/car-profiles/rise-of-1984-89-toyota-4runners/

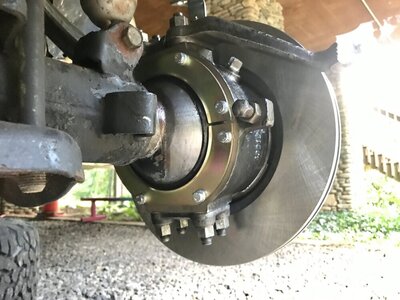
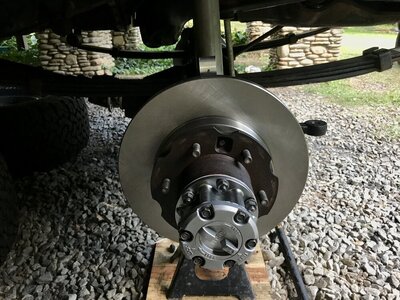
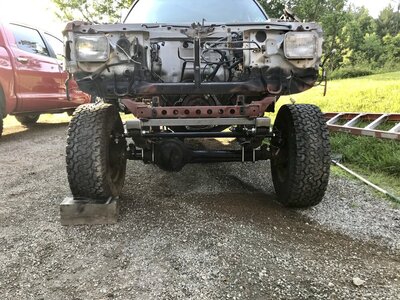
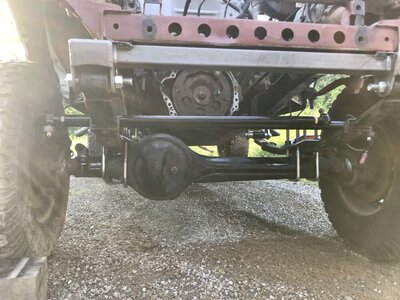
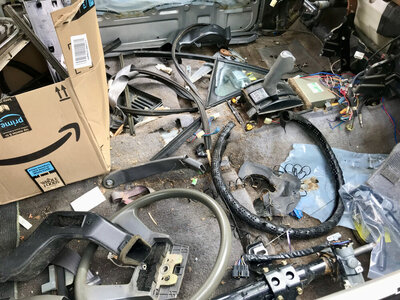
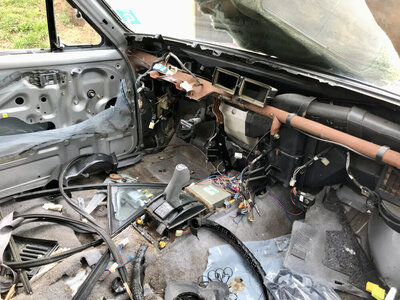
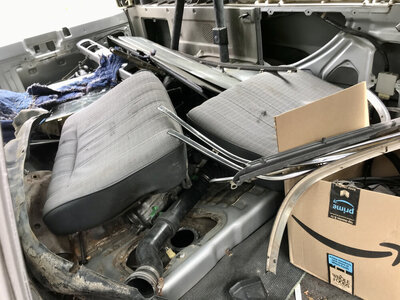
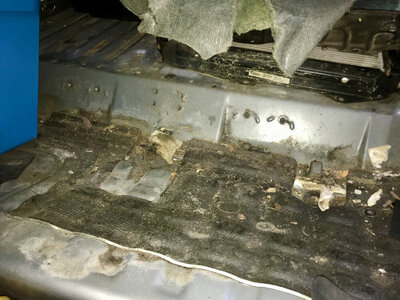
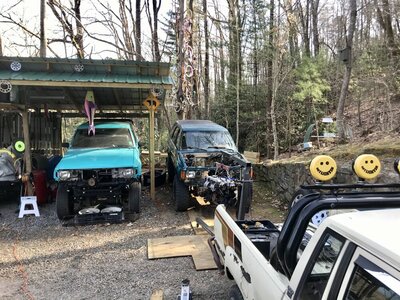
Anyways, I decided to pick up a truck from a friend that said he needed it gone from his driveway and we made a deal on it. The truck had no engine as the P.O. removed it to do some work and found himself in over his head. I immediately decided to do a solid axle swap and stole the built axles and lift out from under my 1985 pickup. This swap took place at my buddies house because of his welding capabilities. We agreed if I did all the work, he would weld the few brackets I needed for free. I completed the work and he welded up the brackets for the SAS. I asked several times "when do you think we can trailer this to my house?" He kept putting it off and putting it off and wouldn't commit to anything. I started to get pretty pissed and finally one day he calls me up and says "I'm on the way to your house with the 4Runner" IM like WTF? No notice just "Im on the way." Well I was at work so I didn't get to see the truck until I got home. HE HAD STRIPPED OUT THE WHOLE TRUCK!!!! Left a pile of junk inside and dumped it at my house, ratchet strapped to a tree so it wouldn't roll down the hill. All my work was still there but he had taken just about everything not bolted down and left me with the junk. I was FURIOUS :mad:...

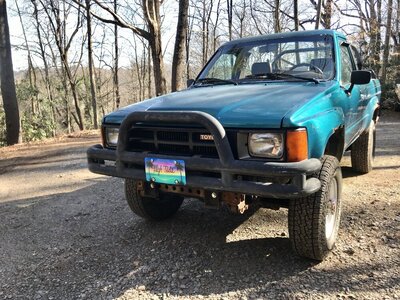
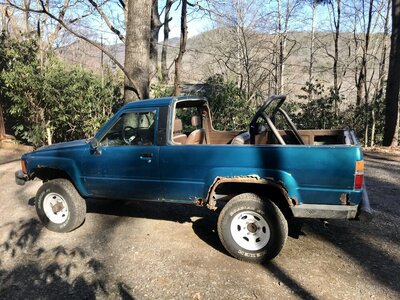
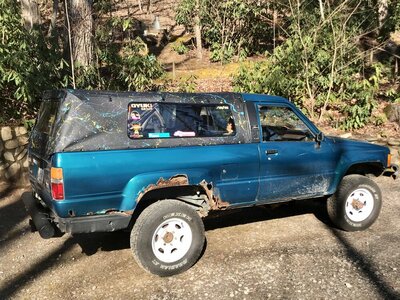
Anyways, I decided I was too deep in this truck to give up and now its finally coming along. If I could go back and do it again, I wouldn't. But the truck was worth nothing as it sat, plus my $3000 front axle was under it now. I got really lucky and had a guy offer to sell me a 1985 4Runner I had been trying to buy for years, I picked it up for parts because it is SUPER rusty but a great running and driving truck. I snagged it and have been driving it for an entire year but just recently decided to retire it and finish this build. The 1987 came from California and is very clean and not rusty. So the work is totally worth it! Here are some pics of the process, enjoy!


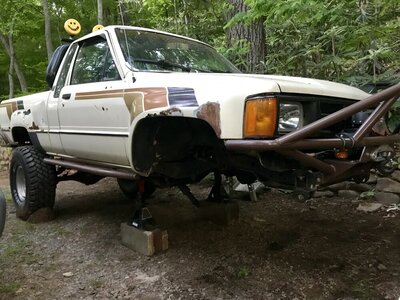
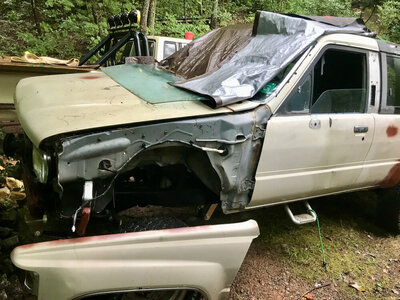
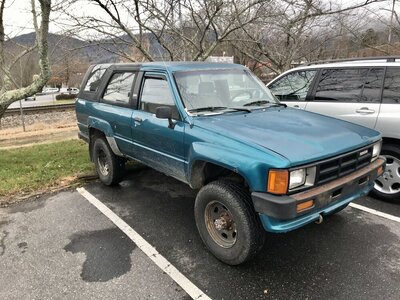
This is the truck when I first saw it, and made the deal. The very unclear deal that I wasn't buying the "whole" truck
IMG_4085.jpeg


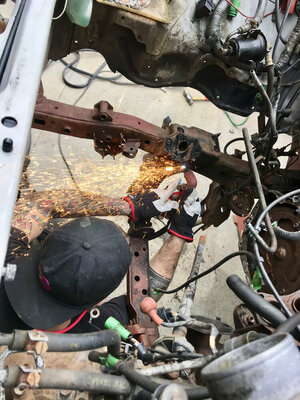
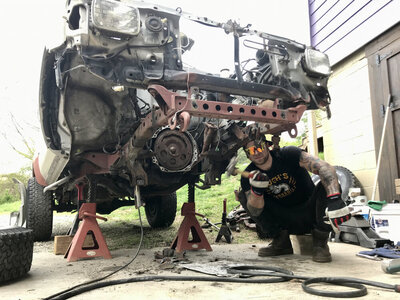
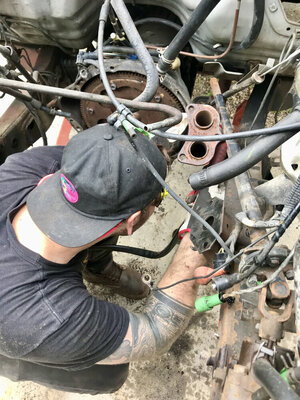
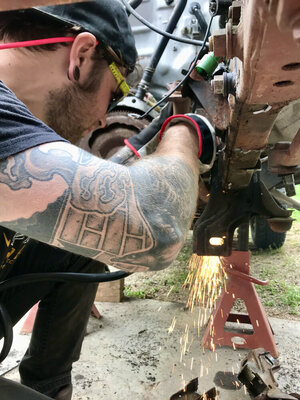
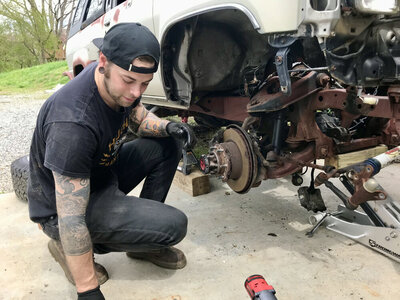
Here are some pictures of me doing the SAS
IMG_4396.jpeg
IMG_4399.jpeg
IMG_4401.jpeg
IMG_4405.jpeg
IMG_4410.jpeg
IMG_4414.jpeg
IMG_4419.jpeg
IMG_4420.jpeg
IMG_4424.jpeg
 
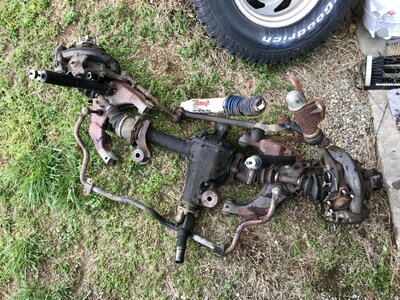
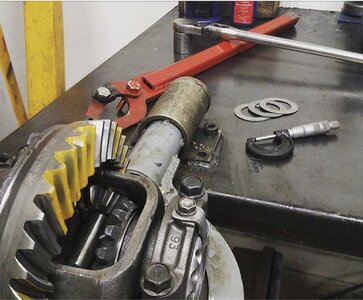
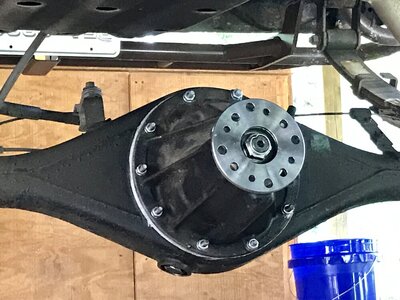
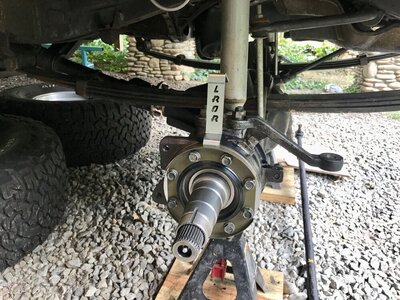
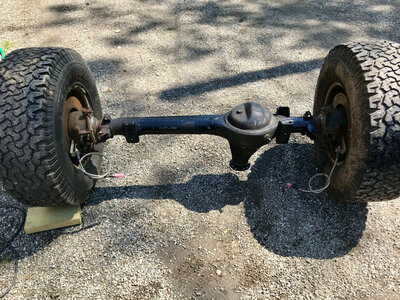
This is from when I built the front and rear axles on the Pickup, the ones I am using for the SAS on the 4Runner
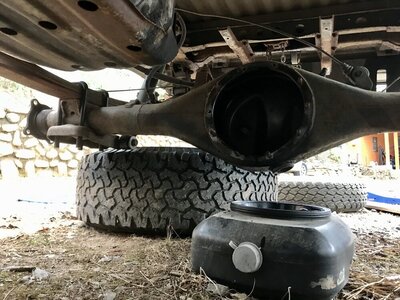
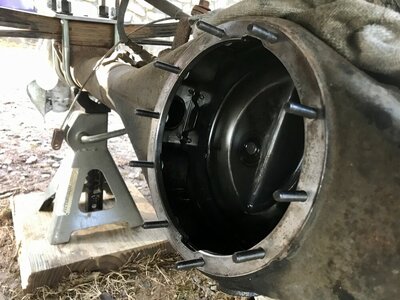
I did not assemble the differential ring and pinion gears, those were brought to a shop. But I did use Yukon 5.29 gears with their master install kit.
IMG_0853.jpegIMG_0968.JPGIMG_1075.JPGIMG_1076.JPGIMG_1077.JPGIMG_1078.JPG


Stealing the axle and lift off the pickup, also removed rear diff to replace with 4runner. I had another friend building a 1983 Toyota Pickup rock crawler and he sold me his stock axles for cheap! I threw the 83' axles and the stock springs on the pickup. Same guy also had a 1979 Toyota Pickup and he sold me the stock wheels and tires for cheap too, awesome deal and back to a stock size pickup!
57948385054__A3FA5FEC-E93F-4962-951F-E37985A9021C.JPG
IMG_4687.jpeg
IMG_4710.jpeg
 
Finally installed the front axle at the original "friend's" house
IMG_4714.jpeg
IMG_4715.jpeg


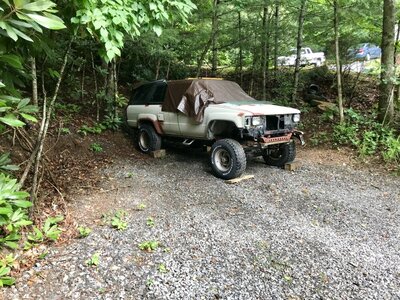
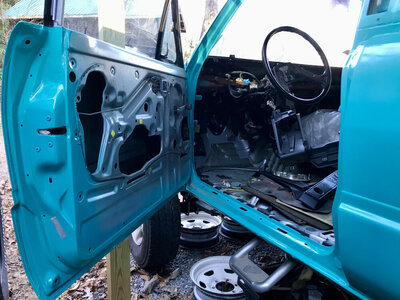
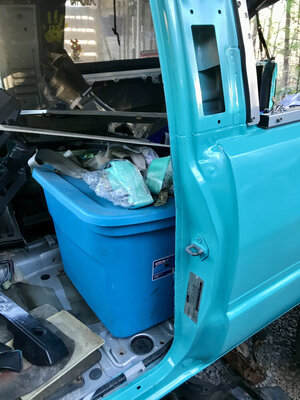
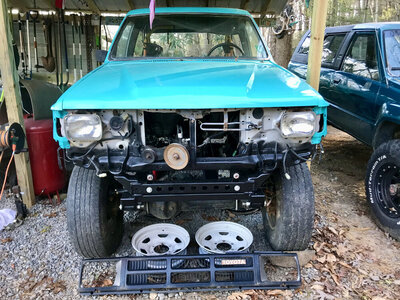
So here is where the deal went south, The pictures you see of me cutting up the truck and installing this axle was only a few weeks. I waited for the dude to bring the truck over and finally he dropped it that day with no notice while I was at work. THIS is what the truck looked like when it arrived at my place.
IMG_4829.jpeg
IMG_4392.jpeg
IMG_4393.jpeg
IMG_4394.jpeg
IMG_5100.jpeg
IMG_5107.jpeg
 
Some friend eh? Like I said, I was too deep and had to keep going. I installed the rear diff and diff stud eliminator kit for the rear. Also installed the lift springs and U-bolt flip kit.
IMG_5653.jpeg
IMG_5663.jpeg


Im not sure what else I did in-between then and now but it was a TON of cleaning/detaining and building a pole barn to keep some stuff out of the rain.
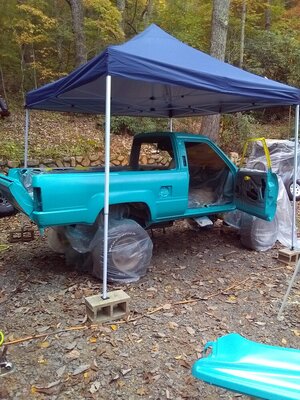
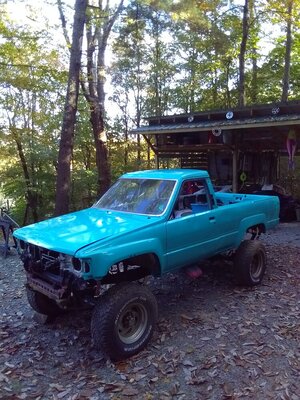
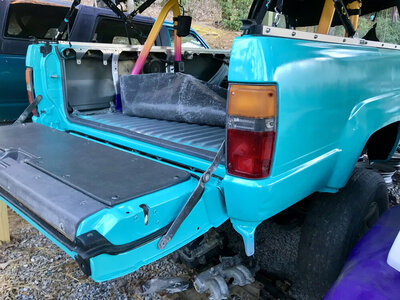
But eventually I was able to sand this truck down and paint it at my house. After successfully painting my Superjet, I knew I could spray this truck. I stripped the truck down to almost completely bare, even pulled out all the plastic tabs for lights and moldings etc. I sanded the entire truck inside the door jambs and all. Wiped it down 3 times with grease and wax remover, until my new cotton rags were coming out basically clean. I let it air out while I mixed my primer and got set up to spray. Laid it all out and hit! Immediately when I finished spraying the primer, I cleaned outlay spray gun and ate a snack. About an hour later I mixed up my color and sprayed the Turquoise! Again, I immediately cleaned out my spray gun, and ate another snack :) About 1 hour after that I mixed up my clear and hit it again! Came out perfect. I didn't get many pictures but here are a couple

KIMG0103.JPG
KIMG0104.JPG


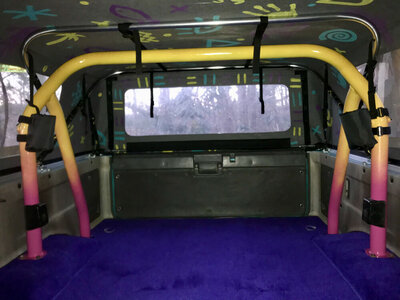
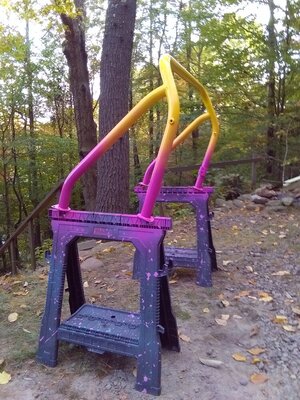
I also sanded down and primed then painted the roll bar, came out BITCHIN"
KIMG0105.JPG
 
I found a nice soft top to replace the factory fiberglass top, its made by a company called Softopper.
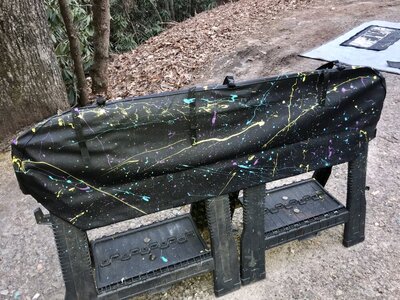
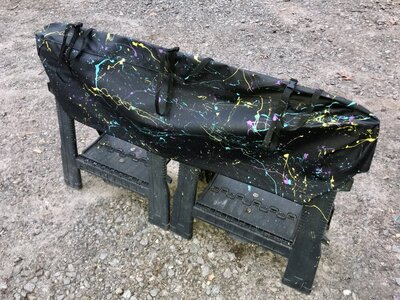
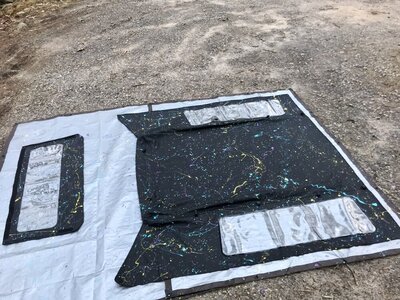
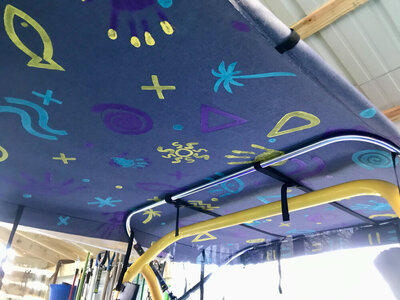
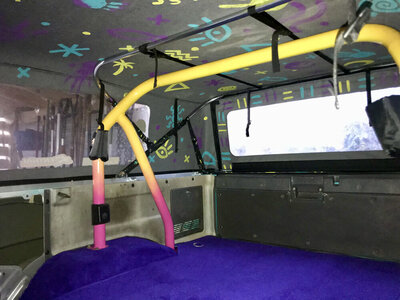
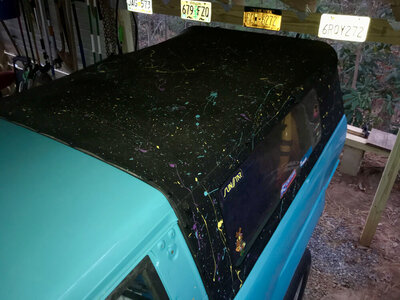
Custom is the name of the game and i'm not shy to make anything mine. Black top is boring, I decided to give it my usual. Brapp's tropical splash, a technique that has taken me YEARS to figure out. Ive painted a lot of stuff, and splatter is a very hard effect to master. This top was painted about a year ago and has held up fantastic. Ive also experimented with different paint over the years and found that exterior grade latex paint comes in some vivid colors and really stands up to abuse. Especially on soft or poros surfaces.

IMG_5833.jpeg
IMG_5834.jpeg
IMG_5835.jpeg

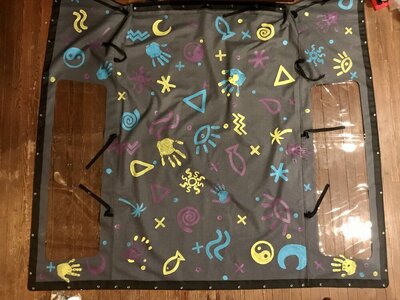
The outside wasn't enough, once that dried I took the top inside and my lady and I hand painted the inside. It might look like child's play, but I can assure you this was very delicate work and took 20+ hours of painting... we were stepping over it and around it in the living room for days hahah

IMG_6321.jpeg


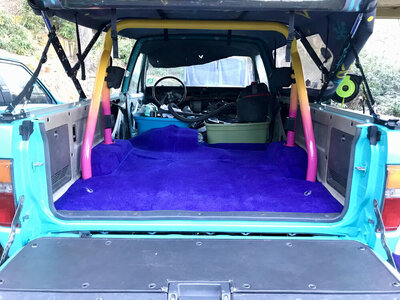
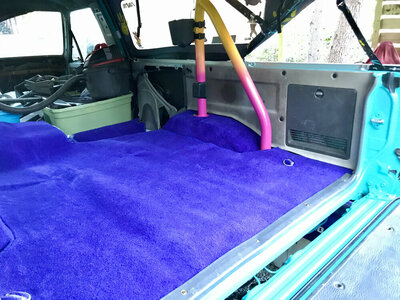
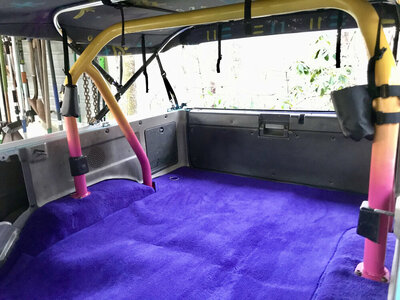
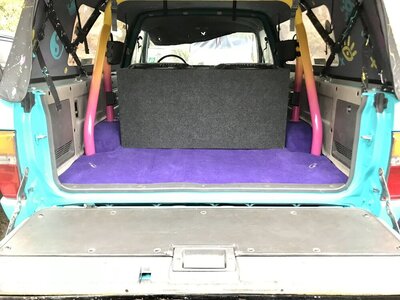
MORE TO COME LATER, I HAVE TO GO TO WORK!!! Wait till you see the carpet! ;)

IMG_7550.jpeg
 

smokeysevin

one man with a couch
Location
Houston
I don't remember that being an oe carpet color option lol

Where did you get it and how does it fit? My tundra is in desperate need of new carpets.

Sean
 

Sanoman

thecolorpurple
Location
NE Tenn
l got to see this beauty a few weeks back.Brappadoodle is very thorough when he does a build!

You know Seth,since l first met you,you truly amazed me in your sprit.You are an awesome person to be around and we always have good times hanging out.So glad to know you!

Now get busy!!
 
l got to see this beauty a few weeks back.Brappadoodle is very thorough when he does a build!

You know Seth,since l first met you,you truly amazed me in your sprit.You are an awesome person to be around and we always have good times hanging out.So glad to know you!

Now get busy!!

That really means a lot. Its important to me to truly be an "individual" and play to the beat of my own drum. Without getting too mushy, make no mistake that Don reached out to me on this forum, offered me help and really welcomed me into this amazing sub-culture. If it weren't for you, I wouldn't have met any of the new friends I have found here. Furthermore you inspired me to dive into my ski and really sparked a lot of interest and imagination. Hats off to you! Thanks "Papa Don" :cool:
 
I don't remember that being an oe carpet color option lol

Where did you get it and how does it fit? My tundra is in desperate need of new carpets.

Sean
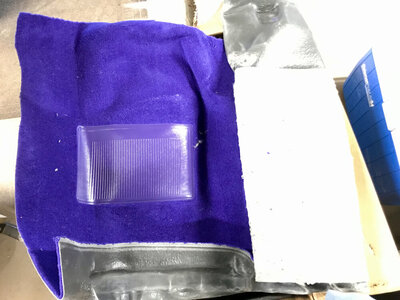
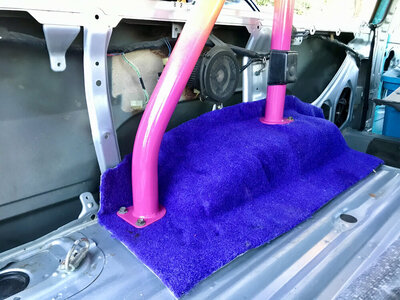
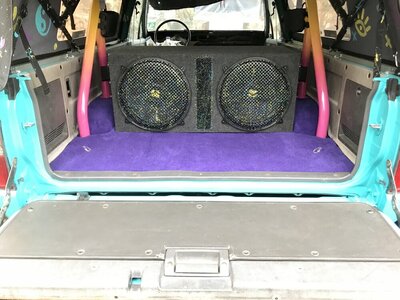
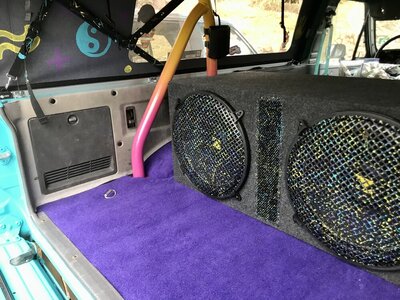
I grabbed this carpet set from a company called OC Auto Carpets. They claim to be the #1 supplier for carpet replacement, who knows. They have some great colors and styles and are willing to ship you free samples! https://www.ocautocarpets.com The fit is nice so far, you do have to trim the pieces a bit but that's good so you can get a tight fit. Quality looks to be acceptable, I have a feeling it will not hold up perfectly but who cares. I get to wear out my new carpet and get my money worth haha
 
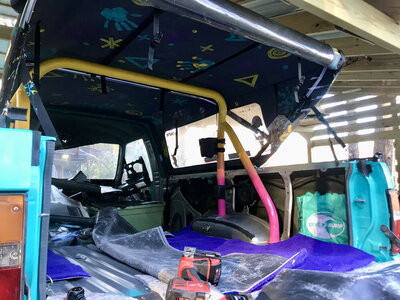
So I was able to get some of the carpet in a few days ago, Its looking nice and I can't wait to drive this thing! Here are a few pictures of the progress, I will update later on with more photos and some real surprises for this build. Enjoy

IMG_7552.jpeg
IMG_7554.jpeg
IMG_7565.jpeg
IMG_7563.jpeg
IMG_7564.jpeg


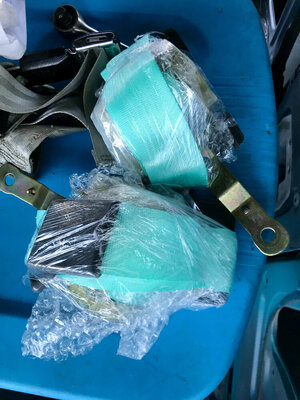
Wait, are those.... TURQUOISE SEAT BELTS??
IMG_7558.jpeg
IMG_7556.jpeg
IMG_7560.jpeg
IMG_7561.jpeg
 
Awesome! Thanks for posting. I've wanted a first gen 4Runner for so long I can't remember. I was looking for one last year when I stumbled across an LS1 swapped '88 Xtra cab I now use as my lake truck and daily driver.
 
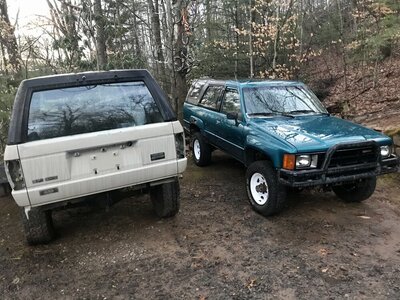
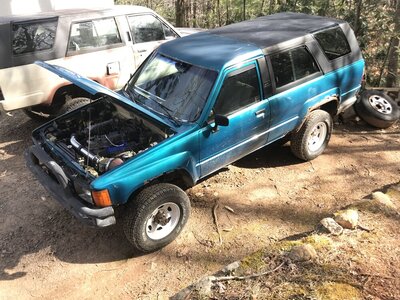
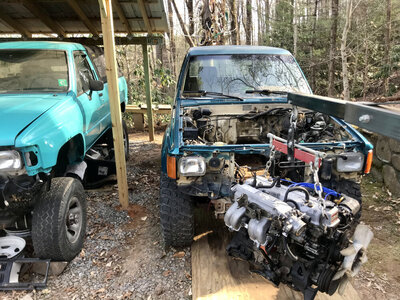
So about a year and a half ago I was offered another 1985 Toyota 4Runner and I needed the parts. The truck was super rusty but ran very well after a thorough tune-up, so we decided to keep it for a while and drive it.

5820AEA7-9CF0-4638-AB49-7AAC4D83C45D.jpeg

I cleaned the wheels up and painted them white. Added a Smittybilt bumper I had sitting aside for the build.

D533E1AF-C8CA-48CF-9D35-D9E8BFFFB536.jpeg
47456822-48D5-4016-B599-757B2BCA877C.jpeg
387CB21B-C9A5-4A2D-B485-77452820ECD4.jpeg
086C90ED-AF01-41D0-B991-1F2402BAF7EF.jpeg
Would you look at the body rot!!
B6063E17-7CAC-4776-8CDB-65AB9C116CB9.jpeg
 
Last edited:
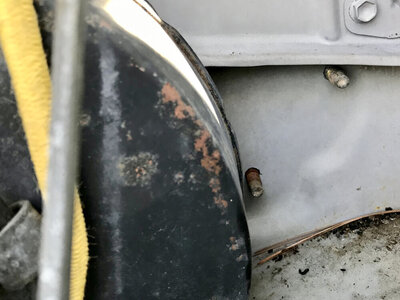
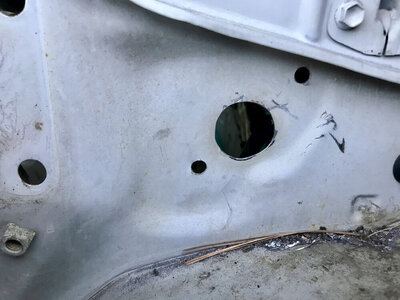
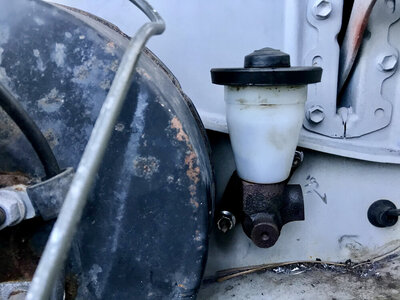
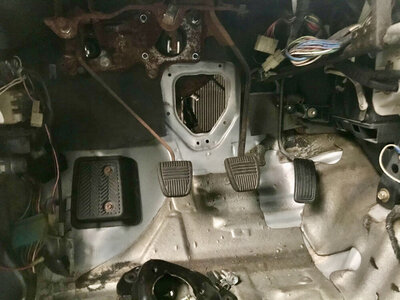
Im not great at taking pictures when I get rolling on a project, but I tried to take a few. I was able to get the pedal bracket assembly for the manual transmission swap installed. It takes a bit of alignment to get it right, not much room for error... The firewall is stamped with the basic location but the studs cannot be removed from the bracket, so you have to measure and make a template to get the studs through the firewall. Even when you do that, the rest of the mounting holes have to line up! I got lucky and hit it dead on. Woo hoo!

IMG_7838.jpeg
IMG_7839.jpeg
IMG_7840.jpeg
IMG_7866.jpeg


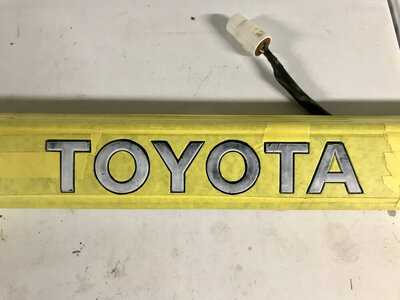
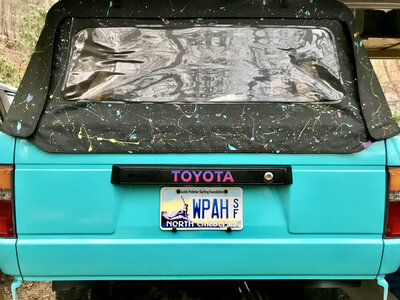
After that I was eager to finish the rear of the truck and button up the tailgate once and for all... I got my rear badge and license light holder and taped it off...
IMG_7863.jpeg

And threw the magic dust on it...

IMG_7864.jpeg

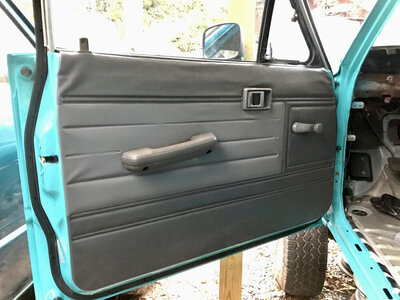
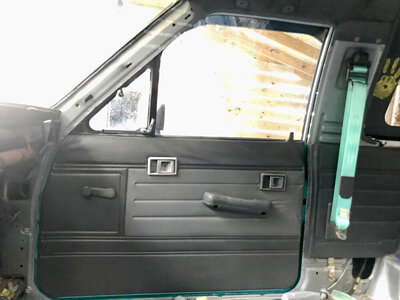
I was also able to secure a new OEM rear window trim seal even though im running a soft top. Working my way forward I did the same for the doors, I did my final install for the doors and was able to do my final finish on those, including brand new door seals! Boy these made a huge difference in the way the doors feel and open/close. All fasteners in place and moisture guard installed.

IMG_7865.jpeg
IMG_7867.jpeg


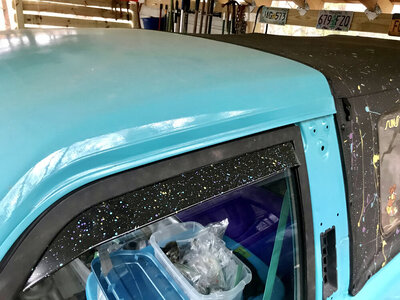
Went ahead and splattered my rain vents to match my soft top
IMG_7868.jpeg

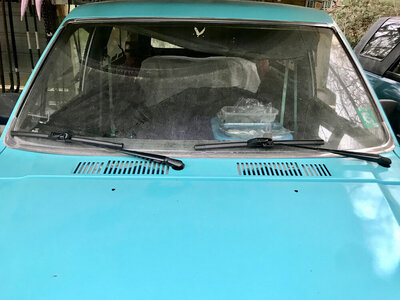
I was even able to get my cowling installed with the correct rubber seals and finally bolt my windshield wipers on... This sounds trivial but every little piece is 1 step closer...
IMG_7869.jpeg


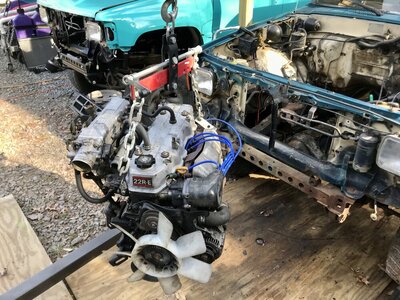
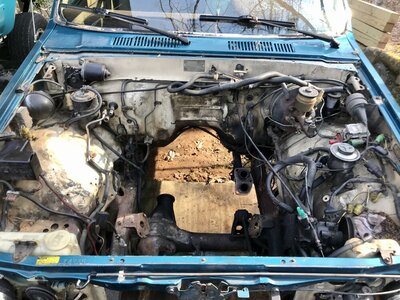
I didn't get pictures but I was also finally able to install my radio antenna and both fenders are completely secured now. Engine bay is prepped for install and I got my brother o help me for a bit just the other day and I got the transmission installed in this truck! More pics to come later...
 
Top Bottom