RN Superjet Colander Build

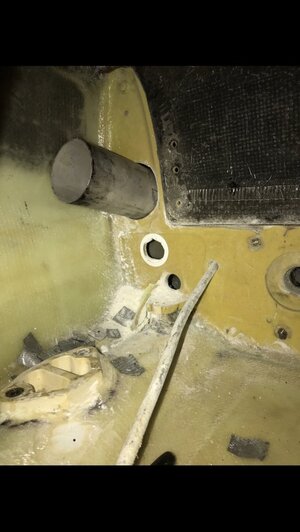
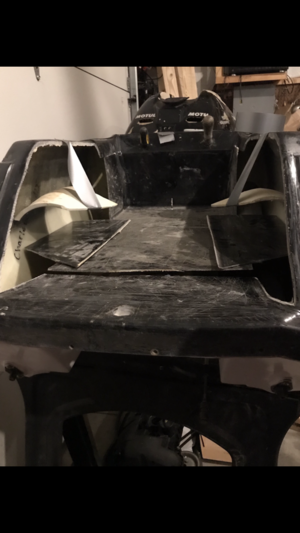
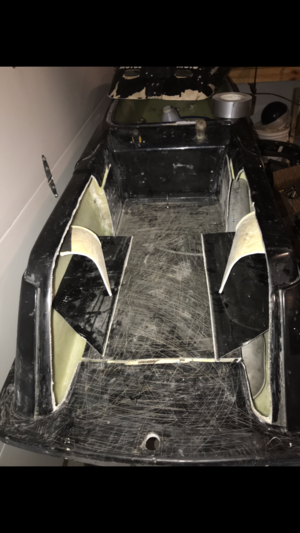
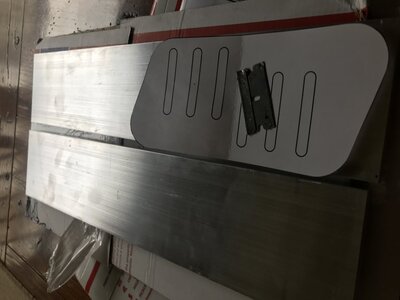
After emailing, calling and sending a Facebook message to Hurricane Industries asking questions about their foothold kit with zero responses, I decided to just make my own kit and save the $400. I’ve heard they’re great people over there but sheesh, check your inbox and phones from time to time.

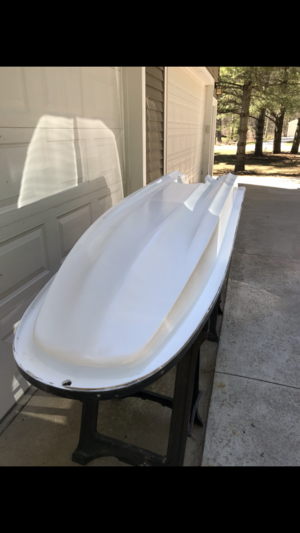
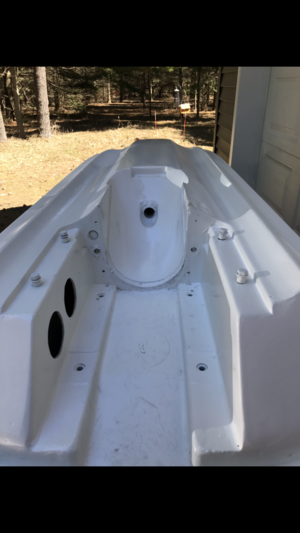
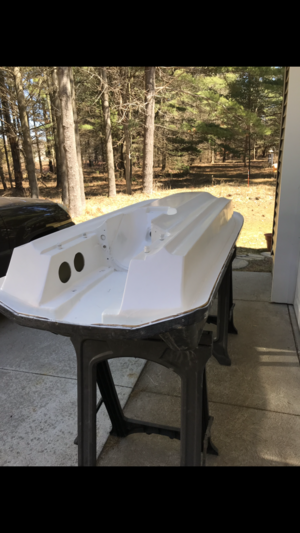
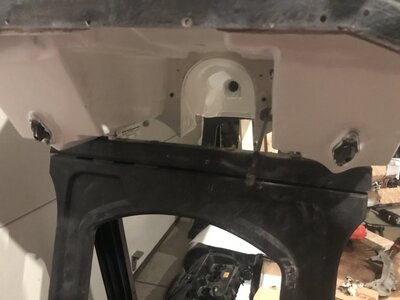
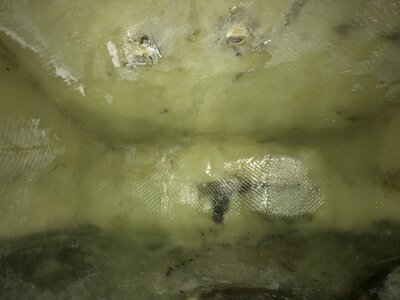
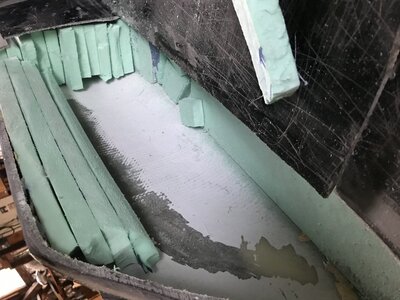
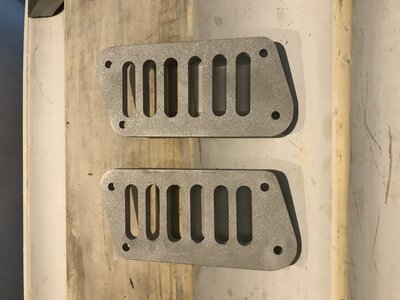
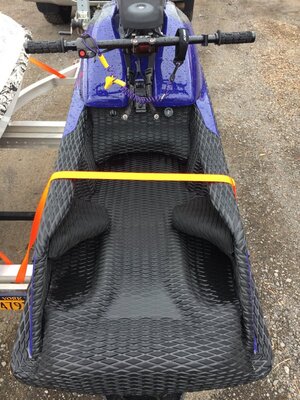
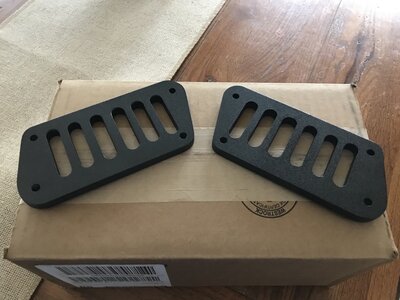
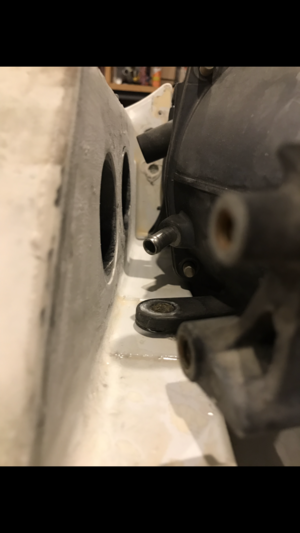
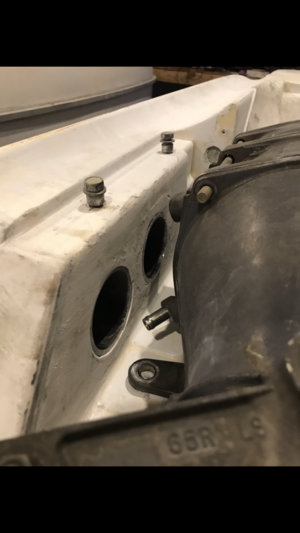
Milled some slots, sandblasted and time for some paint. Since I’m already redoing the entire tray I’ll shoot for getting something like the attached pic
 

Attachments

  • D60159F7-A78E-4516-888C-A207CAB19C98.jpeg
    D60159F7-A78E-4516-888C-A207CAB19C98.jpeg
    70.4 KB · Views: 128
  • BC56FB90-FE61-4D39-9DD9-9749A1ACE8CD.jpeg
    BC56FB90-FE61-4D39-9DD9-9749A1ACE8CD.jpeg
    122.4 KB · Views: 139
  • 23D1E912-74F5-468C-B416-CFFC3C4A9A93.jpeg
    23D1E912-74F5-468C-B416-CFFC3C4A9A93.jpeg
    221.3 KB · Views: 126
Well I bit the bullet, no turning back now! I’m hoping it’ll knock the noise down some. I’ve seen a few wb1 builds with triples still running a pump dump so I’m not too worried about restriction with the pump being fairly close. We shall see!
 

Attachments

  • 5B3EA43A-F5DB-4703-953A-1A4345FA4FF3.jpeg
    5B3EA43A-F5DB-4703-953A-1A4345FA4FF3.jpeg
    66.2 KB · Views: 86
  • 0A779449-7BDB-4F6E-BA01-51D129B1A263.jpeg
    0A779449-7BDB-4F6E-BA01-51D129B1A263.jpeg
    114 KB · Views: 80
  • 7A74D419-99B3-4F50-868F-D483EB04821E.png
    7A74D419-99B3-4F50-868F-D483EB04821E.png
    521.4 KB · Views: 81
  • 10A45C4A-BCB3-4332-BC58-37E6D9E6F89C.png
    10A45C4A-BCB3-4332-BC58-37E6D9E6F89C.png
    579.3 KB · Views: 101
Also, does anyone have pics of their exhaust setup the runs the long hose under the carbs? I’m debating lowering my exhaust (hole in the firewall) a lot lower to both clear footholds as well as get the exhaust pipe under the carbs to make servicing/jet changes easier. If I run the pipe under the carbs then 90 up and over the battery and around the tank I think I’ll be golden. Pics / links would be awesome though!

My only fear is water ingestion if I kill it / roll it. With it in the stock location there’s a good amount of rise that would mitigate that problem
 

Req

Location
SW Tenn
I like the pump dump, no idea about if it will cause cavitation or restriction but it looks killer.

I ran my tube in a lower location because of my foothold and gunwales, Im not sure how Im running the rubber tube yet but I think it will flex and clear everything without kinking, I may need to cut it a bit shorter. Elbows have crossed my mind but Im not sure if it is worth it tbh.
 
Got my SBT midshaft in the mail, and now I’m reading mixed reviews on them. Hopefully it doesn’t strip out like some people have experienced. I’ll be sending the couch driveshaft out to get shortened, and I’m going to shoot for just about full engagement into the midshaft, may as well use all the splines if they’re there! The couch shaft was absolutely burried in the midshaft, for some reason it seems like the oem superjet shaft doesn’t have the same engagement. I’d be interested to know if any other members have compared couches to the sj lineup to see if there’s more difference than just manufacturing tolerance.


On a side note, will I be able to flip flop the midshaft without ruining the bearings? I have a press, just wondering if it’s going to press the bearings right out or smash a seal and I should order bearing ahead of time. My current midshaft turns smooth and looks to have been kept up on grease / stored out of the water (freshwater also.) No sense replacing the bearings if they’re still good.
 
I like the pump dump, no idea about if it will cause cavitation or restriction but it looks killer.

I ran my tube in a lower location because of my foothold and gunwales, Im not sure how Im running the rubber tube yet but I think it will flex and clear everything without kinking, I may need to cut it a bit shorter. Elbows have crossed my mind but Im not sure if it is worth it tbh.

Why would the pump dump exhaust cause cavitation, the water is coming into the pump tunnel into the impeller. This is dumping on the other side of the pump so the exhaust has no way of getting into the pump inlet. Most of the seadoo watercraft dump it into the same area and when you are up on plane this area has no water.
 

Req

Location
SW Tenn
Why would the pump dump exhaust cause cavitation, the water is coming into the pump tunnel into the impeller. This is dumping on the other side of the pump so the exhaust has no way of getting into the pump inlet. Most of the seadoo watercraft dump it into the same area and when you are up on plane this area has no water.

I have heard it referenced in threads I think, I may be wrong about it of course, I am simple ;)
 
I’ve also heard it meantioned, I think the reasoning is that when doing tailstands the exhaust bubbles up around the ride plate and gets sucked into the intake grate.

This would also occur on a stock superjet, as the exhaust exits the rear, but it’s set far enough off center that it’s not bubbling directly in line with the intake grate.

Either way I’m not too worried, if I want to do tailstands all day I’ll ride the 550 with the front exhaust outlet lol
 
Well the bottom of the hull is pretty much done. It’s definitely not a work of art, but the first time I load it or beach it it’d ruin a perfect paint job anyways. I went with appliance epoxy in white and it laid down so-so. Stayed tacky for about a day then slowly hardened over the next day (60 degrees here.) Only gripe is when I touched it up with regular old white spray paint (not appliance epoxy) the paint wrinkled, so something in the propellant / reducer stuff loosens up the appliance epoxy. No biggie

I’m currently on the hunt for the bracket that holds the nose cover down, or a least a picture of one so I can make one. Thanks!
 
Bottom is finally done. Painted with appliance epoxy, definitely not perfect but I beach it anyways so it doesn’t have to be
 

Attachments

  • 2E63A33F-6A28-4108-87ED-78C2D5F7B7C6.png
    2E63A33F-6A28-4108-87ED-78C2D5F7B7C6.png
    631.6 KB · Views: 86
  • 86CC664C-C3A2-4A05-85C5-88EC00338ACE.png
    86CC664C-C3A2-4A05-85C5-88EC00338ACE.png
    592.9 KB · Views: 87
  • EA658982-EA82-4D0B-8CB3-485A5FB8C946.png
    EA658982-EA82-4D0B-8CB3-485A5FB8C946.png
    792.7 KB · Views: 101
Got the exhaust manifold glued to the hull. I used 3M 540 instead of 5200 so idk how that’ll effect things. On the couch message boards they seem to like it, and I don’t store the ski in the water so hopefully it won’t leak. I’ll be installing oem drains in the hull as well so I can drain the tray if something decides to leak. Exhaust is 3”

On a different note, would a good couple thick coats of rustoleum seal up all the pinholes in biax? Don’t want the pump to suck air somehow.

It says ported 760 w/ pipe FYI lol it’ll keep a future owner confused
 

Attachments

  • 58A12593-CF96-4440-B63F-2FF1CA4B63E8.png
    58A12593-CF96-4440-B63F-2FF1CA4B63E8.png
    716.6 KB · Views: 89
  • 4C30B824-AE6F-405E-A918-BE60F33B1D45.jpeg
    4C30B824-AE6F-405E-A918-BE60F33B1D45.jpeg
    83.9 KB · Views: 83
  • 0DA56393-93E2-4E37-84FF-3BB73E84FBC6.png
    0DA56393-93E2-4E37-84FF-3BB73E84FBC6.png
    759.2 KB · Views: 76
  • 005FABB9-57BA-41E9-9B13-0D8946658024.png
    005FABB9-57BA-41E9-9B13-0D8946658024.png
    388.3 KB · Views: 77
  • 03B17C63-7F29-4EF0-9A31-182C84BFCFD5.png
    03B17C63-7F29-4EF0-9A31-182C84BFCFD5.png
    650.2 KB · Views: 85
Got the hull drains in and started experimenting with how I want to setup adjustable holds. The angles are obviously not correct, just trying to decide if I want my feet totally encapsulated or a little bit more open if I want to move around in the tray some
 

Attachments

  • CF73EB30-28DF-4419-AFB6-0572A194BA42.jpeg
    CF73EB30-28DF-4419-AFB6-0572A194BA42.jpeg
    79.9 KB · Views: 71
  • C48AAD0E-0467-4318-A563-D30C34F7411B.png
    C48AAD0E-0467-4318-A563-D30C34F7411B.png
    612 KB · Views: 71
  • F9FB8810-92BE-4B40-8D44-2257EB72B7A8.png
    F9FB8810-92BE-4B40-8D44-2257EB72B7A8.png
    762.8 KB · Views: 82
  • Like
Reactions: Req
I haven’t given up! Got the nose finished on the inside, used a couple layers of twill with some biax sandwiched in between, and the front bond rail area filled flush with microballoons/resin (mixed to peanut butter texture.) Came out nice and smooth

When wetting out the biax, I find that you have to soak the crap out of it with resin to get it to completely wet out, and the twill works awesome to soak up all that extra resin as it starts to gell up. So I’ll lay a layer or two of biax, get it firmed up, then layer on 2 layers of twill to soak up any remaining resin. I’m left with biax that’s fully wetted, plus a bonus 2 layers of smooth twill that’s fully wetted. Beats trying to wet out biax with minimal resin (shortnof bagging or compressing.)
 

Attachments

  • 0A84619A-AFC5-4A06-9D54-1C0FC948DAB3.jpeg
    0A84619A-AFC5-4A06-9D54-1C0FC948DAB3.jpeg
    97.5 KB · Views: 89
Finally started in on the tray. Debated doing the footholds or just going wide tray and decided I’d spend the time now and do holds. Lake Michigan isn’t 50* here anyways so I have time. Layed out foam, draped some twill over it to get the shape right and wet it out. This will be followed up with a layer or 2 of biax.
 

Attachments

  • 8305F55F-D753-480B-ABFD-EE87F734E23D.jpeg
    8305F55F-D753-480B-ABFD-EE87F734E23D.jpeg
    137.1 KB · Views: 78
  • 67D231C9-89D9-44CF-A6C7-A3F5AA8789F1.jpeg
    67D231C9-89D9-44CF-A6C7-A3F5AA8789F1.jpeg
    185.1 KB · Views: 77
  • CEB4CCE9-EC21-438E-9465-6ED77B43809D.jpeg
    CEB4CCE9-EC21-438E-9465-6ED77B43809D.jpeg
    131.2 KB · Views: 76
  • 5E63B4F8-33C1-4549-AF9F-07DBF73631F0.jpeg
    5E63B4F8-33C1-4549-AF9F-07DBF73631F0.jpeg
    96.2 KB · Views: 76
I am doing a similar build and new to fiber glassing. It appears that you can just lay the foam in as a mold and just glass over it? I am having trouble figuring that part out.
 

Req

Location
SW Tenn
Acetone, polyester resin, and various other chemicals will eat right through many foams. Thankfully the epoxy resins we work with dont eat it, so yes, you can lay right over the shaped foam.
 
Top Bottom