You are using an out of date browser. It may not display this or other websites correctly.
You should upgrade or use an alternative browser.
You should upgrade or use an alternative browser.
RN Superflip Build
- Thread starter Douglas Adams
- Start date
Quinc
Buy a Superjet
- Location
- California
Ski is looking great!
- Location
- New Jersey
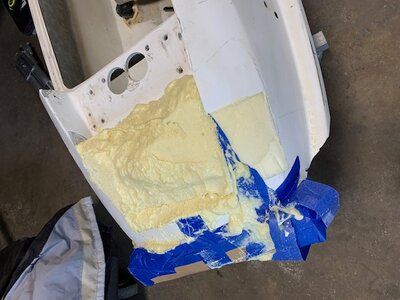
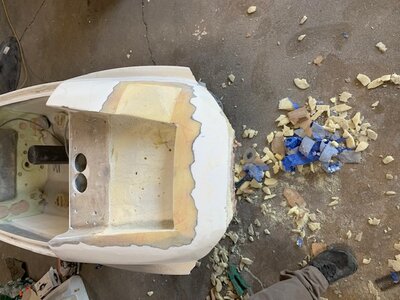
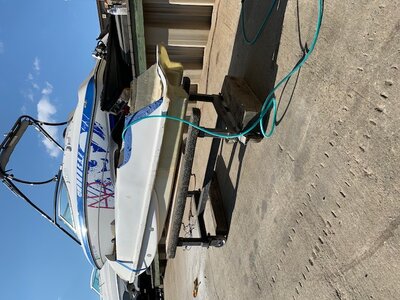
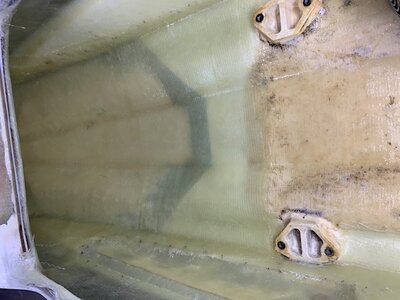
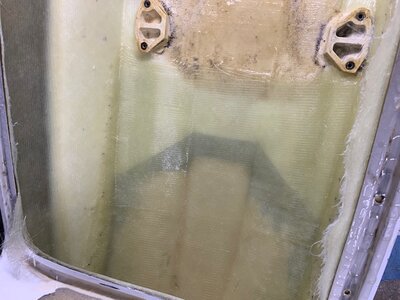
It may not look like much was accomplished but this is about 20 hours worth of grinding. This stuff was thick and not fun to grind. With the nose and all reinforcement off, it took off about 20 lbs. Time to move the pole forward and start stitching it back up.
Attachments
-
 IMG_0942.jpg93 KB · Views: 168
 -
 IMG_0943.jpg93.1 KB · Views: 158
 -
 IMG_0952.jpg98.8 KB · Views: 127
 -
 IMG_0944.jpg85 KB · Views: 129
 -
 IMG_0953.jpg80.3 KB · Views: 125
 -
 IMG_0955.jpg78.9 KB · Views: 120
 -
 IMG_0956.jpg91.3 KB · Views: 113
 -
 IMG_0957.jpg96 KB · Views: 115
 -
 IMG_0958.jpg85.1 KB · Views: 114
 -
 IMG_0959.jpg78.5 KB · Views: 119
- Location
- New Jersey


- Location
- Michigan
Did you grind the entire front end with no cutting?!?!?
If so what was the reason for that vs cutting out an entire area first then grinding it down to exactly where you wanted?
If so what was the reason for that vs cutting out an entire area first then grinding it down to exactly where you wanted?
- Location
- New Jersey
I cut the front nose out first to fit the rocker. By cutting it out first, it gave me the room to grind all the way up and I plan on moving the pole forward so it helps with that also. I grinded all the "reinforcement" after due to all the extra weight. Once I install the rocker, i will be reinforcing the whole engine bay with large pieces to make it as strong as possible.Did you grind the entire front end with no cutting?!?!?
If so what was the reason for that vs cutting out an entire area first then grinding it down to exactly where you wanted?
- Location
- Michigan
Lol ok I was like 20 hours, did you grind the entire nose. Didn't realize grinding away all the heavy stuff all over would take that long. Good idea though I might do some of that on mine if it's 20lbs worth
- Location
- New Jersey
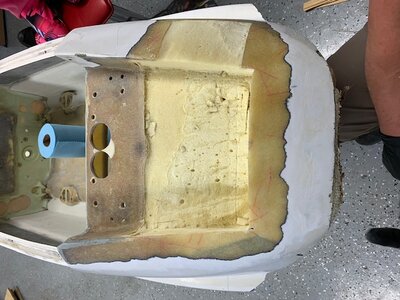
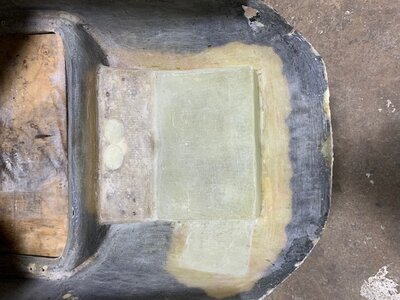
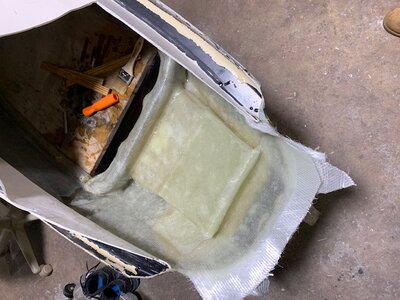
This past weekend the pole bracket area was cut out and moved forward. I am not set on how far I should move it forward but was thinking 4-5in. This is 2-3 layers of 1208 on top side to get the basic shape before removing the foam. Once I pull out the foam, I will reinforce from underneath with another 4 layers of 1208.
Attachments
-
 IMG_1004.jpg81.6 KB · Views: 95
 -
 IMG_1005.jpg81.2 KB · Views: 85
 -
 IMG_1006.jpg82.5 KB · Views: 83
 -
 IMG_1012.jpg99.8 KB · Views: 83
 -
 IMG_1013.jpg104.9 KB · Views: 82
 -
 IMG_1014.jpg118.6 KB · Views: 83
 -
 IMG_1015.jpg109.7 KB · Views: 84
 -
 IMG_1016.jpg106.8 KB · Views: 84
 -
 IMG_1017.jpg109.2 KB · Views: 82
 -
 IMG_1018.jpg117 KB · Views: 93
- Location
- New Jersey

- Location
- New Jersey
Not much done but some reinforcement
Attachments


- Location
- New Jersey


- Location
- Charlotte, NC
ski looks to be coming along great. ive got a rn thats already had the rocker, tubbies, shortened rear done to it. making some repairs and upgrades. also looking at going with the rrp ninja holds. at least you didnt have 8 different paint colors to sand down before the gelcoat like i did haha. you definitely shouldnt have any problem flipping off a boat wake. the previous owner of my rn could backflip off a boat wake with a simple 61x setup with a head, bpipe, and enhancer. moving the pole forward will help you more if youre trying to flatwater flip than off a boat wake. also if you position the holds towards the rear, itll make flipping easier cause your weight is farther back.
- Location
- New Jersey
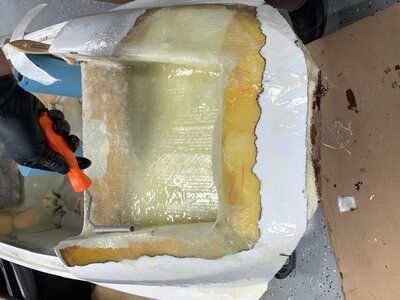
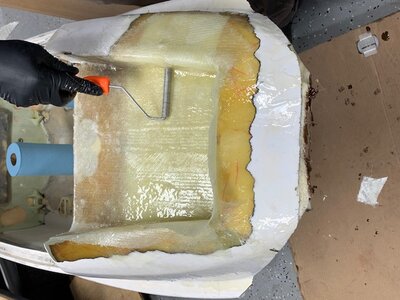
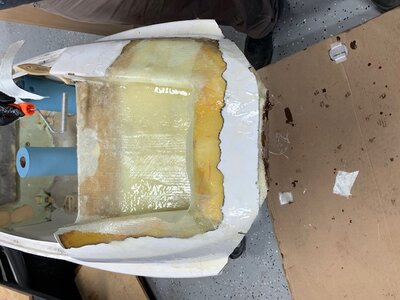
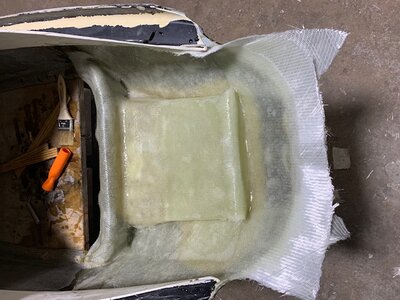
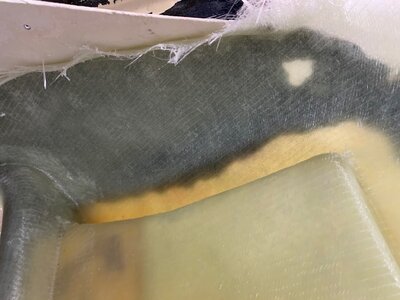
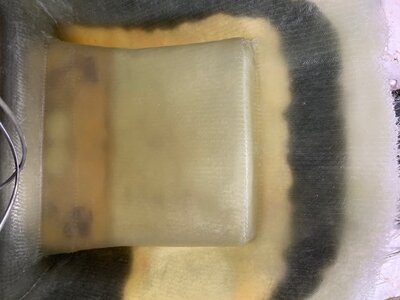
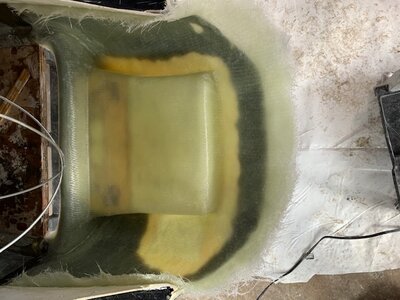
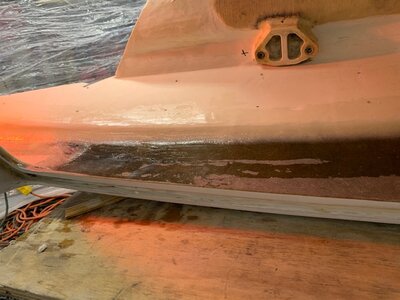
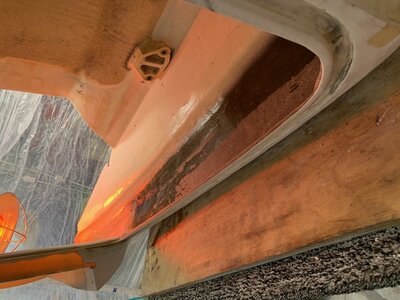
So I was not happy with how I layed the first two layers of glass in my previous post. Way too many air pockets if you look closely. I know this area needs to be strong and it was bothering me so I decided to grind it all out and lay new glass. These pics show 4 layers of 1208 biax to reinforce the new pole position I made. Not sure if i will lay 1-2 more tomorrow for more strength.
Attachments

- Location
- Charlotte, NC
youre gonna have issues getting the biaxial to lay down in those bends without a vacuum bag. ive found that using more layers of a thinner cloth will help reduce air pockets in your layup. and also uses a lot less resin which also makes a stronger reinforcement. im gonna use 4-5 layers of 2x2 8oz twill to reinforce mine because it easily goes around curves and bends and is also a very strong cloth for its weight.
- Location
- New Jersey
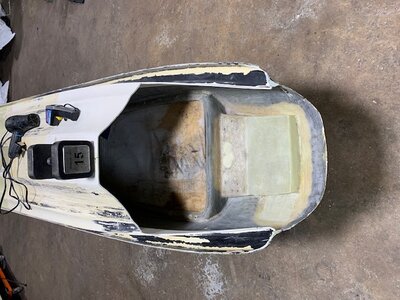
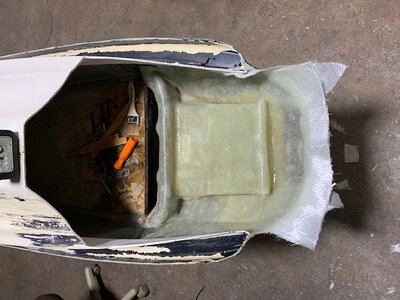
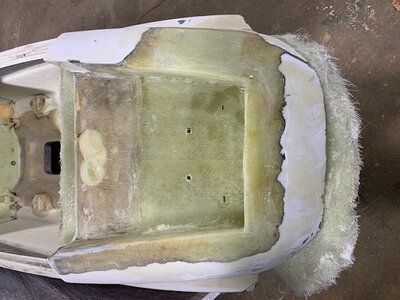
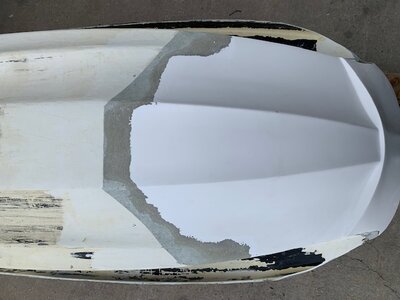
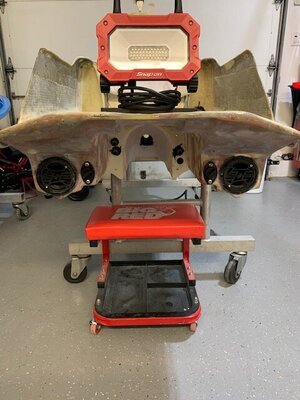
Got a lot done this past week/weekend. Shaped the new pole bracket area. Pretty happy with how it has come to form. Still have some low spots but good enough for now until I get deep into the finishing touches
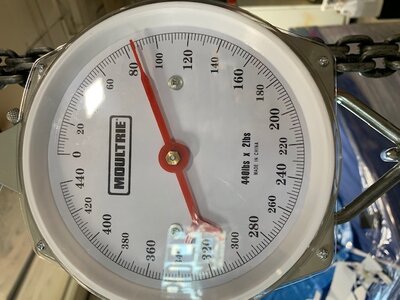
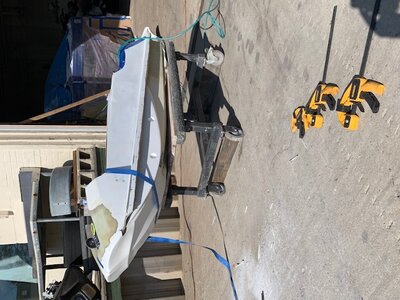
The hull weighted in around 75lbs. (the hoist is 10lbs.)
The hull weighted in around 75lbs. (the hoist is 10lbs.)
Attachments
-
 IMG_1258.jpg102.6 KB · Views: 48
 -
 IMG_1259.jpg96.3 KB · Views: 45
 -
 IMG_1261.jpg102.8 KB · Views: 46
 -
 IMG_1267.jpg94 KB · Views: 46
 -
 IMG_1268.jpg91.6 KB · Views: 42
 -
 IMG_1269.jpg100.4 KB · Views: 42
 -
 IMG_1270.jpg91.8 KB · Views: 43
 -
 IMG_1272.jpg119.5 KB · Views: 45
 -
 IMG_1273.jpg90 KB · Views: 45
 -
 IMG_1274.jpg107.8 KB · Views: 60
- Location
- New Jersey
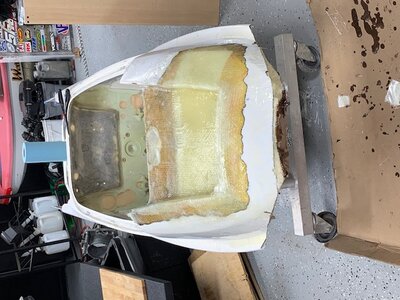
Ended off the day by doing final fitment of Carter's rocker and by mocking up the tubbies. Also filled one bond line with thickened epoxy. Will do the next bond line hopefully tomorrow.
Attachments


- Location
- New Jersey
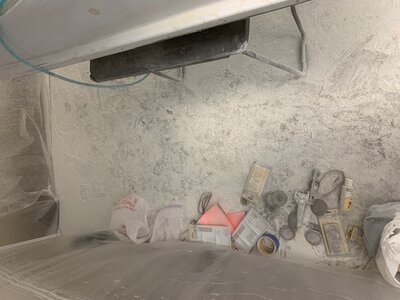
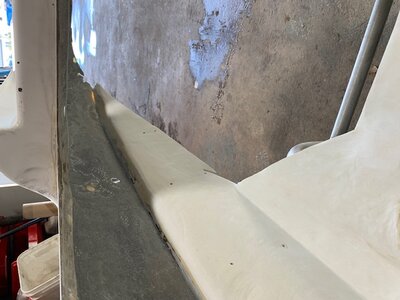
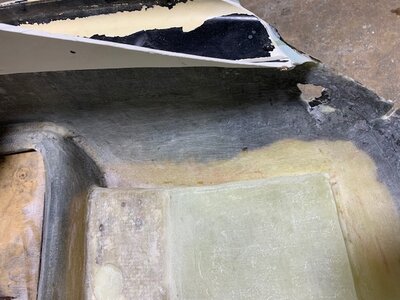
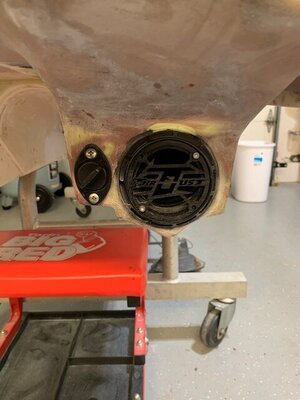
Been grinding these past couple weeks. Lots of progress but still ways to go. I ran into an issue with the PFP chamber hitting the sidewall. Instead of having the manifold shaved, I decided to make its own indent into the hull an build it into the tubbie. The rocker is fully on and reinforced on the inside with 4 layers of 1208 on the floor and 2 layers of 1208 on the sides.
Attachments
-
 IMG_1338.jpg94.9 KB · Views: 74
 -
 IMG_1343.jpg107.8 KB · Views: 72
 -
 IMG_1345.jpg100.1 KB · Views: 73
 -
 IMG_1340.jpg81.9 KB · Views: 72
 -
 IMG_1347.jpg106.1 KB · Views: 73
 -
 IMG_1349.jpg81.3 KB · Views: 73
 -
 IMG_1363.jpg115.1 KB · Views: 70
 -
 IMG_1365.jpg75.7 KB · Views: 67
 -
 IMG_1366.jpg66 KB · Views: 68
 -
 IMG_1368.jpg78 KB · Views: 69
- Location
- New Jersey


- Location
- New Jersey
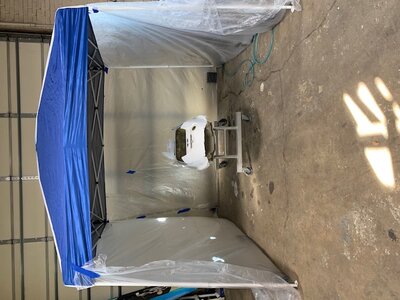
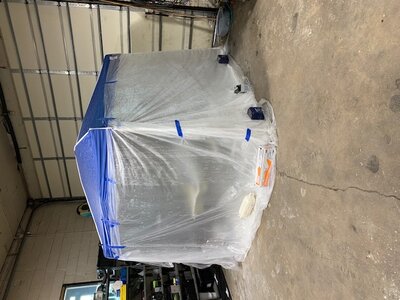
It's been a minute but I'm back working on the ski. Hope to have the foam and tray finished up in the next week or so.
Attachments


- Location
- Bellmore, NY
Damm makes me wana do this to mine