SN (Sex Nose) Superjet build

nucleus_coolins

Does things to makes the do goods
Ok i really wanted to share a tale of tittys and beer but you guys will have to settle for another Square Nose build.

The idea for this build started with a spare motor, an oem 144 pump i had leftover from my fr2 and a crusty SN hull taking up space in my friends yard.
I started accumulating parts from various members here on the X, all successful transactions and i couldnt be happier with all the parts i picked up.
Also swooped up a bunch of lightly used parts from my good bud that lives around the corner.

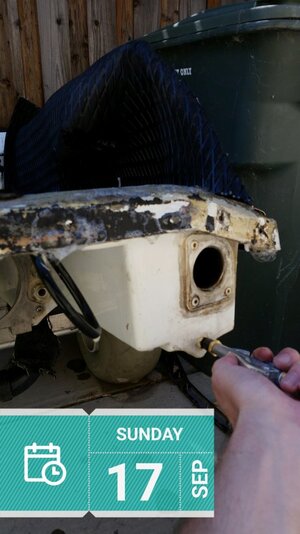
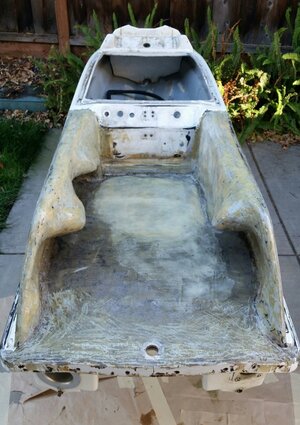
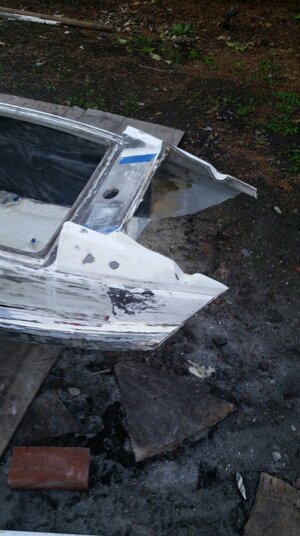
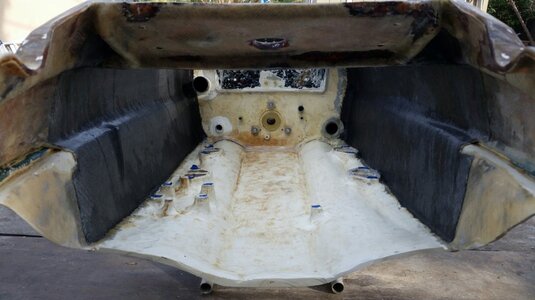
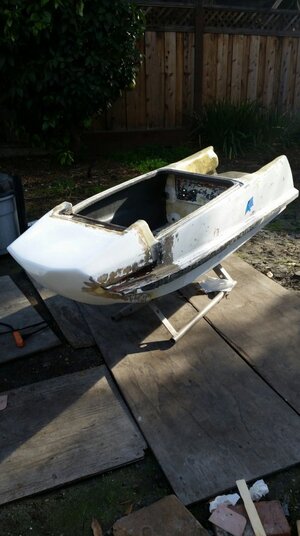
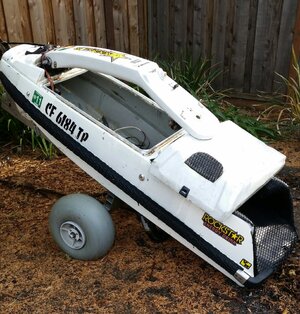
Heres a shot of the hull right after bringin it home
2017-11-07 10.06.04.jpg
It had been sitting under a literal pile of poo since 2011.
This pic was taken right after hosing off most the manure stains.

Got rid of that oem pole and bracket with the quickness - Aint nobody got time for that.
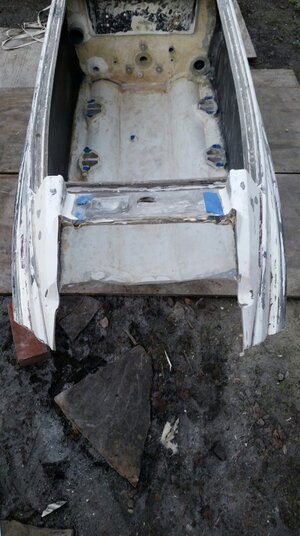
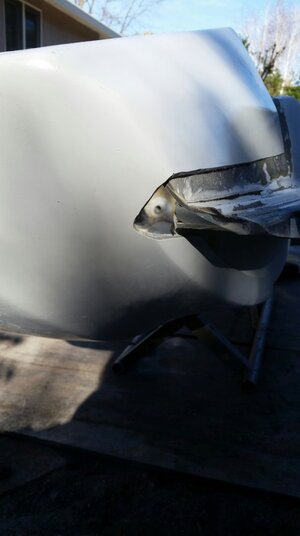
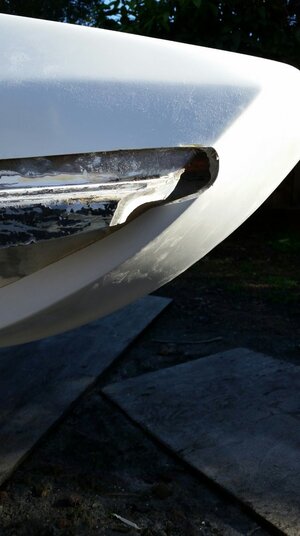
You can see the nose had been chopped, it was pretty solid too. Coulda run it as is no problem, but what fun is that? And what kind of titty would it have attracted? (Mostly man titty probably)
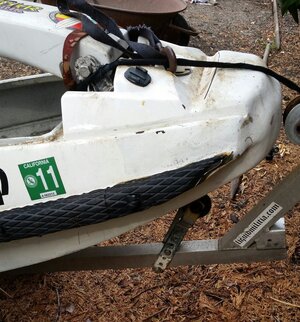
2017-11-07 17.57.38.jpg
Man tiddy magnet right there

I feel like i should put gifs in here. All good threads have gif right?

My buddy did a ton of work to this thing, he cut the whole tray out in 1 piece, defoamed all the soggy-sog, reinforced the inside tray cavity, built up and reinforced the tray chunk he cut out and buttoned it back up with 3 footholds! 3 dude!
He didnt put any foam in it tho, pretty sketch sauce.
He also gave me a heads up the tray took on a ton of water every time he had it out so i got straight to tracking those leaks down.
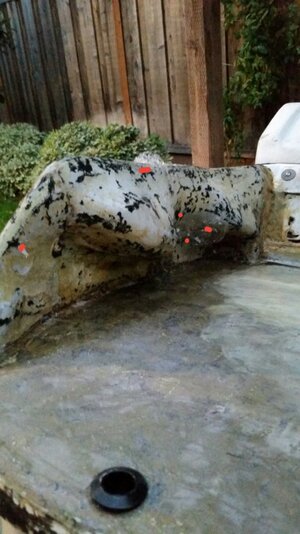
2017-09-20 19.20.30.jpg
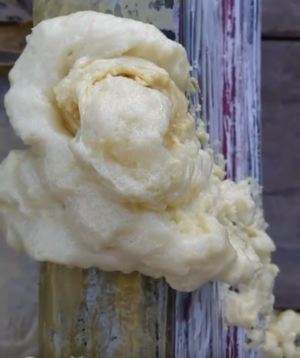
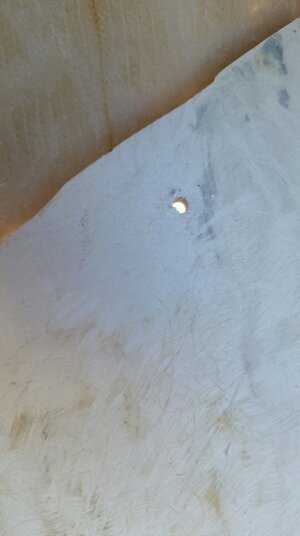
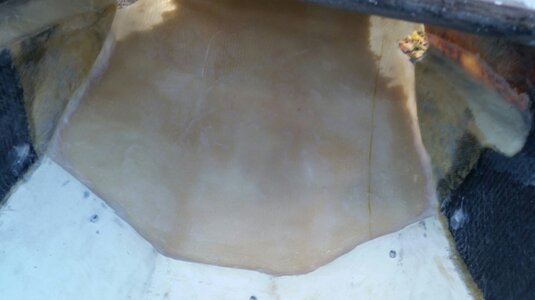
Pumped some air into the drain plugs and the whole tray just foamed like a spent keg. Pic above is only a tiny taste of the pain i endured for probably a whole month tracking down all the pinholes.

Dude build threads are hard, idk how u guys make these things look so easy. So much typing, my phone hates me right now 12% batt

To be continued when i get off this train and get some beers going
Brb
 
Last edited:

nucleus_coolins

Does things to makes the do goods
K, beers achieved.


The leaks were pretty dumb. Seriously, i spent so much time tracking down all the little pinholes this thing had.
Each time i plugged a few holes, i would pump another couple psi and more would spring up elsewhere.
Everything was held together with silicone and bubble gum

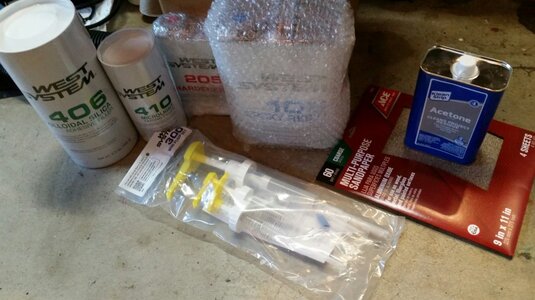
I wanted to make this thing as solid as i could, so i chose West System epoxy, 205 fast hardener and 406 Colloidal Silica to fill all those voids where the bubblegum and silicone used to live.
I chose 205 fast hardener because of the curing temp tolerance, it gets cold at night and im doing this outdoors.
Fast 205 says recommended cure temp as low as 40deg, the slow 206 said it could only cure down to 60deg.
This was my first ever time really doing any kind of glass work aside from a patch on a kawi 750 hull i rode for a season.
Funny story, I actually rode that old kawi 750 with my buddy back when he was on this square nose (back when it looked oem fresh) - never would i ever thought id end up with the thing!

anyways, i only learned how to do any glass work from following west system documentation, reading build threads on the X, and youtube tutorials and yacht builds.
Watching yacht and canoe builds on youtube was actually pretty addicting, i got into it for a while lol

2017-12-05 19.32.49.jpg 2017-12-05 19.34.50.jpg

This thing leaked, that thing leaked...
2017-12-05 19.36.26.jpg 2017-12-05 19.39.36.jpg

Leaks on leaks on leaks - just chasing the dragon thinking its somewhat possible to seal all this crap.
The whole time im thinking to myself "as soon as you go to huck it, all these leaks are comin right back"
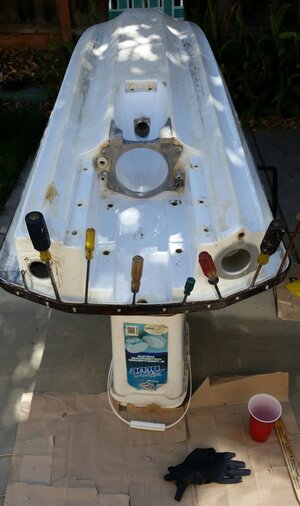
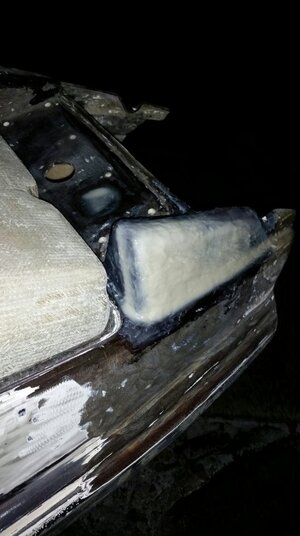
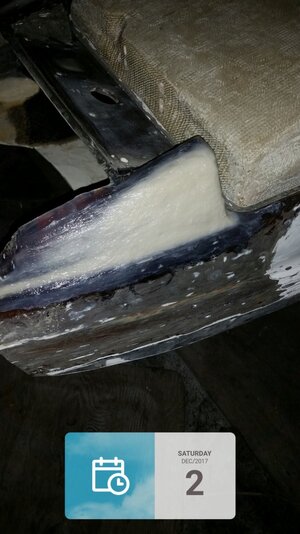
Oh well whatever; I jammed a bunch of flatheads in the bond rail and gooped it pretty good with some silica epoxy. I have a fine collection of flatheads dont you think?
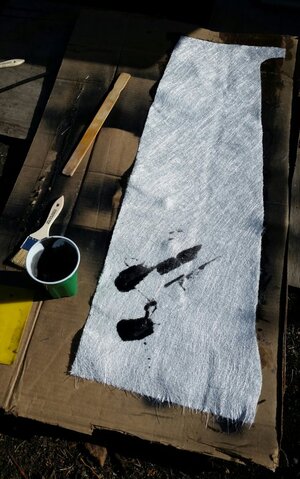
Then i got crafty with some whatever poop hardware store chop mat and weave i had left over from some years back.
2017-12-05 19.43.58.jpg

There was a crack on the bottom deck right at the bond rail somewhere so that got covered.
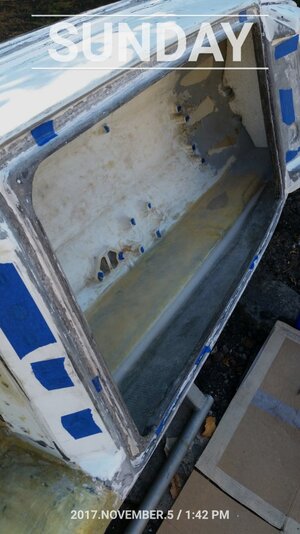
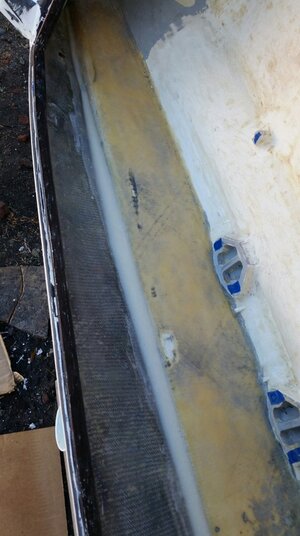
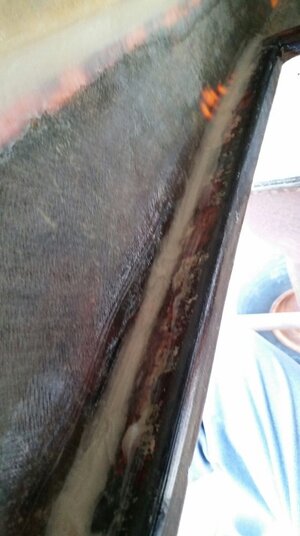
Then i spread eagle and filled the rest of the bondrail since it only had a couple dots of the factory green epoxy scattered here and there down the whole rail.

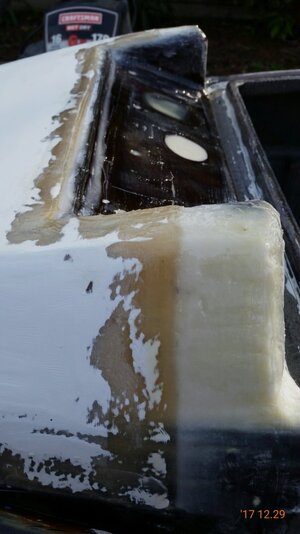
Stripping paint was a pain and i put it off for a while only doing bits and pieces here and there as needed for epoxy prep.
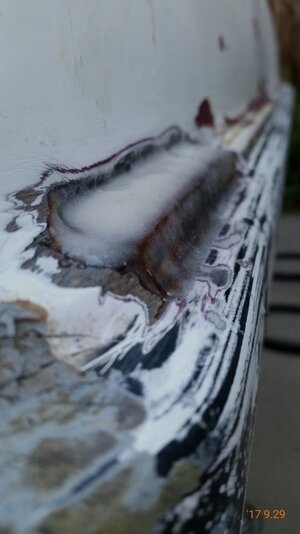
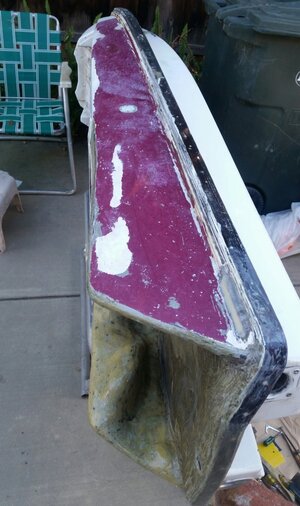
Did manage to find some suuuper ugly burgandy / maroon whatever hiding down under the white rattle can job

2017-12-05 19.52.56.jpg


Since this is all a big learning experience anyway, figured i would try some 5200 on some spots because why not? Ive read good things here before so why not try some tests.
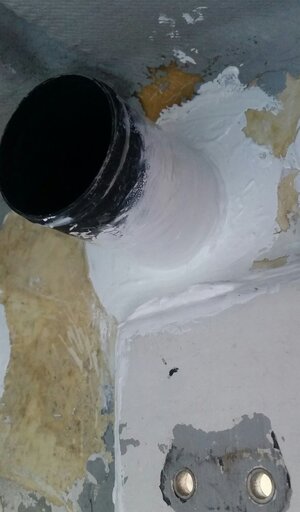
I ran 5200 all over the exhaust tube, steering tube, the dashboard lip on the bulkhead and inner lip of the scupper 1 way valve area where the plastic meets the metal flange end.
Then i did some thick silica epoxy around the thru hull cooling tubes. Dont know how much the bulkheads going to flex when i flatland some whatevers but this will probably be a good test of rigid vs flexible

2017-12-05 19.53.46.jpg


This build has all been a slow progression over the last few months, really only been putting in weekend hours. Doing all this junk outside has not been ideal either but its been fun.

More pics coming...
 

nucleus_coolins

Does things to makes the do goods
I did some cool things for this build!

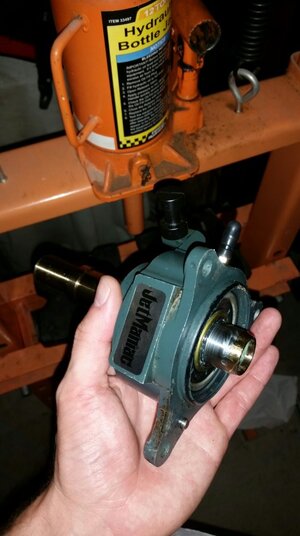
Hit up JetManiac for a lot of goodies as usual, picked up the old style midshaft housing and new style shaft and pressed em together following the specs on one of his how to threads.
It went together nice and buttery, ready to rock some fresh couplers!
2017-12-05 19.57.18.jpg


I was about to build my ebox but went off on a tangent for a minute...

2017-12-05 23.05.53.jpg

2017-12-05 23.07.17.jpg 2017-12-05 23.08.14.jpg

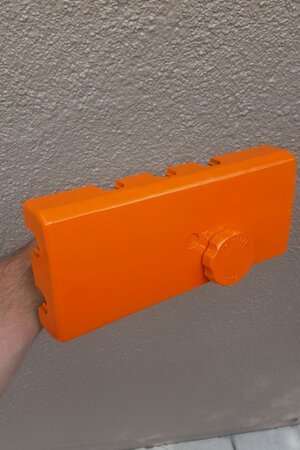
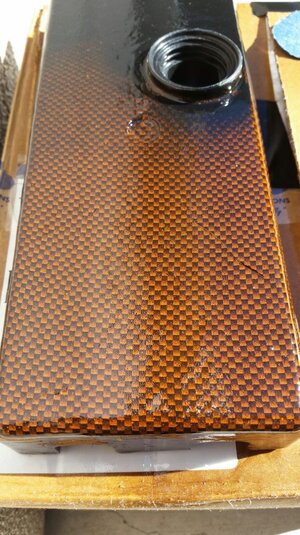
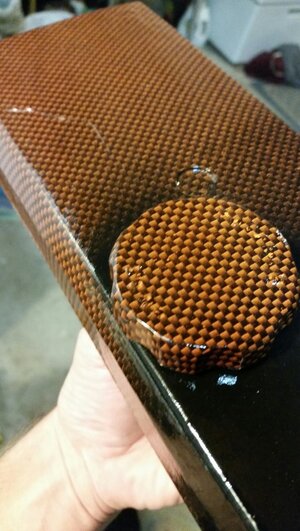
Went for a quick dip, used some old carbon hydrodip i had left over from doing my bpipe chamber a while ago.
Stuff is difficult to use, but can create some pretty sweet sauce. I sprayed a ton of clear all over it and didnt wentsand any peel away, looks good to me tho!

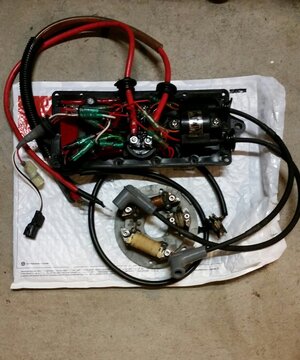
Once i got that out of my system i built my ebox with a fresh msd, fresh s/s harness and a lightly used everything else:

2017-12-05 23.11.19.jpg


Ordered a bunch more of the Mulan Szechuan sauce off Amazon:

2017-12-05 23.21.13.jpg

Also picked up a couple yards of US Composites 1208 and 1708 + some secret sauce for later...

Got straight into filling the bondline with silica thickened epoxy on both sides

2017-12-05 23.25.03.jpg 2017-12-05 23.29.09.jpg

Did the same thing for the inside of the hood seal lip on both sides and the rear. left the front unmolested for now...

2017-12-05 23.39.46.jpg 2017-12-05 23.39.00.jpg

If im alive tomorrow i will post more from my boring train commute. It starts to get really good after this i swear.
More pics to come...
 

nucleus_coolins

Does things to makes the do goods
Ok so i wanted to beef up that hood seal area, seems like its super weak and flexible from factory.
Lean on it even the slightest bit and it would flex pretty bad all around the seal, i would probably end up blowing that out really quick.

After adding silica for support / level surface around the seal lip, i hit it with a nice strip of 1708 on each side.

2017-12-05 23.41.27.jpg 2017-12-05 23.40.28.jpg

Then did a strip across the back lip and into the dash of the bulkhead
2017-12-05 23.42.27.jpg

I tried mixing some dye in with the epoxy, i really had no idea what dye to use though. Spent some good time searching on epoxy dye info and couldnt really find much...
so I just picked up some cheap epoxy craft dye, WHAT COULD GO WRONG WITH SOME CHEAP EPOXY DYE RIGHT?
200.gif


I only used a bit at first, thats why it came out pretty light. I had doubts about the dye, but it said it was for epoxy ¯\_(ツ)_/¯
Someone had mentioned epoxy dye before as an alternative to appliance paint or bilgekote in one of the build threads in the past, no examples anywhere i could find though.
After stripping all that garbage paint out of the engine bay and all the tight corners, i really had no desire to paint inside the engine bay again. that was enough to steer me on the dye route

It actually came out really well with the first batch on the lip, so i figured i would add more dye on the next go.
2017-12-05 23.43.58.jpg

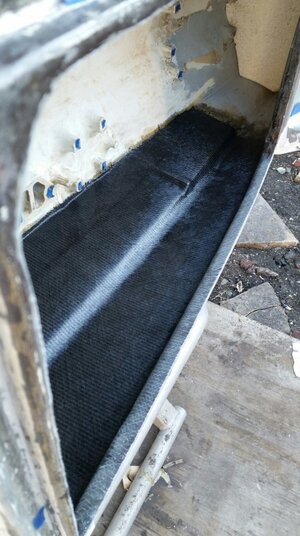
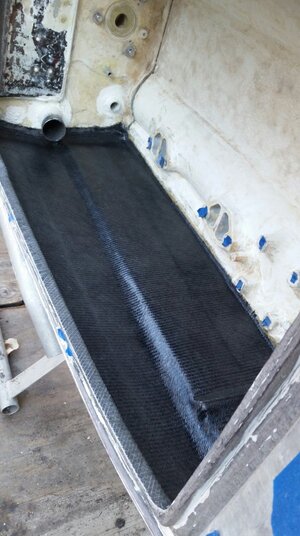
The sides were already reinforced really well actually, just a little worn through in areas.
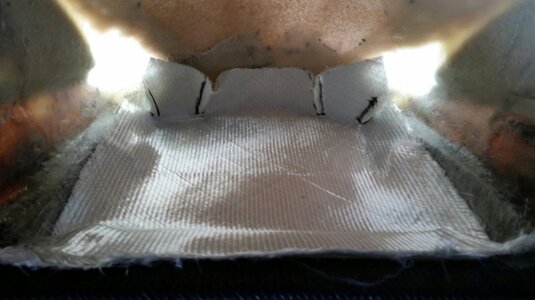
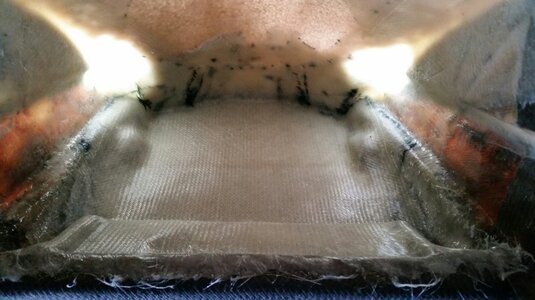
So i cut some sections 38in long, i didnt want to go too far into the nose area just yet. Just enough to cover up the sides and add some strength.
I placed the 38in sections inside the hull and dotted out where to trim with sharpie after forming it to the side pretty tight. Old build thread said this was the way to get the best fit so i did the thing.


2017-12-05 23.47.42.jpg 2017-12-05 23.48.42.jpg
Left side on the left -- Right side on the right
The left side hood lip may have had some problem spots, dont think theyre bubbles, maybe i squeegeed it a tad dry by accident in those areas?

I overlapped a bit into the bulkhead on both sides, i heard some war stories about the bulkheads coming apart at the seam on bad flat landings.
Probably should have got some overlap onto the bottom of the hull, might want to address that later when i get the bottom taken care of.
2017-12-05 23.49.10.jpg

After the sides, i went to tackle a very controversial subject: FOAM
I would have loved to do the pink panther foam, but there was absolutely no way i was going to cut up that solid tray.
If i had planned to chop the rear or something, i probably would have gone balls deep into that pink foam, but i was just not going that route.

So here we go, keeping post #4 as cringe-worthy as possible, my US Composites 2 part urethane foam pour:
2017-12-05 23.49.45.jpg
Started by cutting a gaping hole in each gunwale as close to the bulkhead as possible.

Then, i just ad to peep at what was inside, my friend did tell me he reinforced the whole inside tray area.
2017-12-05 23.50.41.jpg
giphy.gif

SEEMS LEGIT!

Tried to prep for the pour as best as i could, got a 6 pack of beer, a nice mixing container, and a mixing drill bit. Couldnt avoid the weather tho, im outside and its winter!
The mixture likes temps of 70-85deg so i used a bucket of warm water to bring both the cans up to temp.
Also used a heat gun to heat up the inside a bit, the temp outside was low 60s that day.

I used the 2LB Density foam, the 4lb kit said it covered 2 cubic feet so i got 2 of these. 1 for each side pretty much, less on the side with the front foothold.
The pours were pretty funny since theres such a small window before expansion, like 20secs of thorough mixing leaves about another 20secs to pour and then position the ski.
I juggled between pouring and tilting the ski so the mix would get to the rear of the tray.

Took a while doing small batches at a time, but eventually i had something like this coming out of the top holes and drain holes on both sides

2017-12-06 20.29.34.png

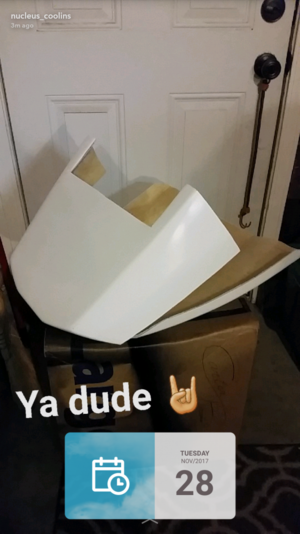
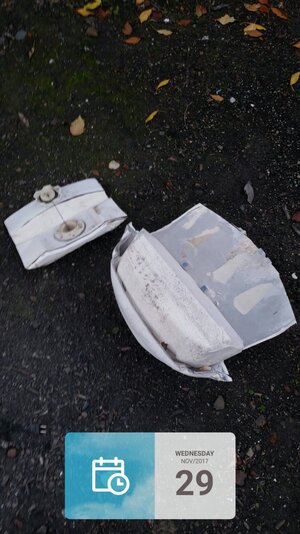
I really didnt take too many pictures of the foam pour, i just tried to jam through it with a couple snapchats here and there.
I had a couple more pics of the inside of the tray, it was a bit sandy in there from taking on some water and whatnot but you get the idea.

I can post more tomorrow or something.
 
Last edited:
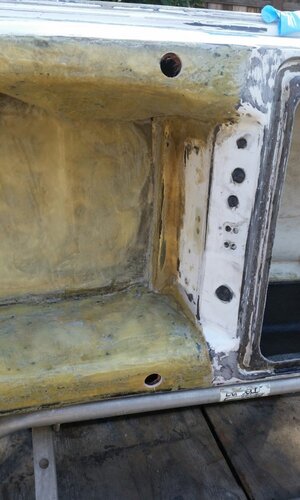
nucleus_coolins

Does things to makes the do goods
Ok, trying to catch this thread up to date right quick

I had set aside the 2 cores from my holesaw holes so they could be glassed in as plugs on top of the foam.
After digging into the foam a bit to make the plugs sit level, i filled in the holes with silica epoxy and shoved the plugs in.
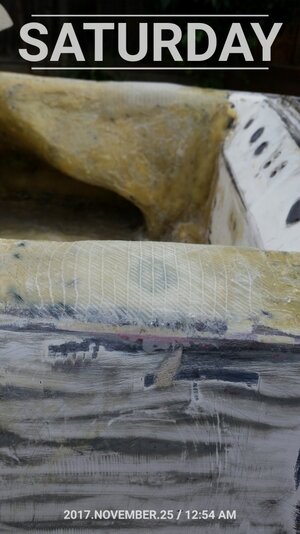
Then glassed over it all with a few layers.

2017-12-07 13.36.56.jpg

Also, whenever i mix a batch of the thick peanut butter silica epoxy, i usually have a little left over.
I really try not to waste it so i end up trying to think ahead of where i would need it next; like leveling out the pole bracket surface (that stupid dip idk what purpose it serves) and filleting the bulkhead base over top the oem green glue.
Of course, i try to plan this out ahead of time so i think of spots i would use extra on before i mix and hit them all with 60 grit sandpaper and acetone soaked rag as usual.
This post doesnt have any room for pics of these areas tho, because more important things are happening...


2017-12-07 13.39.18.png

Some goodies arrived from the legend himself and i just could not contain myself.

giphy.gif


So i started immediately the following day

2017-12-07 13.42.56.jpg

I had picked up the cheapest amazon 4.5in angle grinder i could find the week before so i really just jumped right into this thing.
This is an accurate depiction of me the whole time i was using the angle grinder:
giphy.gif


Also picked up a pair of coveralls so i wouldnt get completely destroyed while doing the grinding.
Dont worry ive been using eye protection and 3m respirator with particulate / vapor filters this whole time. (very important, stay safe)
I actually chose what respirator i wanted to use based on recommendations from another thread on here.


2017-12-07 13.44.02.jpg 2017-12-07 13.44.45.jpg

I need to go back and fix my lopsided rail hackjob later, not worried about it now. Hopefully i dont get too drunk and forget to fix it later on though hahahaha.

2017-12-07 13.45.31.jpg 2017-12-07 13.49.11.jpg

The nose piece slid on easily right after the grinder work. Only a couple high spots pictured in the 2 shots above.
Once i leveled those out with the grinder, the nose slid on perfect and was ready to rock.


Because this hull had already been chopped, it already had the rails cut back a bit; So I did end up with a gap on each side, but that was a super simple fix.

2017-12-07 14.21.15.jpg 2017-12-07 14.21.46.jpg

After the mock up, i started surface prep and sanding all over the inside. Tried to get as much done now before the nose went on.
After sanding for a bit i noticed a couple spots in the previous reinforce job that had gaps. I ground those out and got the area ready for silica filler.

2017-12-07 14.22.22.jpg

At this point, i was contemplating doing a bunch of reinforce work around the pole bracket area here; But i decided i would wait until getting the nose on before making it all solid.
That way the nose seams would be fully integrated into whatever reinforcement i decide to do for the bracket.
It definitely would have been a bit easier to do some of this now instead of waiting til the nose was locked in.

Not quite caught up still, 1 more post maybe...
 
Last edited:
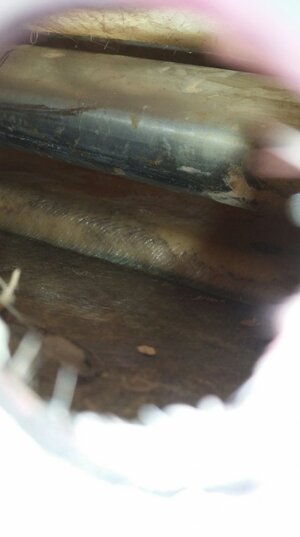
nucleus_coolins

Does things to makes the do goods
Continued sanding and prepping the entire outside and inside of the hull where the nose piece would overlap.
Noticed that the sides of the hull where the oem SN nose cover plastic would sit left a 6mm gap between the hull and the rocker kit.
I floated out that whole area with silica epoxy on both sides until it filled the gap with the nose mocked in place.


2017-12-07 14.22.53.jpg 2017-12-07 14.23.26.jpg

Then went on to sand the entire inside of the rocker nose as well as the outside gel coat around the edges.
While sanding, i was trying to decide on rivets vs screws to hold in place. I had almost always had poor luck with rivets, but i went that route anyways.

2017-12-07 14.24.36.jpg

Tried to get the holes for the rivets drilled in while the nose was as snug as possible pressed firmly in place. I had a tiny bit of slop in the end, but not bad.
I prepped for securing the nose by doing 1 additional layer of thick peanut buttery silica resin on the two top sides where the oem nose plastic sat and along the bottom where i was about to rivet.

Began riveting the bottom center hole, then the bottom sides, then one rivet on each side to hold the edge of the rocker nose snug.
Then started filleting the edges all over the inside and the outside where the rocker nose meets the hull with more silica thickened epoxy resin.

2017-12-07 14.26.07.jpg


2017-12-07 14.26.34.jpg 2017-12-07 14.27.03.jpg

The top side of the rocker nose got trimmed back a couple inches so it wouldnt sit flush with the edge. That way when cloth gets laid it has more surface area on the hull to grab onto.
The edge got filleted a bit more with silica epoxy, but it was a pretty snug fit after coming together.
By now you are probably thinking i should change the thread title to "SN (Silica Nose)" hahaha


2017-12-07 14.27.50.jpg

My rivets didnt come out too great, grip length wasnt proper for either of the sizes i had.
I devised a strategy to cut holes in the fabric where the rivets could live nice and snug. Figured that would help lock them in place.
After cutting some nice strips with some notches for the rivets to poke through, i got straight to work.

2017-12-07 14.28.28.jpg


2017-12-07 14.29.32.jpg


All of this work went by incredibly fast, i think this was all mainly last weekend.
This first lay is only for joining the pieces really; There will be alot more layers of cloth dont worry.

Gona slide on into the next post like

giphy.gif
 
Last edited:

nucleus_coolins

Does things to makes the do goods
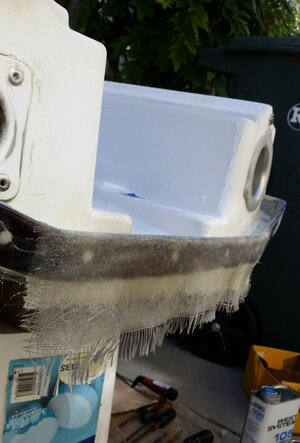
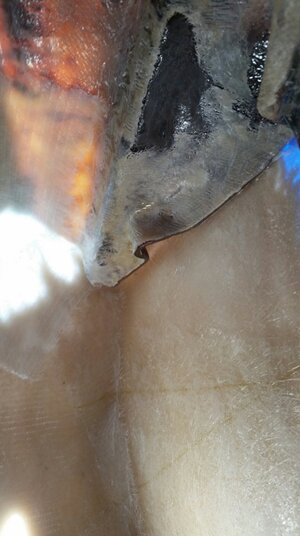
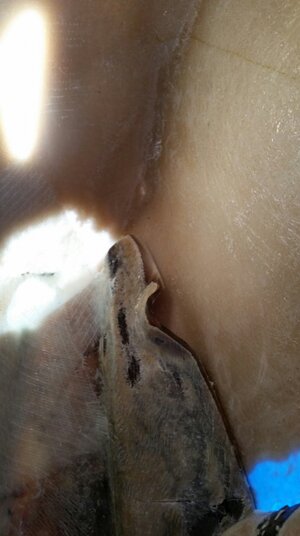
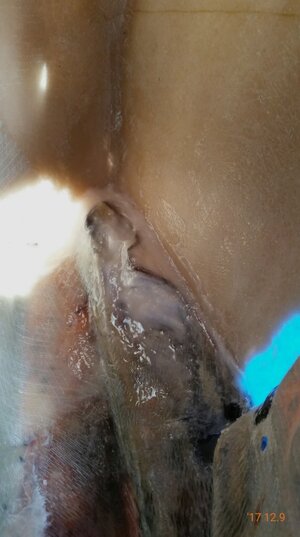
I had used duct tape on the outside of the hull to cover the holes at the front of the rails.
When I was laying the cloth, i made sure to press down against the duct tape and into the corners as much as possible.
The next day before work i peeled the duct tape off to see it actually turned out pretty legit.

2017-12-09 17.21.49.jpg 2017-12-09 17.21.22.jpg

Now this thread is actually caught up to where i am today:
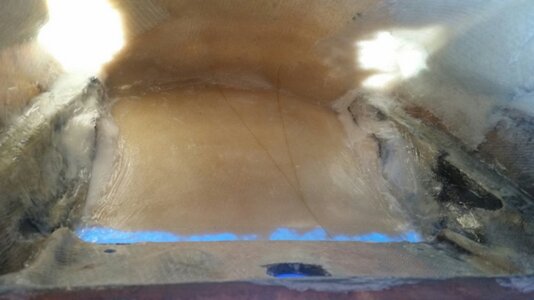
Prepping the top of the inside so i can join the two with strips of cloth all along the seams as i did with the bottom.

2017-12-09 17.23.09.jpg


2017-12-09 17.22.31.jpg 2017-12-09 17.24.59.jpg

I only managed to get one side done today. Im not feeling the best with a pretty bad sinus infection so i didnt wana push it.
Hopefully tomorrow ill feel better and get the other side filled in and then get some cloth laid up.

Im stoked to get this build thread caught up though. Its been alot of work to document all this in a way that makes any kind of sense.

giphy.gif


Cheers my dudes!
 

nucleus_coolins

Does things to makes the do goods
Looking good. You're braver than me for doing all that glass work! May have ruined myself at a young age with big projects. I just want everything I buy to be RTR now haha

Thanks man, ive been pretty brave doing all this outside and pushing it pretty close to dark at times.
At least im im cozy california where theres no snow this time of year and it doesnt quite get freezing cold til around 3am.

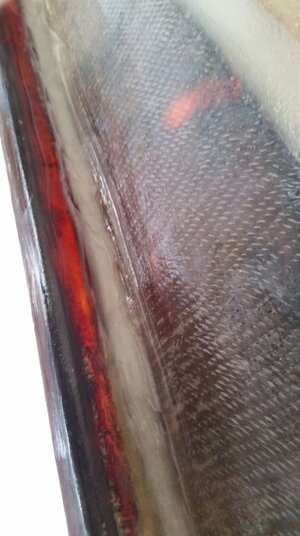
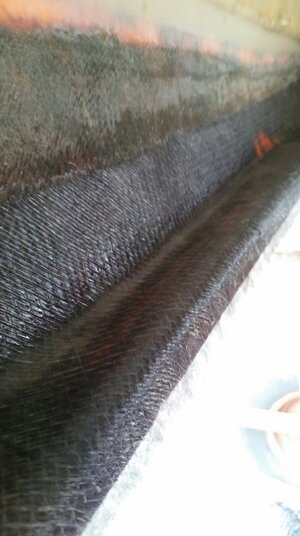
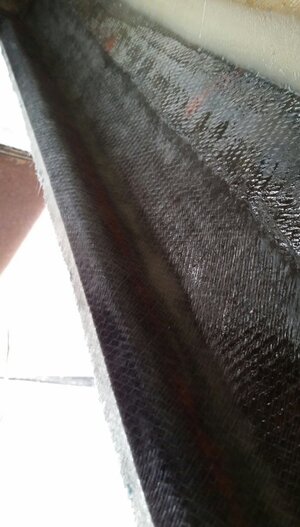
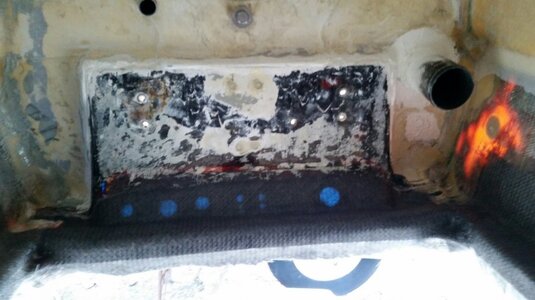
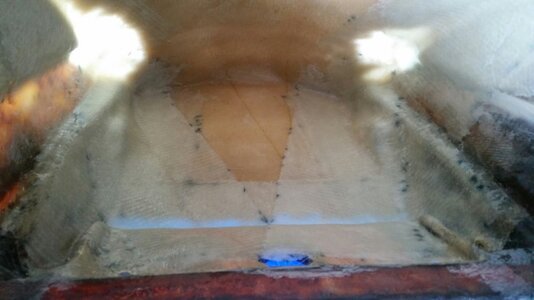
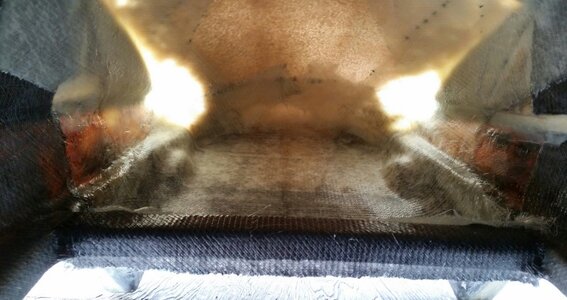
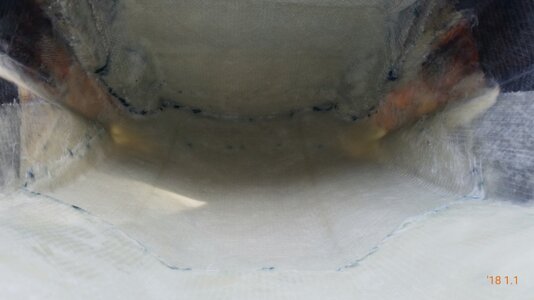
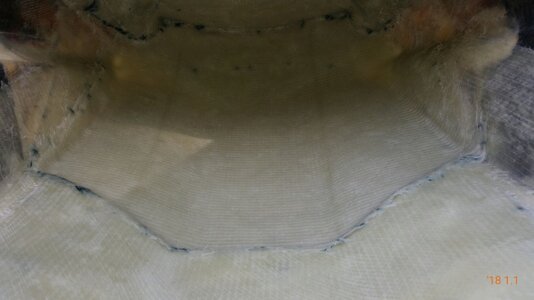
I made a bunch more progress yesterday. Got the whole nose piece bonded at the seams from the inside now.
I laid up the strips in the same exact pattern i did for the bottom part of the nose.
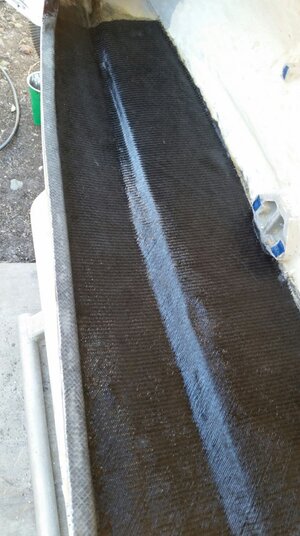
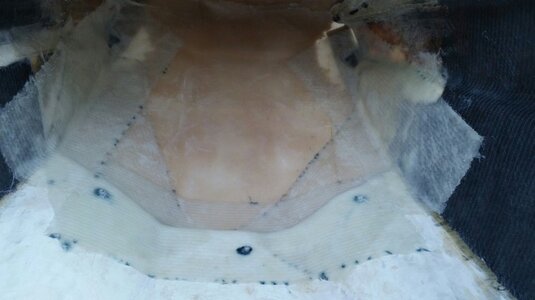
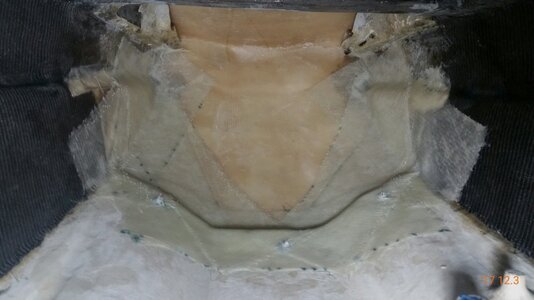
2 layers of 3 pieces in a U shape along the seams and then 1 layer of 2 pieces in a V shape to top it off.

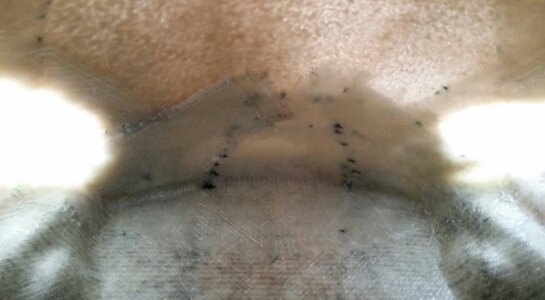
Heres a shot after prepping with silica, filling in those voids.

2017-12-10 17.27.37.jpg

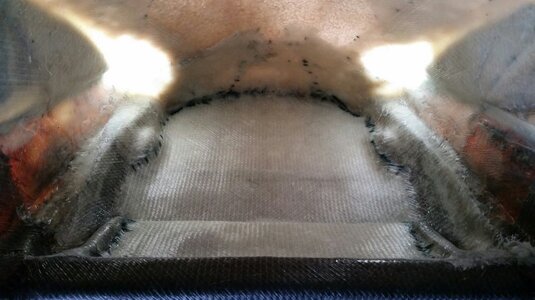
And heres after i laid up all the strips

2017-12-10 17.28.08.jpg

I flipped the images 90 so it would be easier to see, but i really did all this work with the hull on its side. And man, my back is hating me today.

I think i did a pretty solid job, especially by doing the silica work to create a better bonding surface.
I still had to baby sit the lay up a bit and really work it with squeegee and glass roller to keep the bubbles out as i progressed.
But everything held in place fairly well for laying half of this upside down basically.

I havent gone outside to check on it yet this morning though so well seeee...
 

nucleus_coolins

Does things to makes the do goods
I am definitely still shooting for a March deadline for Pismo Freeride. Lots left to do but im still hopeful i can jam through it.
Managed to blast through alot of work over the holiday weekend:
Got a bunch of sanding / prep done and then started by laying a dyed layer of 1708 over the hood lip and all the way over the bracket area halfway into the nose.
Then gave it another layer spanning from the bracket edge to curving up the nose. For this piece I actually just wet out a giant square and forgot to make relief cuts;
So I ended up making the relief cuts while the cloth was fully wet out, pressed into position. It was pretty hard to cut the reliefs proper this way so i made sure to remember to cut first next time.

2017-12-25 23.36.11.jpg

This first layer looks a bit blotchy in areas because there was leftover dyed resin from the first piece on my wet out surface.
After these two layers I hit the pole bracket area with another layer trying to level out the surface a bit and eliminate that bump from the OEM bracket.

While doing that first bit, I noticed the temps were getting so low that my resin was a bit too viscous to work with. Got out my bucket of hot water and heat gun to solve all that noise.
After heating my resin and surface area up to a workable temp, I hit the nose with a nice large piece with some relief cuts

2017-12-25 23.37.49.jpg

Then got right into beefing up the surface of that nose piece with a couple more layers of 1708:
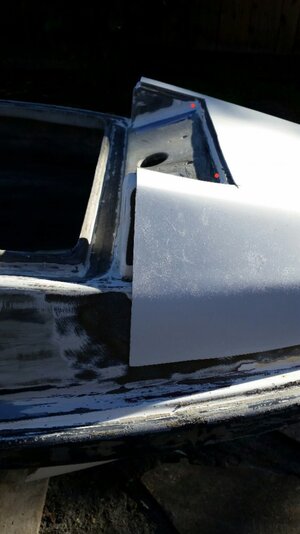
2017-12-25 23.38.54.jpg

The next day after getting surface sanded and cleaned up I started mocking a couple more large pieces and another piece for the front of the nose.
Basically trying to incorporate the front nose pieces and the pole bracket area into the surface of the entire nose.
Keeping the pieces large enough so they would wrap around those corners on the sides of the bracket.
Heres a shot of mocking up a piece, trying to fold the reliefs and mark em the best i could, it actually works really well this way.

2017-12-25 23.39.54.jpg

And heres where i left off for now, I may be done with the top side of the nose now but not entirely sure.
Im contemplating filling the bracket side voids and hitting the bracket area once more, but Im almost out of the Mulan Szechuan sauce and need to order more off amazon

2017-12-25 23.42.04.jpg

I think this is 5 layers of 1708 all over the surface and 7 layers in the tip of the nose and the bracket area.
If i math correctly, thats adding .22" - .308" of beef into this thing.
I might actually want some more of that beef since this nose will most definitely kiss bottom on some flips.

I dont mind if theres extra weight, this hull will only see salt water and is going to need to take a punch.
 

nucleus_coolins

Does things to makes the do goods
Looks great! That front foot hold is going to be awesome when you take her to the surf.

*uscomposites sells the epoxy dyes. Figure it is better then paint, because you will not have to sand it off when you make a repair.

http://www.uscomposites.com/pigments.html

Quinc! Thanks man, I think i actually got dye the idea from you in one of the old threads. :)
I just placed another order for a couple more yards of 1708, i wish i had got some of their pigment while i was at it. So far it looks like the el cheapo dye i used is working out okaaaay.

I actually do have an update for you guys, i was holding out until i got another weekend of work...
but its been rainy out and ive been prepping for my first trip ever to Daytona Freeride!

I’ve been waiting patiently for updates since it’s been as cold as a witches tit on the east coast and I am staying out of the garage.

Hopefully this will hold u over for a bit while i send mode in foreign surfs :D

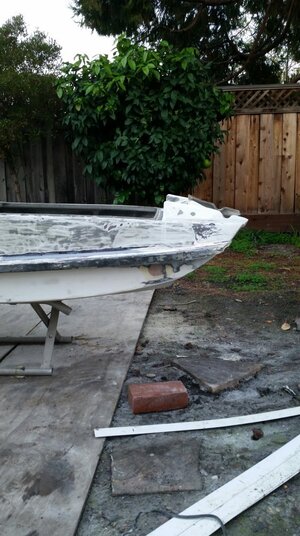
I got some filling done trying to smooth the surface a tad before i lay some strips across the exterior seams. I also filled the oem breather and pole bracket mounting holes.
2018-01-08 15.58.51.jpg

Also not pictured here, i had some tiny voids that ran a bit deep in the corners on the outside near the rails. so i played around with silica thickened epoxy + syringe. It worked really well, i wish i had taken some pics sorry!
Also not pictured here x2, i evened up the lopsided rail that i had neglected from previous post
(hooray i did not get too drunk and forget about this!)

2018-01-08 15.59.43.jpg
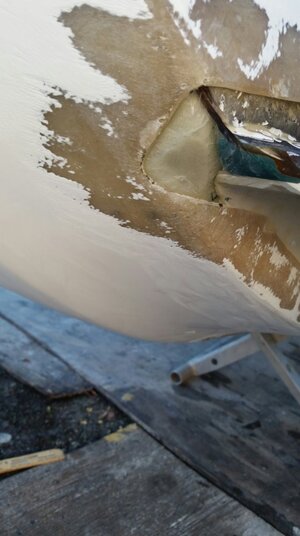
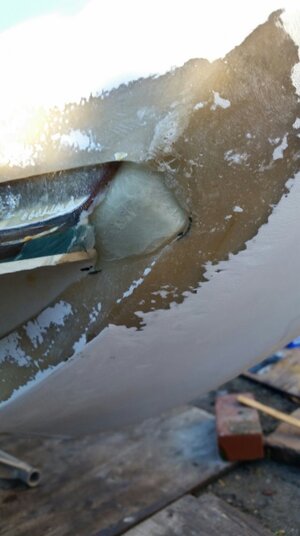
Its been a while since i posted a pic of the hull so heres how she looks atm from the outside.

Before it started raining these past few days i did manage to layup a bunch on the lower side of the rocker nose:

2018-01-08 16.00.36.jpg

2018-01-08 16.01.02.jpg

I kept alternating between a layer in the very front corner of the nose and a layer spanning the whole surface butting up to the front corner.
This bottom half was actually alot harder to work than the top half was. I had to do some kinda shotty game of twister to get both my arms in there to hold and squeegee.
It came out good tho!

Now ive got 9 layers of 1708 in the very front corner and 5 layers across the whole surface. I ran out of 1708 so i did the last couple layers with 1208.

I talked with Carter and he said im plenty good to send some epic lawn darts now. But im still gona get sendy with a few more layers and then a finish layer of black on the whole bottom.

Hopefully i can get back into this the weekend after daytona. I still need to mock up my pole and bracket to see how pervy i wana get with the bracket mounting surface...

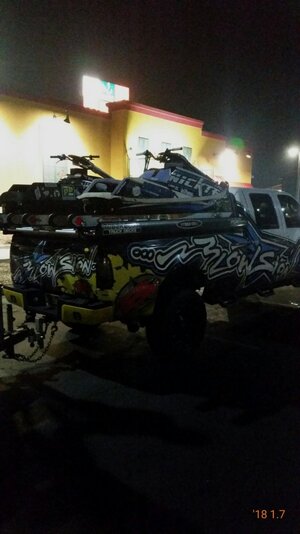
Until then, heres a shot of the Nickter all loaded up and on its way to nascar land...

2018-01-08 16.01.37.jpg
 
Top Bottom