Braapp Factory - NITRO C1 builds

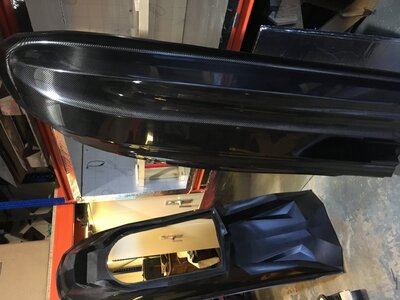
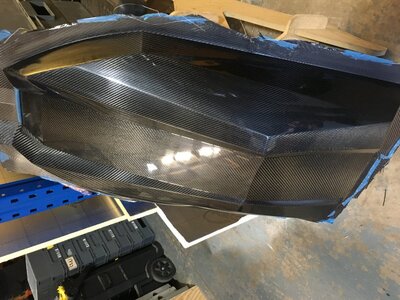
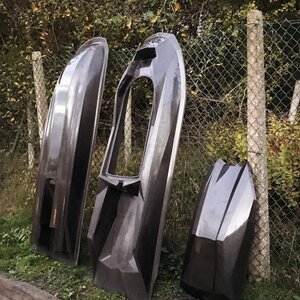
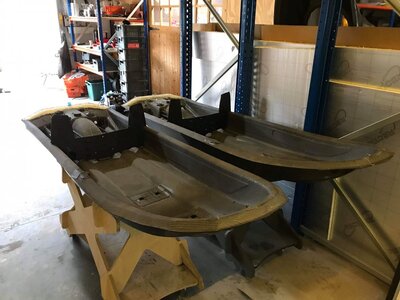
At the back end of 2018 we heard about a new hull to hit the freestyle scene that really grabbed our attention.

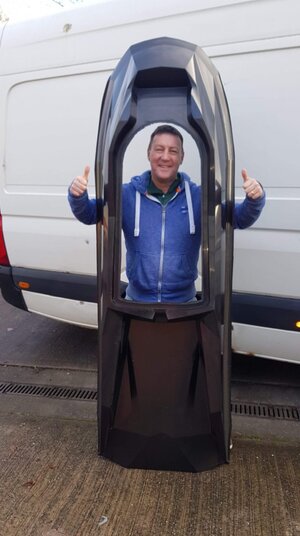
The DJR nitro.

A call to Dan Rowan to discuss what he had in the making really sealed the deal for us. Discussions around, CAD drawn parts, CNC machined moulds, perfectly true and symetrical hulls, optional sponsons or rideplates, adjustable motor position, specification of build to suit our needs. BIllet parts that mirror the CAD profiles of the areas they fit.

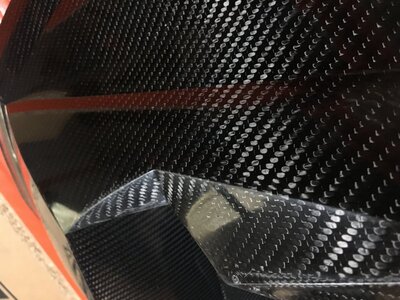
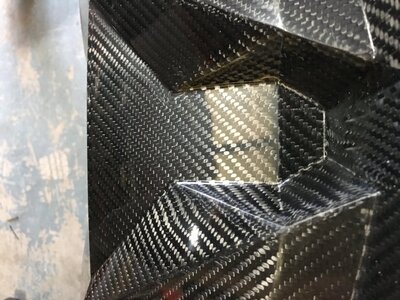
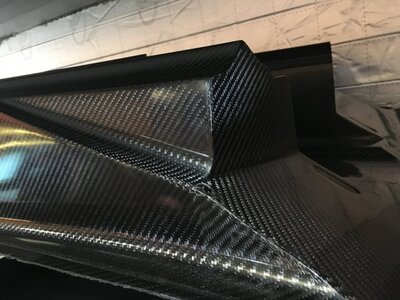
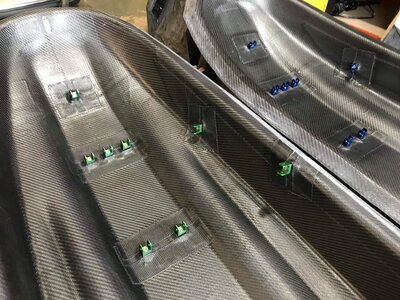
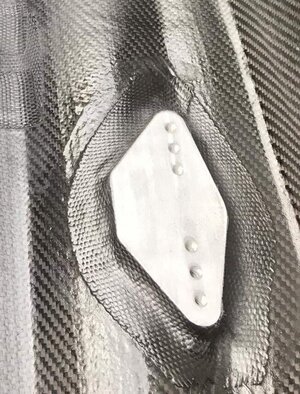
Visual carbon finish - no gel coat, no clear coat or paint - we were hooked.

A quick trip followed to see Dan, his workshop and discuss the builds and agree details followed ( happily we only 1 1/2 hrs away)

££ Deposits were left for two hulls and agreed delivery was scheduled for Q1 - 2019.
 
Once deposits were left, discussions took place around set up, pump configuration, cooling tubes, trim set ups, motor position, ex pipe , electrics, bulkhead etc etc. No details were missed out as Dan took time to ensure he had every tiny detail captured to ensure the finished product was exactly to our requirements. ( borderline OCD if you ask me ) but that suited us perfectly. Throughout the layup and as the assembly progressed Dan kept us updated constantly WRT progress and taking time to reaffirm what we had agreed.

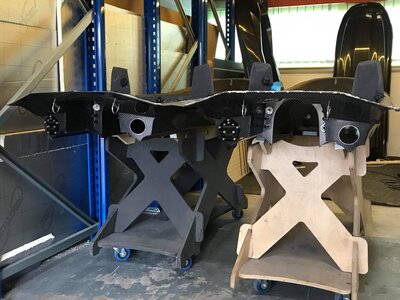
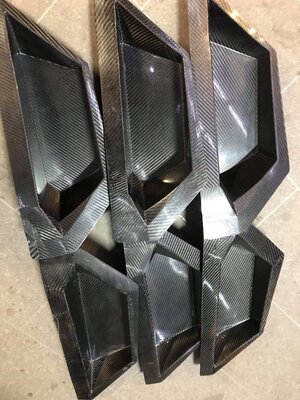
I will try to use the next few posts and pictures to document the quality and ease of assembly of these skis.

Feel free to jump in and ask questions
 

iangdesign

Cats, lots of cats!
Location
United States
owen-wilson-wow-animated-gif.gif
 
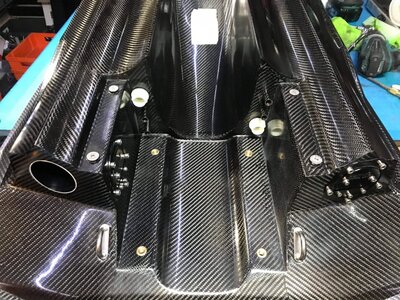
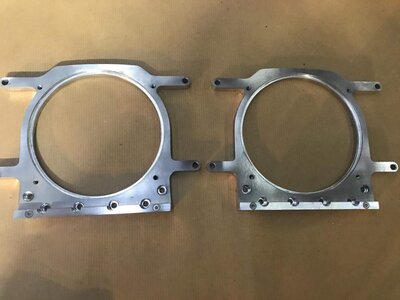
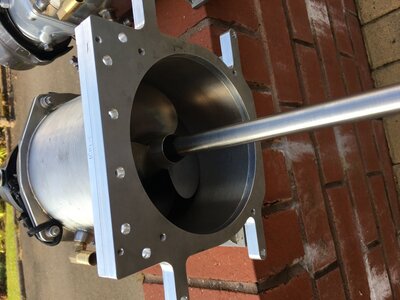
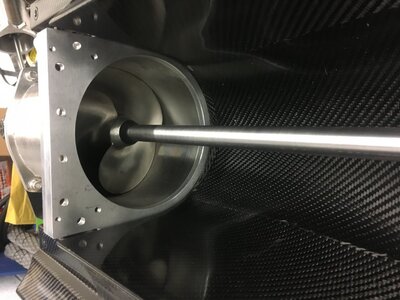
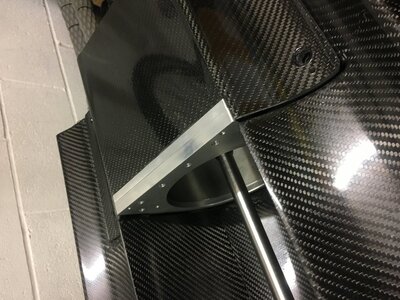
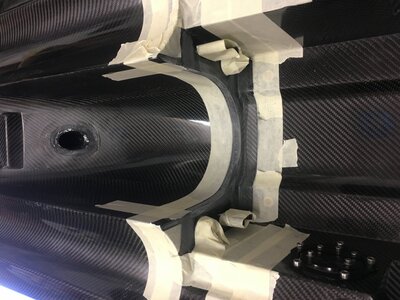
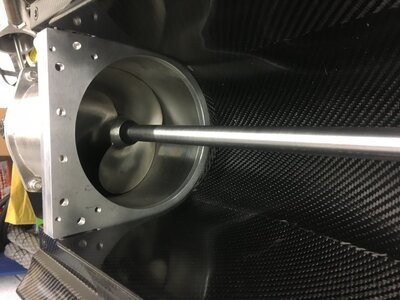
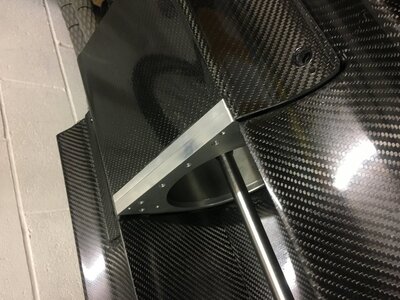
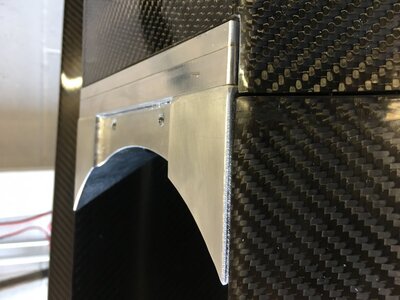
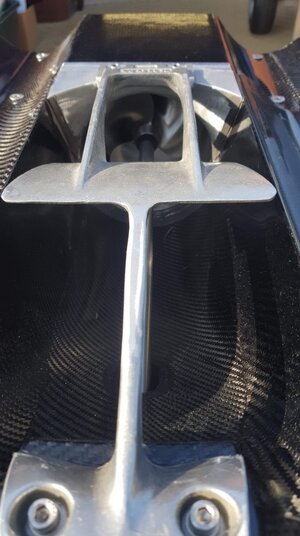
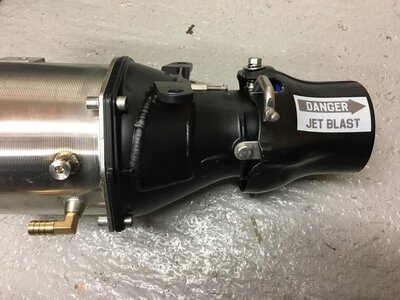
Our first job is always to install the pump/ pumpshoe. This is THE most important aspect in my opinion. The pump had been measured up and a prototype billet shoe was being manufactured, the aim being that the front of the pump would sit snuggly into a recesss machined in the shoe, thus remimage.jpegimage.jpegoving the need for a seal and guarenteeing perfect alignment every time the pump,was removed / refit.
 
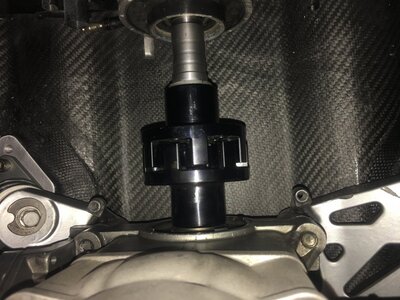
The pump is dry fitted into the ski. The alignment height wise is perfect and the shaft sits centrally as expected.
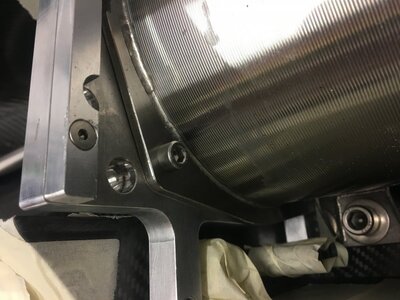
Horizontal alignment varies to to tolerance in pump noles and bolts. This is achieved and then the allignment tool checks , prior to bonding the pump shoe in place. There are 2 x M6 holes in pump shoe to allow front face of pump to be drilled and small cap head screws ensure pump shoe sits perfectly square to shoe.

Note: this is a 155mm pump going into a 165mm tunnel so the bonding medium will also be used to smooth the transition

image.jpegimage.jpegimage.jpegimage.jpeg
 
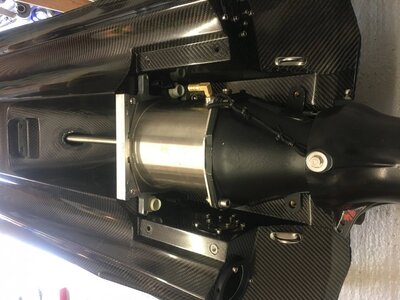
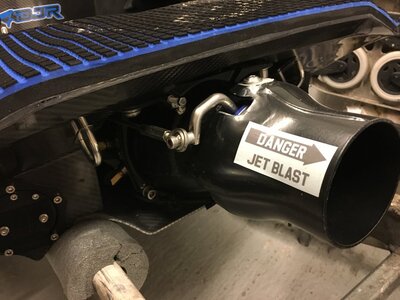
Once bonded in place, with the "teeth section" that is also attached with 4 x m6 cap heads, add scoop grate , cables, cooling lines, pump and rideplate and ski can be flipped right way over.

image.jpegimage.jpegimage.jpeg
 
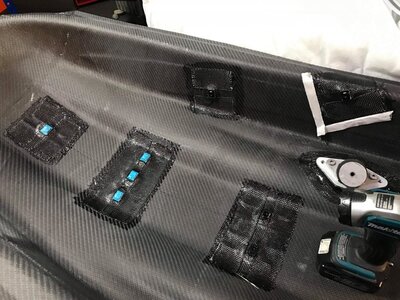
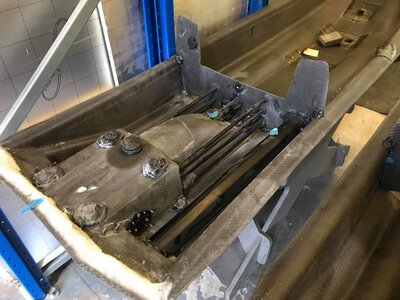
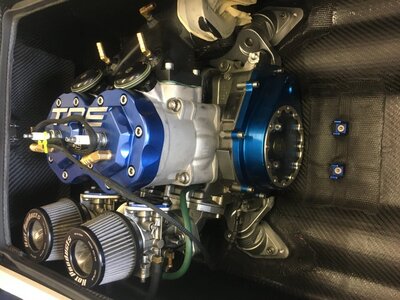
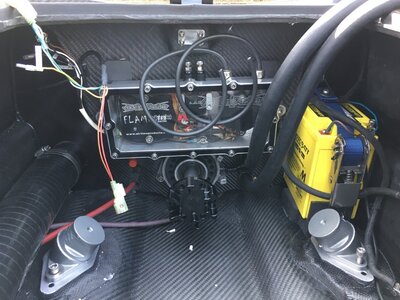
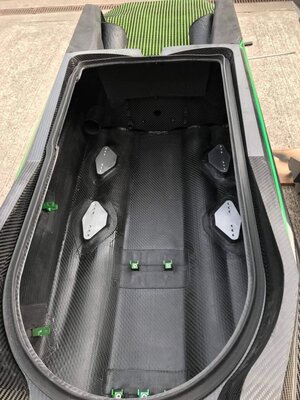
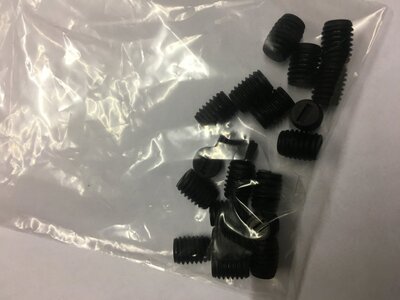
Engine mounts can be fitted in 3 locations dependant upon rider preference. We have elected to use the centre set of holes first. My OCD kicked in, so we ordered some plastic grub screws to prevent crud collecting in the mount holes we werent planning to use. These were secured with a tiny blob of clear silicone.

image.jpegimage.jpegimage.jpeg
 
Top Bottom